Contact Hannah


123 Street Avenue, City Town, 99999

(123) 555-6789

email@address.com


You can set your address, phone number, email and site description in the settings tab.
Link to read me page with more information.

Blog

Filtering by Category: Run

Ben Lomond - Ogden, UT

Hannah Fleming

Standing 9,716 feet tall, Ben Lomond looks down over Ogden, UT. With all travel coming to a halt this year, it was finally time to summit mighty Ben. As soon as I made it up once, I was addicted. Below are three different routes.

North Ogden Divide - Skyline Trail
Start: North Ogden Divide Trailhead
Duration: ~15.5 miles
Elevation gain: 3500 feet
Difficulty: moderate - difficult, due to duration and steep sections
What to expect? The first 1.5 miles of switchbacks are rocky and moderate/difficult. The trail becomes smooth dirt until reaching the saddle of Ben Lomond. This is the point where the Skyline trail meets up with Cutler Sprint trail and Ben Lomond trail. From here there is a 1.5-mile final push up to the peak, gaining the last 1,000 feet.
GPS *this is my favorite route

North Fork Park
There are two routes from North Fork Park. For extra fun, make a loop out of these two!

Start 1: Loop B - Corals Parking
Duration: ~14.5 miles
Elevation gain: 3900 feet
Difficulty: moderate - difficult, due to duration and steep sections
What to expect? The trail is mainly smooth, with some rockier sections close to the bottom. The trail is very straight forward until you reach the saddle of Ben Lomond. This is the point where Ben Lomond trail meets up with Cutler Spring trail and Skyline trail. From here there is a 1.5-mile final push up to the peak, gaining the last 1,000 feet.
GPS *note this was early season, we did not make it to the tippy top due to snow

Start 2: Mule Shoe Trailhead parking or Cutler Flats Parking
Duration: ~11.6 miles
Elevation gain: 3900 feet
Difficulty: difficult, due to duration and steep sections
What to expect? The trail is the steepest of the options, and the least trafficked. I’d recommend trekking poles. From the parking lot, you can follow the road towards Cutler Flat, or hop on the trails and head to Cutler Springs trail. At 2.9 miles in, you have the option to continue straight on Cutler Spring trail, or you can take a sharp left to connect up to Ben Lomond Trail. Cutler Springs trail is slightly shorter but much steeper. At the saddle, Ben Lomond trail, Cutler Spring trail, and Skyline trail all meet. From here there is a 1.5-mile final push up to the peak, gaining the last 1,000 feet.
GPS *bonus - this is also a great ski touring route in the winter

Ben Lomond + Willard Peak
If you’re feeling up to it, continue another two miles past Ben Lomond to Willard Peak! The trail is flowy and beautiful.

Ben Lomond looking down to Ogden, UT

Ben Lomond looking down to Ogden, UT

Ben Lomond to Willard Peak

Ben Lomond to Willard Peak

Race Recap My First 70.3 - Ironman St. George 70.3

Hannah Fleming

A year ago, I signed up for my first Sprint Tri, the XTERRA PAN AM Offroad Championship race at Snowbasin Resort in Eden, UT. I’ve been a runner the majority of my life, and had recently picked up cycling. But swimming…I had no formal experience outside of growing up swimming near the Great Lakes. However, working for Suunto, the title sponsor, was enough temptation for me to take the plunge and sign up!

Fast forward to crossing the finish line last September at Snowbasin Resort, I was hooked! 

Disclaimer: This post is for all the other newbie Triathletes out there. When researching if St. George was a bad idea for my first 70.3 I had a tough time finding anyone’s perspective. I hope you gain something from this :)

Choosing a race?

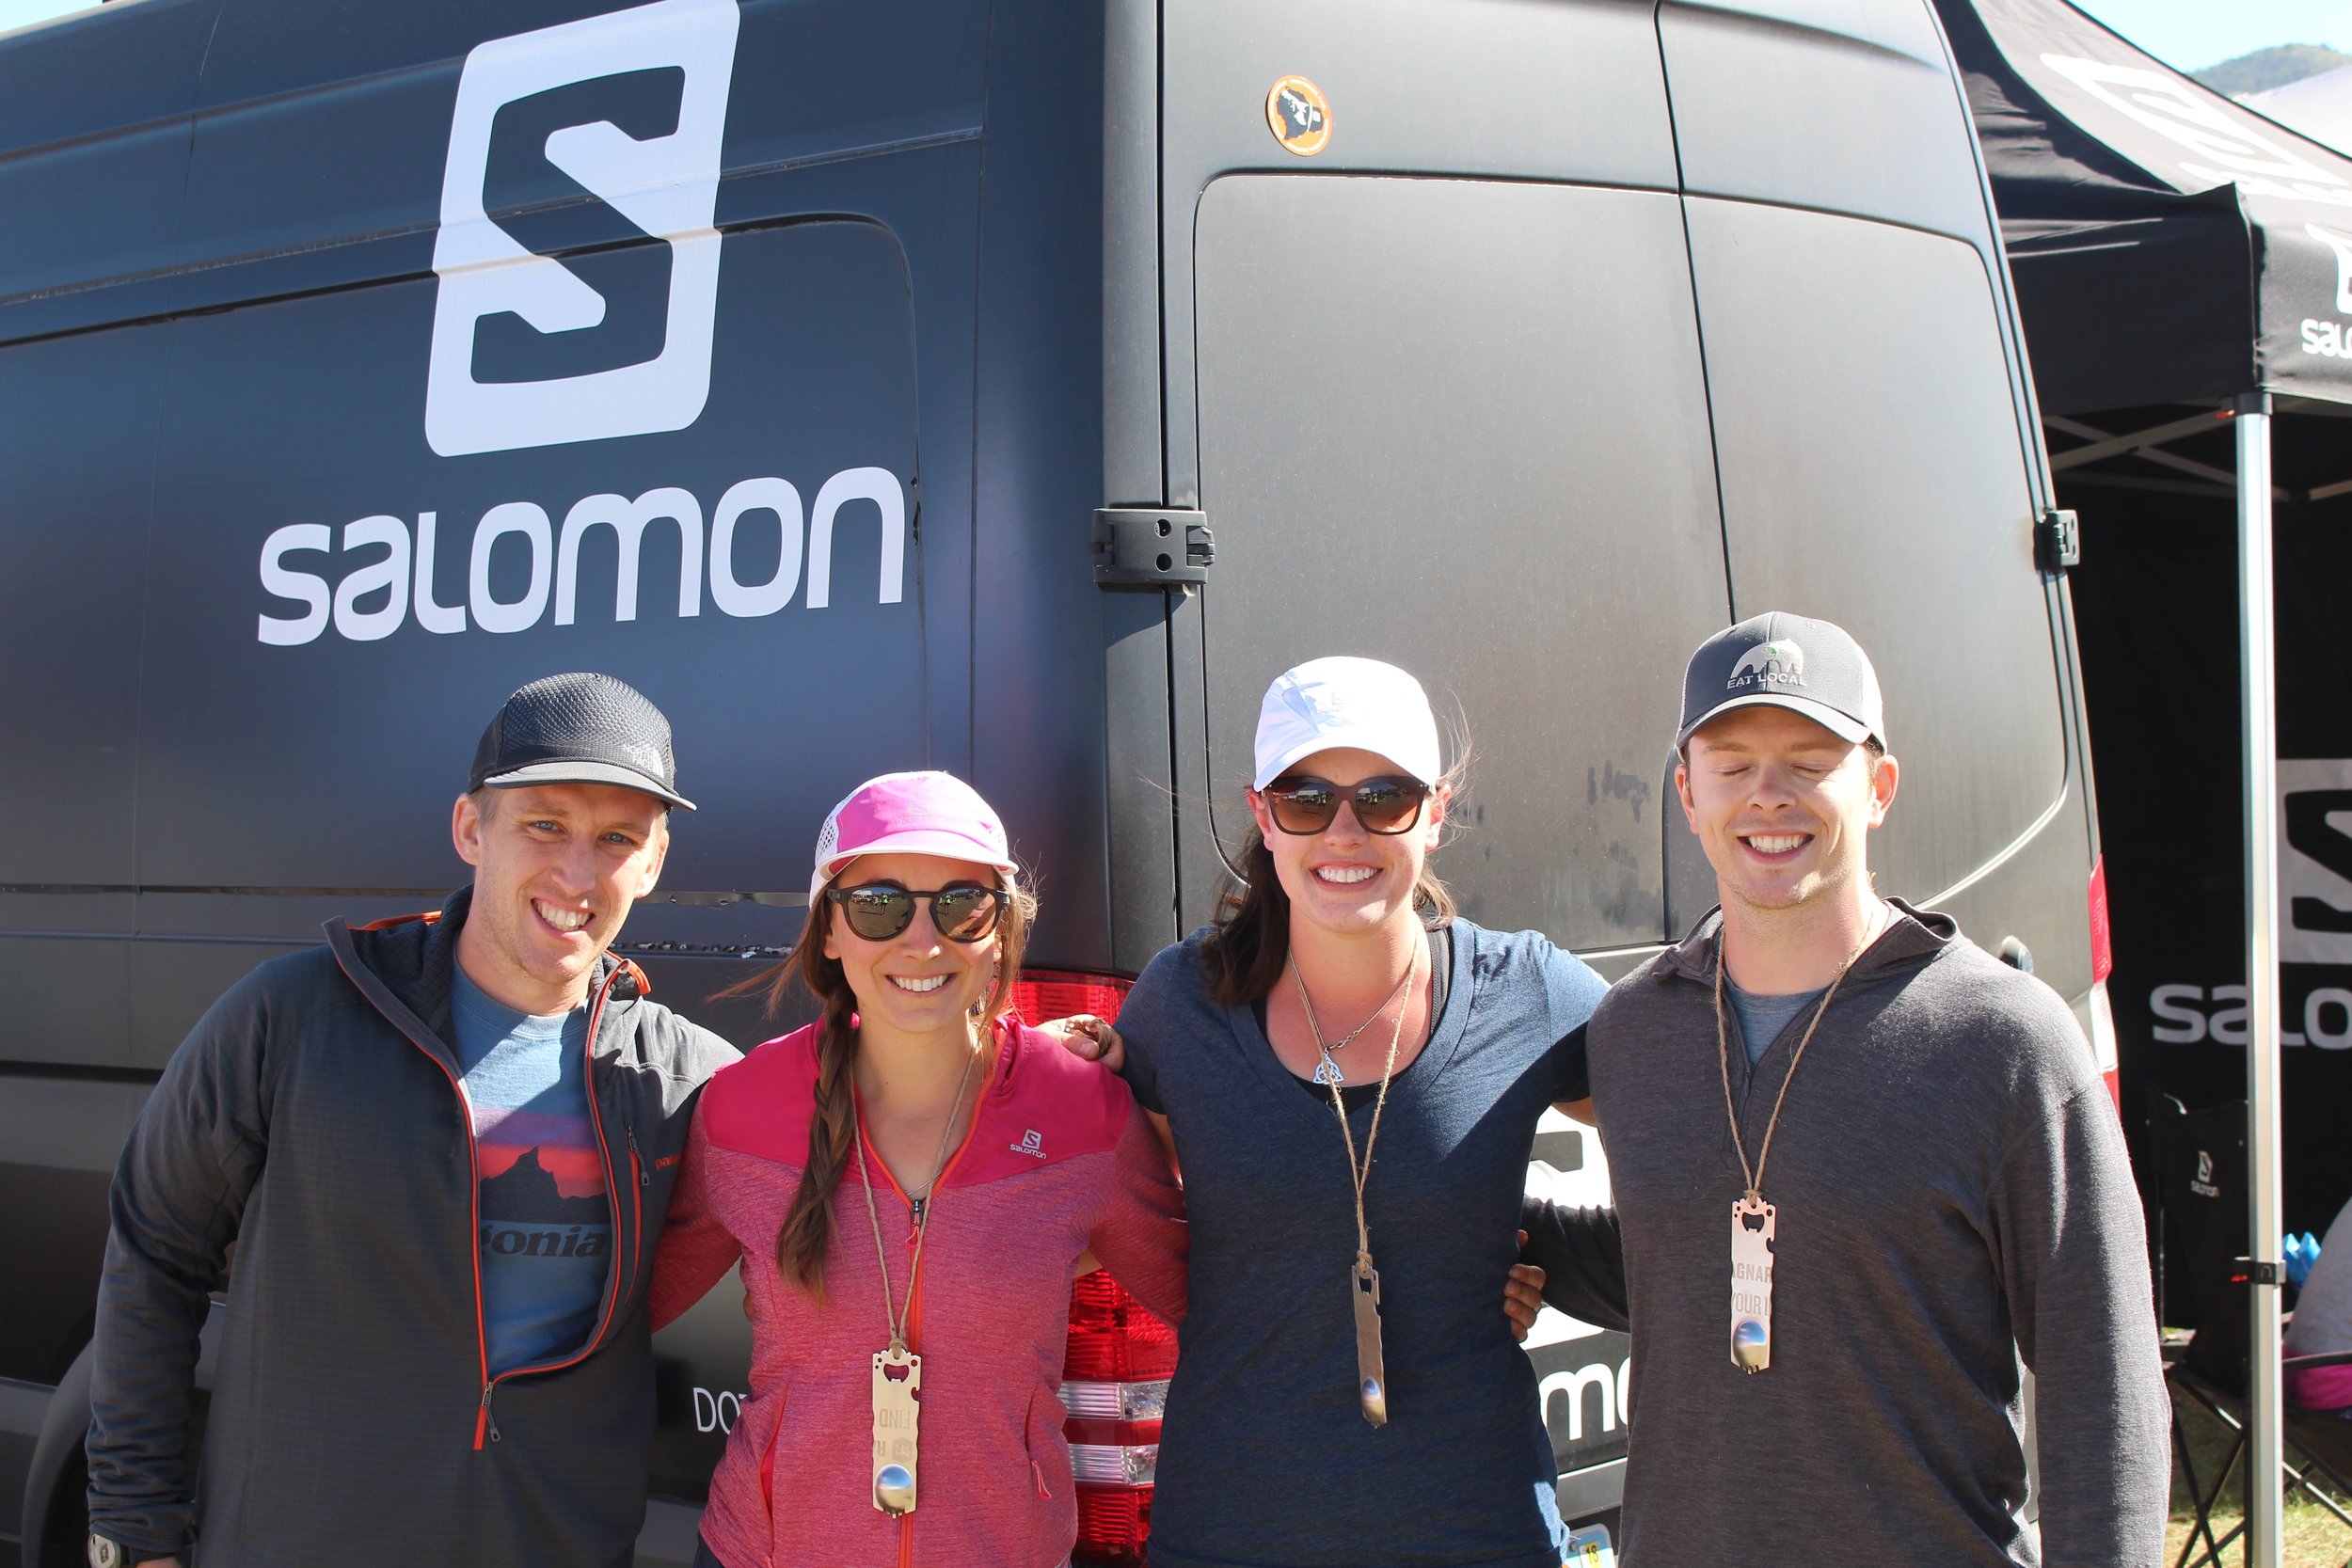
Because this was my first 70.3, I wasn’t willing to invest in a coach just yet. Instead, I reached out to the Betty Squad (Betty Design's team of ambassadors) and took to researching on Google to find a beginner plan. After many recommendations, I ended up going with Matt Fitzgerald’s Super Simple Tri Plan.

Training

My training consisted of:

·      3 x swim & run days / week (one longer distance day)

·      3 x cycle / week (one longer distance day)

·      1 rest day

Swim
With the race being in May, I spent all of my swim training in a pool. I even took some beginner swim lessons to brush up on some of the basics.

Bike
80% of my training was done on my trainer, using the Zwift app. This was convenient, and with shorter winter days, I didn’t have the chance to get outside after work before dark. As soon as it started to stay lighter longer, and warmed up enough that I was okay with arm and leg warmers, I tried to ride outside at least for all of my longer efforts.

Run
Much of my running in January and February was spent on the treadmill, with some of the longer efforts done outside on the weekend. I found it easiest to go straight from the pool to the treadmill in the mornings, and have my workouts completed by the time I went to work. We had a fairly mild winter in Utah this year, and by March, I was able to switch to running outside.

Other factors
Training through the winter often meant hopping on the trainer or going for a quick run through the neighborhood after a long day of skiing, or often times…missing ski days all together. To help find a balance between making sure I was prepared for St. George, and not missing out on too many ski days, I did both, as much as I could without feeling burnt out. If a long, hard, powder day left my legs feeling trashed, I’d listen to my body and cut my cycle in half, or maybe skip it all together.

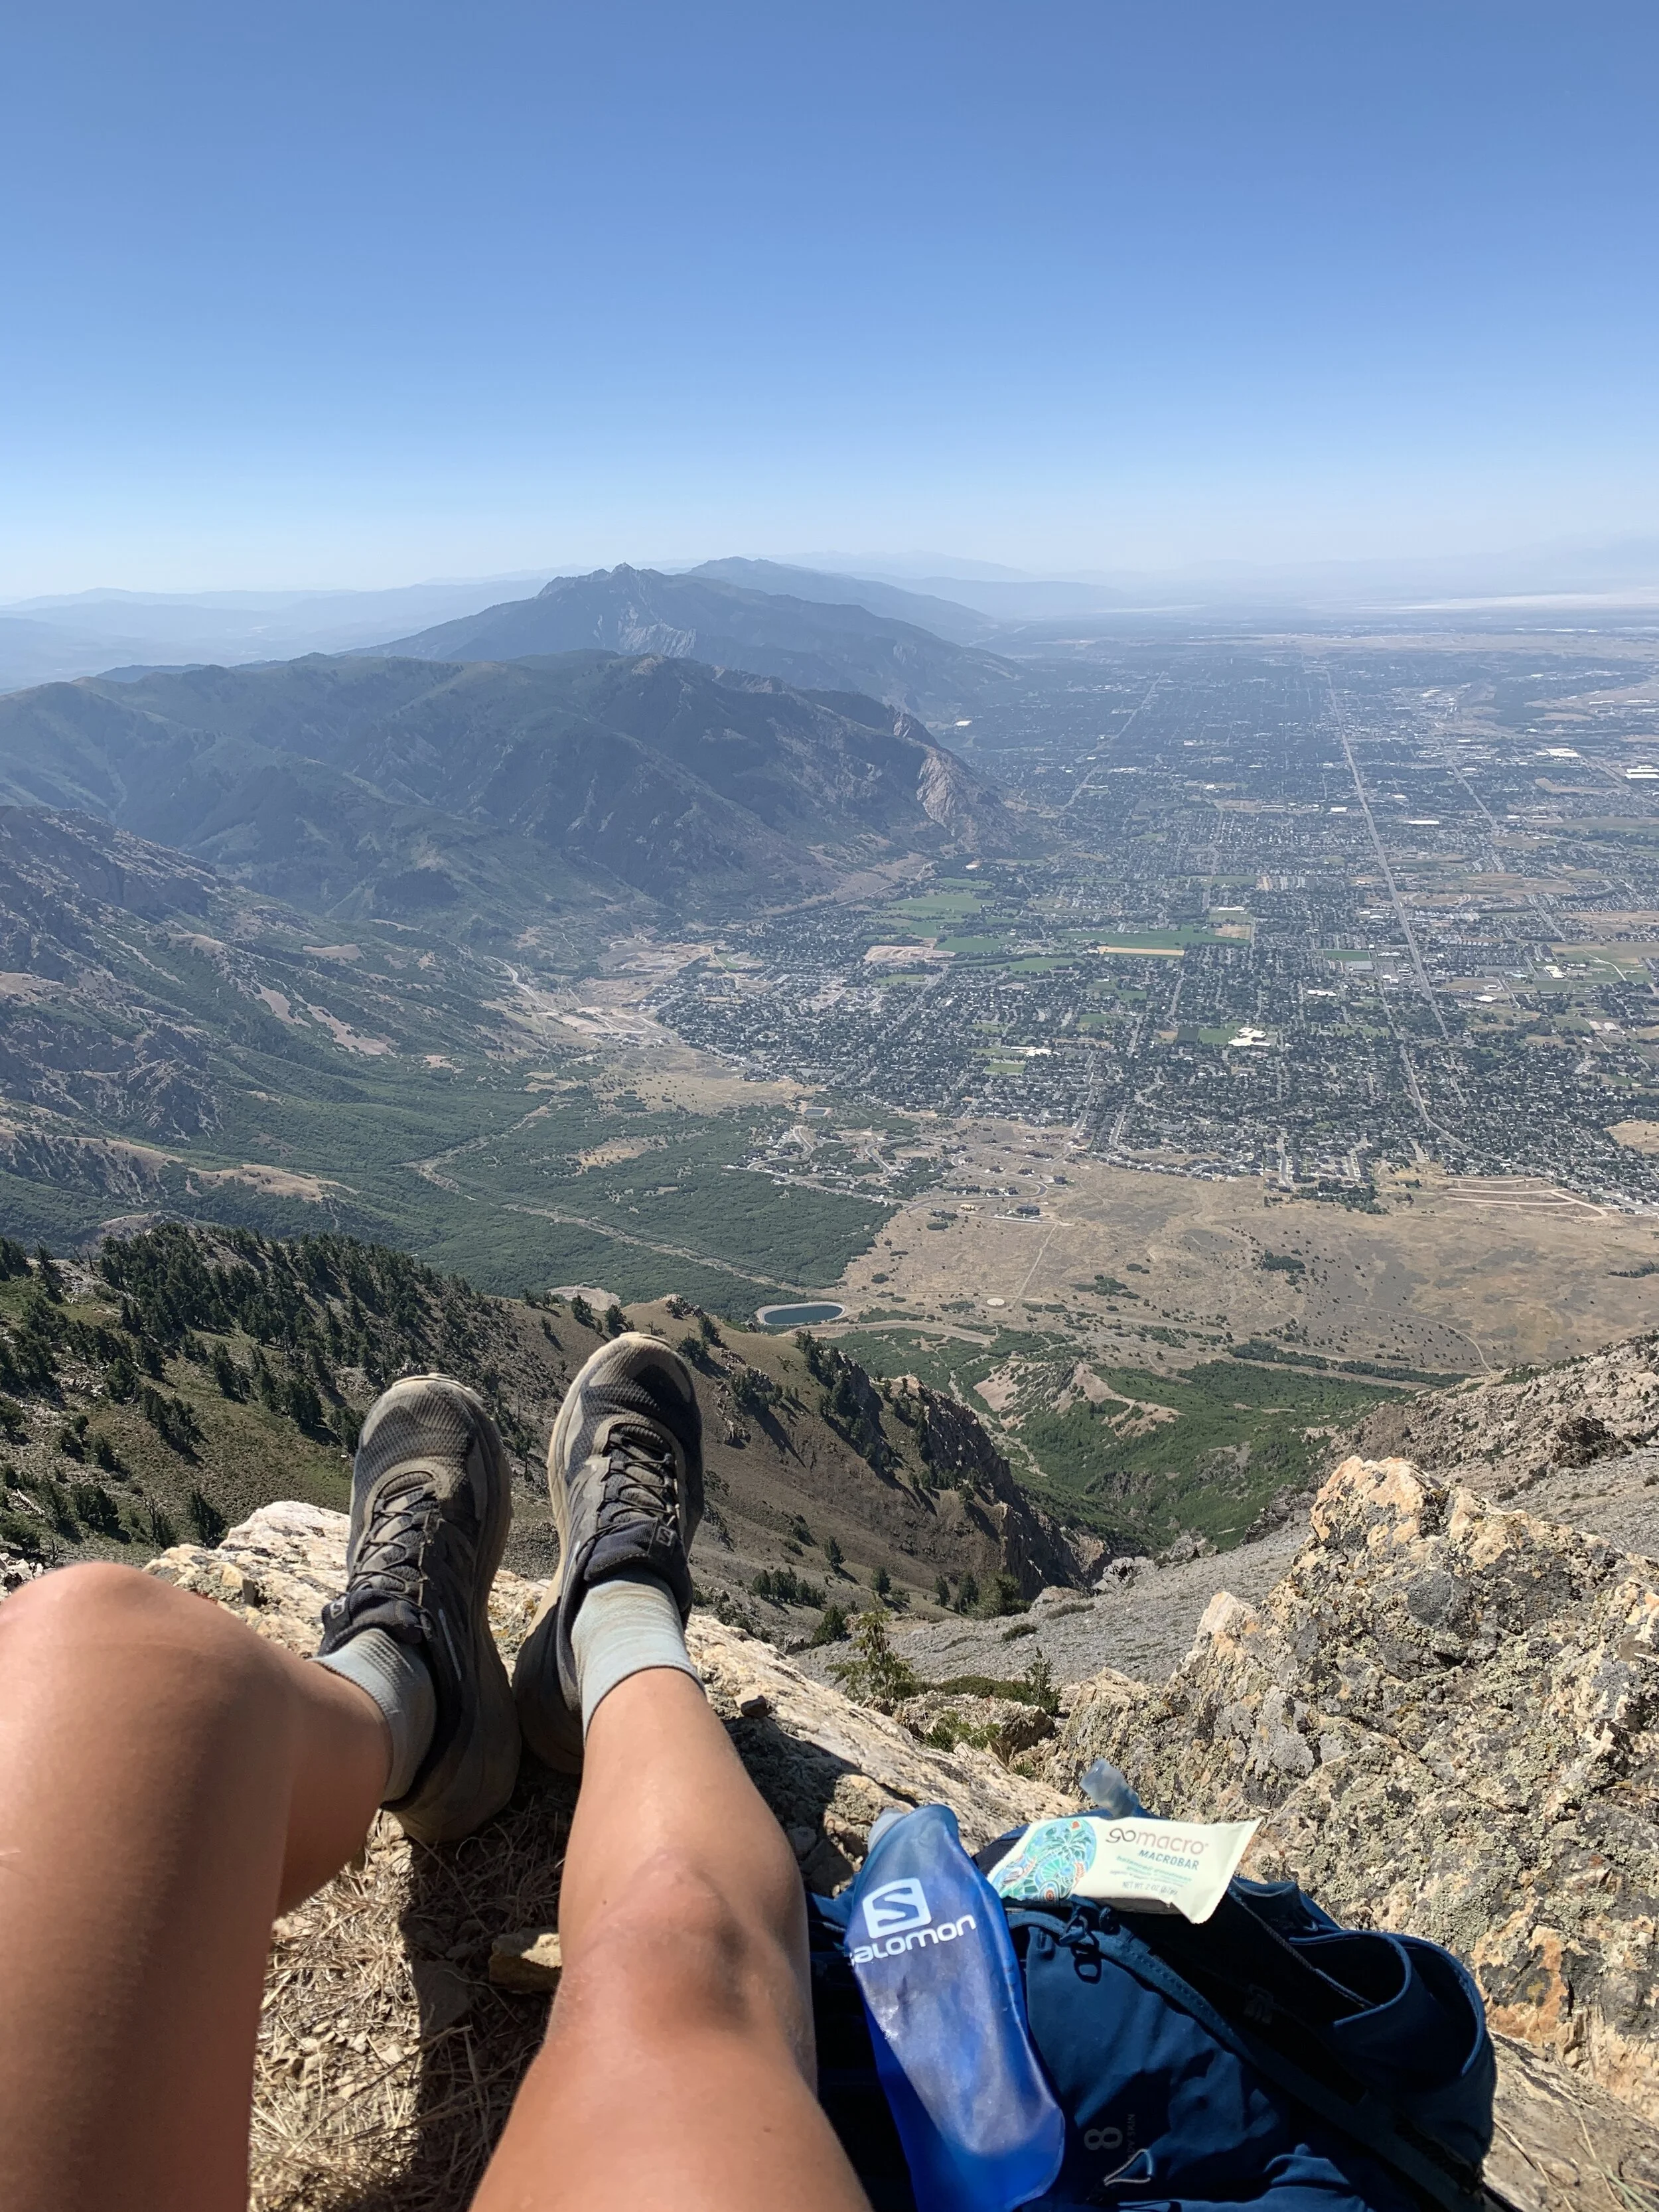
I also made a trip down to St. George 6 weeks before the race to ride the course and swim in the reservoir. I’m so glad I did this and would recommend training the course as much as possible. (Before XTERRA – my ‘normal’ MTB route was the course, this helped a ton!)

Filling salt tubes with Base Salt - Salt + Electrolytes

Filling salt tubes with Base Salt - Salt + Electrolytes


Nutrition
Nutrition is one area where I seem to struggle with a bit. I don’t stick to a plan, or make sure that I’m always drinking a protein shake following a workout. I’ve eaten plant - based for over four years, and have never had issues with recovery or energy throughout workouts. I tried to eat pretty clean, with big oat bowls for breakfast, lots of veggies, grains, potatoes, peanut butter, bread, and maybe a few too many bars. To fuel through longer workouts, I used dates, homemade “power balls” (recipe to follow), Waffles, salts, and some gels.


Gear

- Tri Kit - Betty Designs Squad Tri Top and Bottoms, similar to this top and this bottom.
- Watch - Suunto Spartan Ultra 
- Zoot - Chill Out Arm Coolers

Swim
TYR Women’s Hurricane C1 Wetsuit
TYR Special Ops 2.0 Polarized Goggles  
- Ear Wax
- Nose clip (don't feel alone if you use one!)
Bike
- Trek Emonda ALR
- Bontrager Hilo Speed Box
- Bontrager Velocis MIPS Helmet
Bontrager Sonic Women's Road Shoe 
- Chamois Butter
- Topical Edge
- Sunglasses - Rudy Project Tralyx
Run
- Salomon Sonic RA
- Salomon Air Logo Cap
- Glide


Race Day

I woke up well before my 4:15 AM alarm, after a surprisingly good night’s sleep. We made coffee in the hotel room using some of my favorite coffee, a French press, and jet boil (probably not the safest) and ate my standard breakfast of a mini bagel, almond butter, and banana.

I opted to take the bus instead of riding with my brother and friend who had come down to support. This gave me time to focus on the race, and have some time to myself. They ultimately ended up meeting me an hour later after I completed body marketing and setting up my transition zone, and stayed by my side until 15 minutes before I entered the water.

Swim – The swim was going to be my weakest leg, I knew this going in. After seemingly choking on water for the first 100 yards, my mouth got used to the colder water, and I got my breathing under control. The thing I love about open water swimming, is you know there’s one set destination, instead of lap after lap in the pool. For me, my mind was focused on just getting to the next buoy, knocking off one buoy at a time until I reached the end.

Beautiful views at T1

Beautiful views at T1

Bike Course

Bike Course

Bike – My goal for the bike was pretty simple, capitalize on my strengths (climbing hills), try not to touch the brakes too much on the downhill, eat, and hydrate. I stuck to the plan and finished the bike ready to run.

Run – By the time I left T2, it had reached 90 degrees and the sun was shining strong. I took my time the first 6 miles, making sure to walk when I felt I NEEDED to, knowing I wanted to pick up the pace on the downhill on the back half of the race descending back into town. I walked every aid station, drank a cup of water, put ice down my pants, shirt, and under my hat, and made sure to take in a gel around mile 8. I finished the run with a long sprint through the finish line.

On the way back from the second out and back

On the way back from the second out and back

Selfies w/ Dave

Selfies w/ Dave

I went into this race knowing I would do my best, and ultimately go a pace I felt comfortable with, where I knew I could finish strong - and I’m so happy I was able to stick to those intentions.

My final time - 7:12

My final time - 7:12

I’m so grateful to have an awesome support crew and mentors in my life who cheered me on the past few months, and a few who even followed me along the course to provide lots of extra encouragement. Finger’s crossed they come out next race, because I’m pretty sure this won’t be the last 70.3!

Recommendations & things for next time:
- DO Have support crew bring bikes again, it worked well for them to be able to ride around the course. They were the only supporters on the run section! (All of these photos are from them!)
- DON'T plan on getting a sport's massage if you come in after 7 hours, they already closed the booth
- DON'T buy Tri stickers unless you really want them crisp for photos, the sharpie came off just fine!
- DO come down 1.5-2 days in advance to sit through athlete briefings and set up transition zones early in the day
- DO train more with salt tablets
- DO train more on fast downhills
- DO push a little harder, you'll have enough gas in the tank
- DO go back to the reservoir again after the race - this felt SO good!
- DO share the Ironman tracking app with your family the day before the race.
- DO practice swimming in a straight line - reference Strava segment above to see how not straight I swim :)
- DO have lots of fun
- DO this course again!!
 

Feel free to reach out if you have any questions!

Lewis Peak - The Wasatch - Eden, Utah

Hannah Fleming

Lewis Peak sits along the Wasatch Mountain Range between Mt. Ogden and the more iconic, Ben Lomond Peak. With a 10.4 mile out and back trail, Lewis Peak is the perfect hike/run combination of elevation gain and distance.

IMG_8968.JPG

Getting There

The trail starts at the North Ogden Trailhead, the same trailhead as Ben Lomond, located along the North Ogden Divide (E 3100 N).The trailhead has ample parking and facilities.

The Trail

No time for a warm up on this trail. The trail kicks into high gear out of the gate with steep switchbacks, climbing 1500 ft. in the first two miles. The majority of this part of the trail is covered in trees, so make sure to bring a headlamp and a light layer if you’re hiking. The trail quickly opens up to beautiful views of Ben Lomond, Eden and Pineview Reservoir.

The fun really starts once you make it to the first sign, telling you 2.5 miles to the summit! The trail changes from steep, rocky, uphill, to smooth, golden, rolling hills. As you make your way to the peak, you have the option of climbing each hill and getting in more vert, or continue along the lower trail. These options make Lewis Peak one of my favorite trails I’ve discovered so far in the Wasatch.

IMG_3549.JPG

Made using Suunto Movescount

Screen Shot 2017-08-31 at 8.20.38 PM.png


Distance: 10.4 miles
Elevation gain: 2687 Ft.


Gear

Shoes: Salomon Sense Ride - Before working for Salomon, I trail ran in my road shoes. Now, I trail run in best in class trail shoes, and the difference is significant. I love the quick lace technology, so I can keep my focus on not tripping over rocks, instead of my laces. The Sense Ride's have Vibe technology throughout the entire sole of the shoe, providing extra shock absorption, and extra cushioning. Out of the box I ran 13 miles in these shoes. No pain. If you're looking for your first pair of trail runners, or for an upgrade, consider Salomon. 

Pack: Salomon S/LAB Sense Ultra 5 - This pack holds two 16 oz. flasks in the front pockets, leaving amble room for snacks, gels, phones, cameras, keys, headlamps, etc. You want the fit to be snug. I'm 5' 2'', and wear an XS.
 

G0079162.JPG
Photo shows how you can take the high vs. low trails for different vert. 

Photo shows how you can take the high vs. low trails for different vert. 

Watch: Suunto Spartan Sport Wrist HR - This is my go-to every day / every workout watch. With built in wrist HR, I know when I need to pick up the pace, and when I need to dial it back I bit. More importantly, with the incredible GPS I feel safe when running alone, and know I can find my way back if I get lost (which happened for the first time this weekend, thank you bread crumbs!) 

Water: 2 - 8 oz. flasks and 1 - 6 oz. flask

Nutrition: Dates and a waffle (Organic ones are dairy free / egg free, but made with honey. NOT vegan)

Have a favorite run in the Wasatch? Comment below!

Ragnar Trail Relay - Zion

Hannah Fleming

Gooooood Morning Ragnarians!

Living in Utah and working for an industry leading trail running company, it didn’t take long to fall in love with the sport. After a month of running on the local trails, I knew I wanted to sign up for a race and start training. With Salomon being the title sponsor for the Ragnar Trail Series, this was the perfect place to start.  

The details.

What is Ragnar? Ragnar is a relay race, with anywhere from 4-12 team members (trail races: 4-8, road races: 6-12)

Location? There are races ALL over the country. We ran the Ragnar Trail Zion at Zion Ponderosa Ranch race.

 What were the course distances? Green (Easiest)  3.5 miles + Yellow (Harder) 3.9 miles + Red (Hardest) 7.3 miles = 14.7 Miles total

What was the course like? The terrain was mostly packed sand and direct, with some rocks. This course had challenging elevation climbs.

What was Ragnar Village like? The village had lots of activities – massages, food, food demoes, movies, areas to stretch, photo booths, and more!

 What was the camping like? There are a few options for camping.
1. Reserve a spot ahead of time - these are traditional camp sites
2. First-come first-serve - camping in a large field

Favorite part? Running a relay with friends, and the beaUTAHful course.

Not-so-favorite part / hardest parts? 

Running in the dark! – My headlamp was not very strong, which made running through the night difficult.

Volunteering - Now hear me out, I love volunteering, and think it's important. BUT, I don't love walking around in the heat for hours fulfilling a volunteer shift before running. TIPS: sign up for a Thursday night, Friday early morning volunteer shift

Important gear?

Strong headlamp / ex. Black Diamond Storm
Trail shoes / Ex. Salomon Sense Pro 2 
GPS Watch / Ex. Suunto Spartan Sport Wrist HR
Good socks / Ex. Smartwool Running Socks
Anti-chaf / Ex. Body Glide
External Batteries / Ex. Goal Zero Products
KT Tape
Electrolyte Mix / Ex. Nuun
Lanterns & Flashlights / Ex. Goal Zero Lighthouse

Make sure to bring things to help you recover! Ex. KT Tape, Foam rollers, Lacrosse ball, 

Make sure to bring things to help you recover! Ex. KT Tape, Foam rollers, Lacrosse ball, 

Our camp table / lighting / charge station

Our camp table / lighting / charge station

Would you run another Ragnar? 

YES! They're tiring, and make for a long weekend, but are fun and challenging!