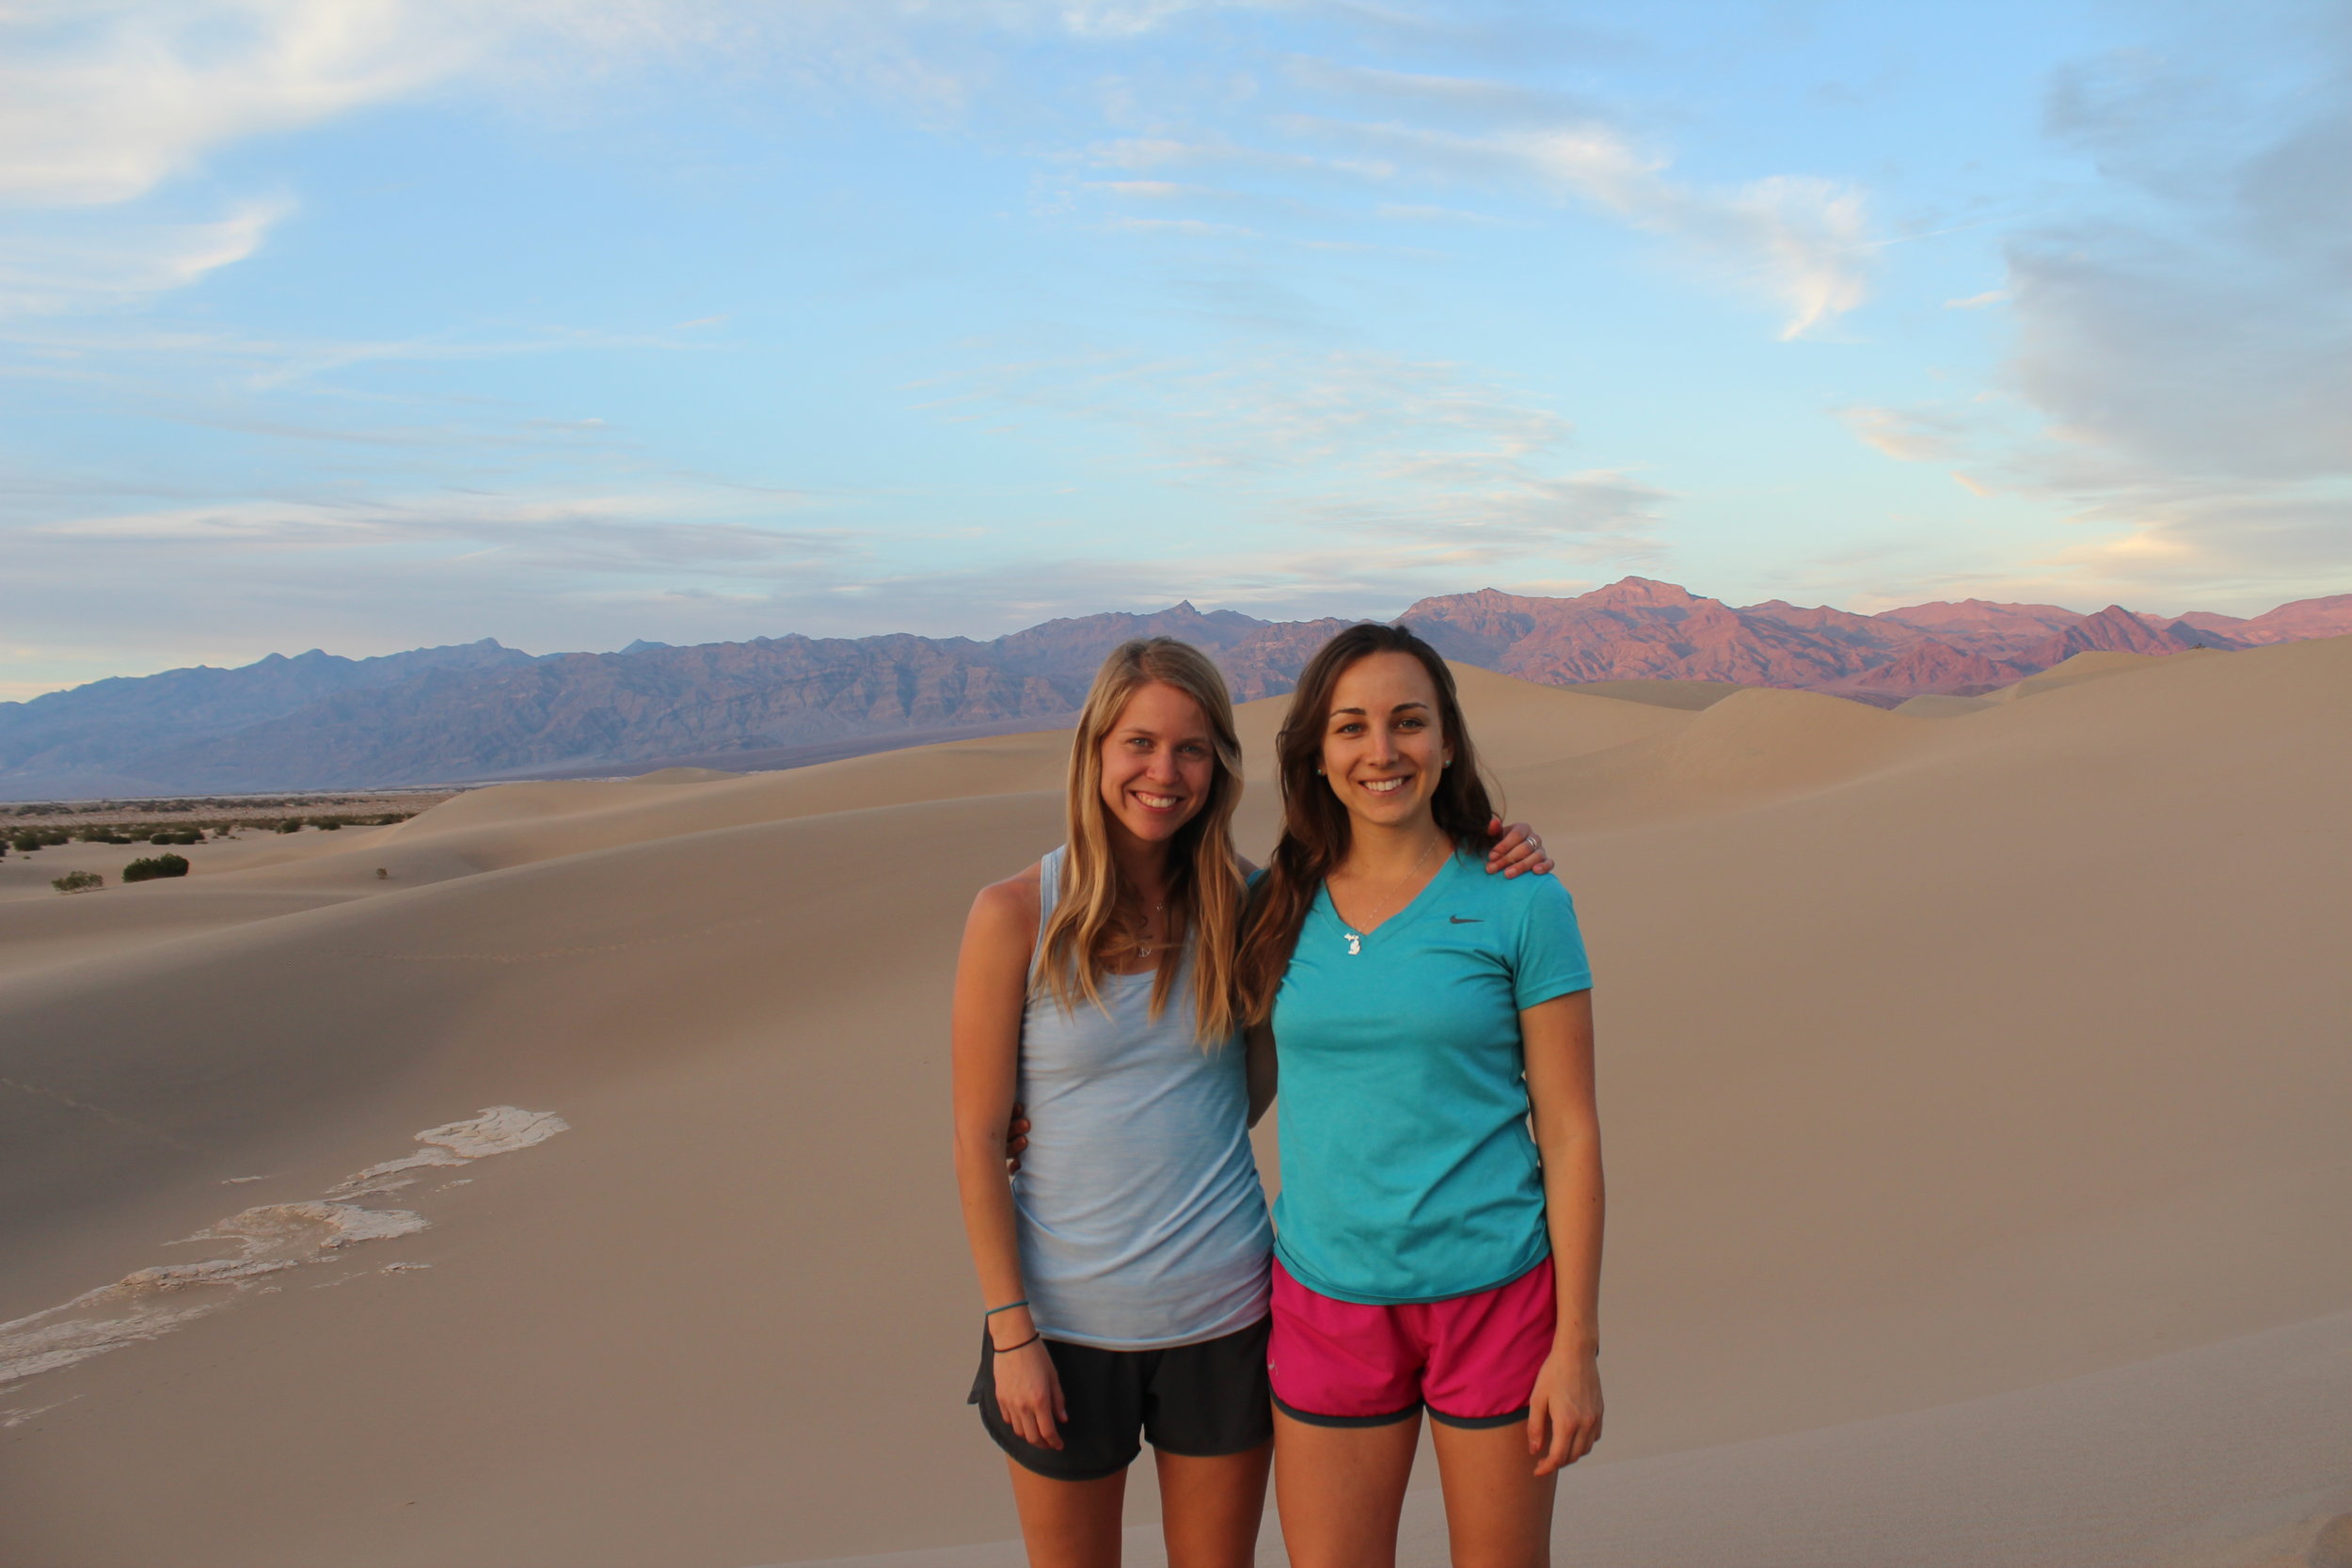
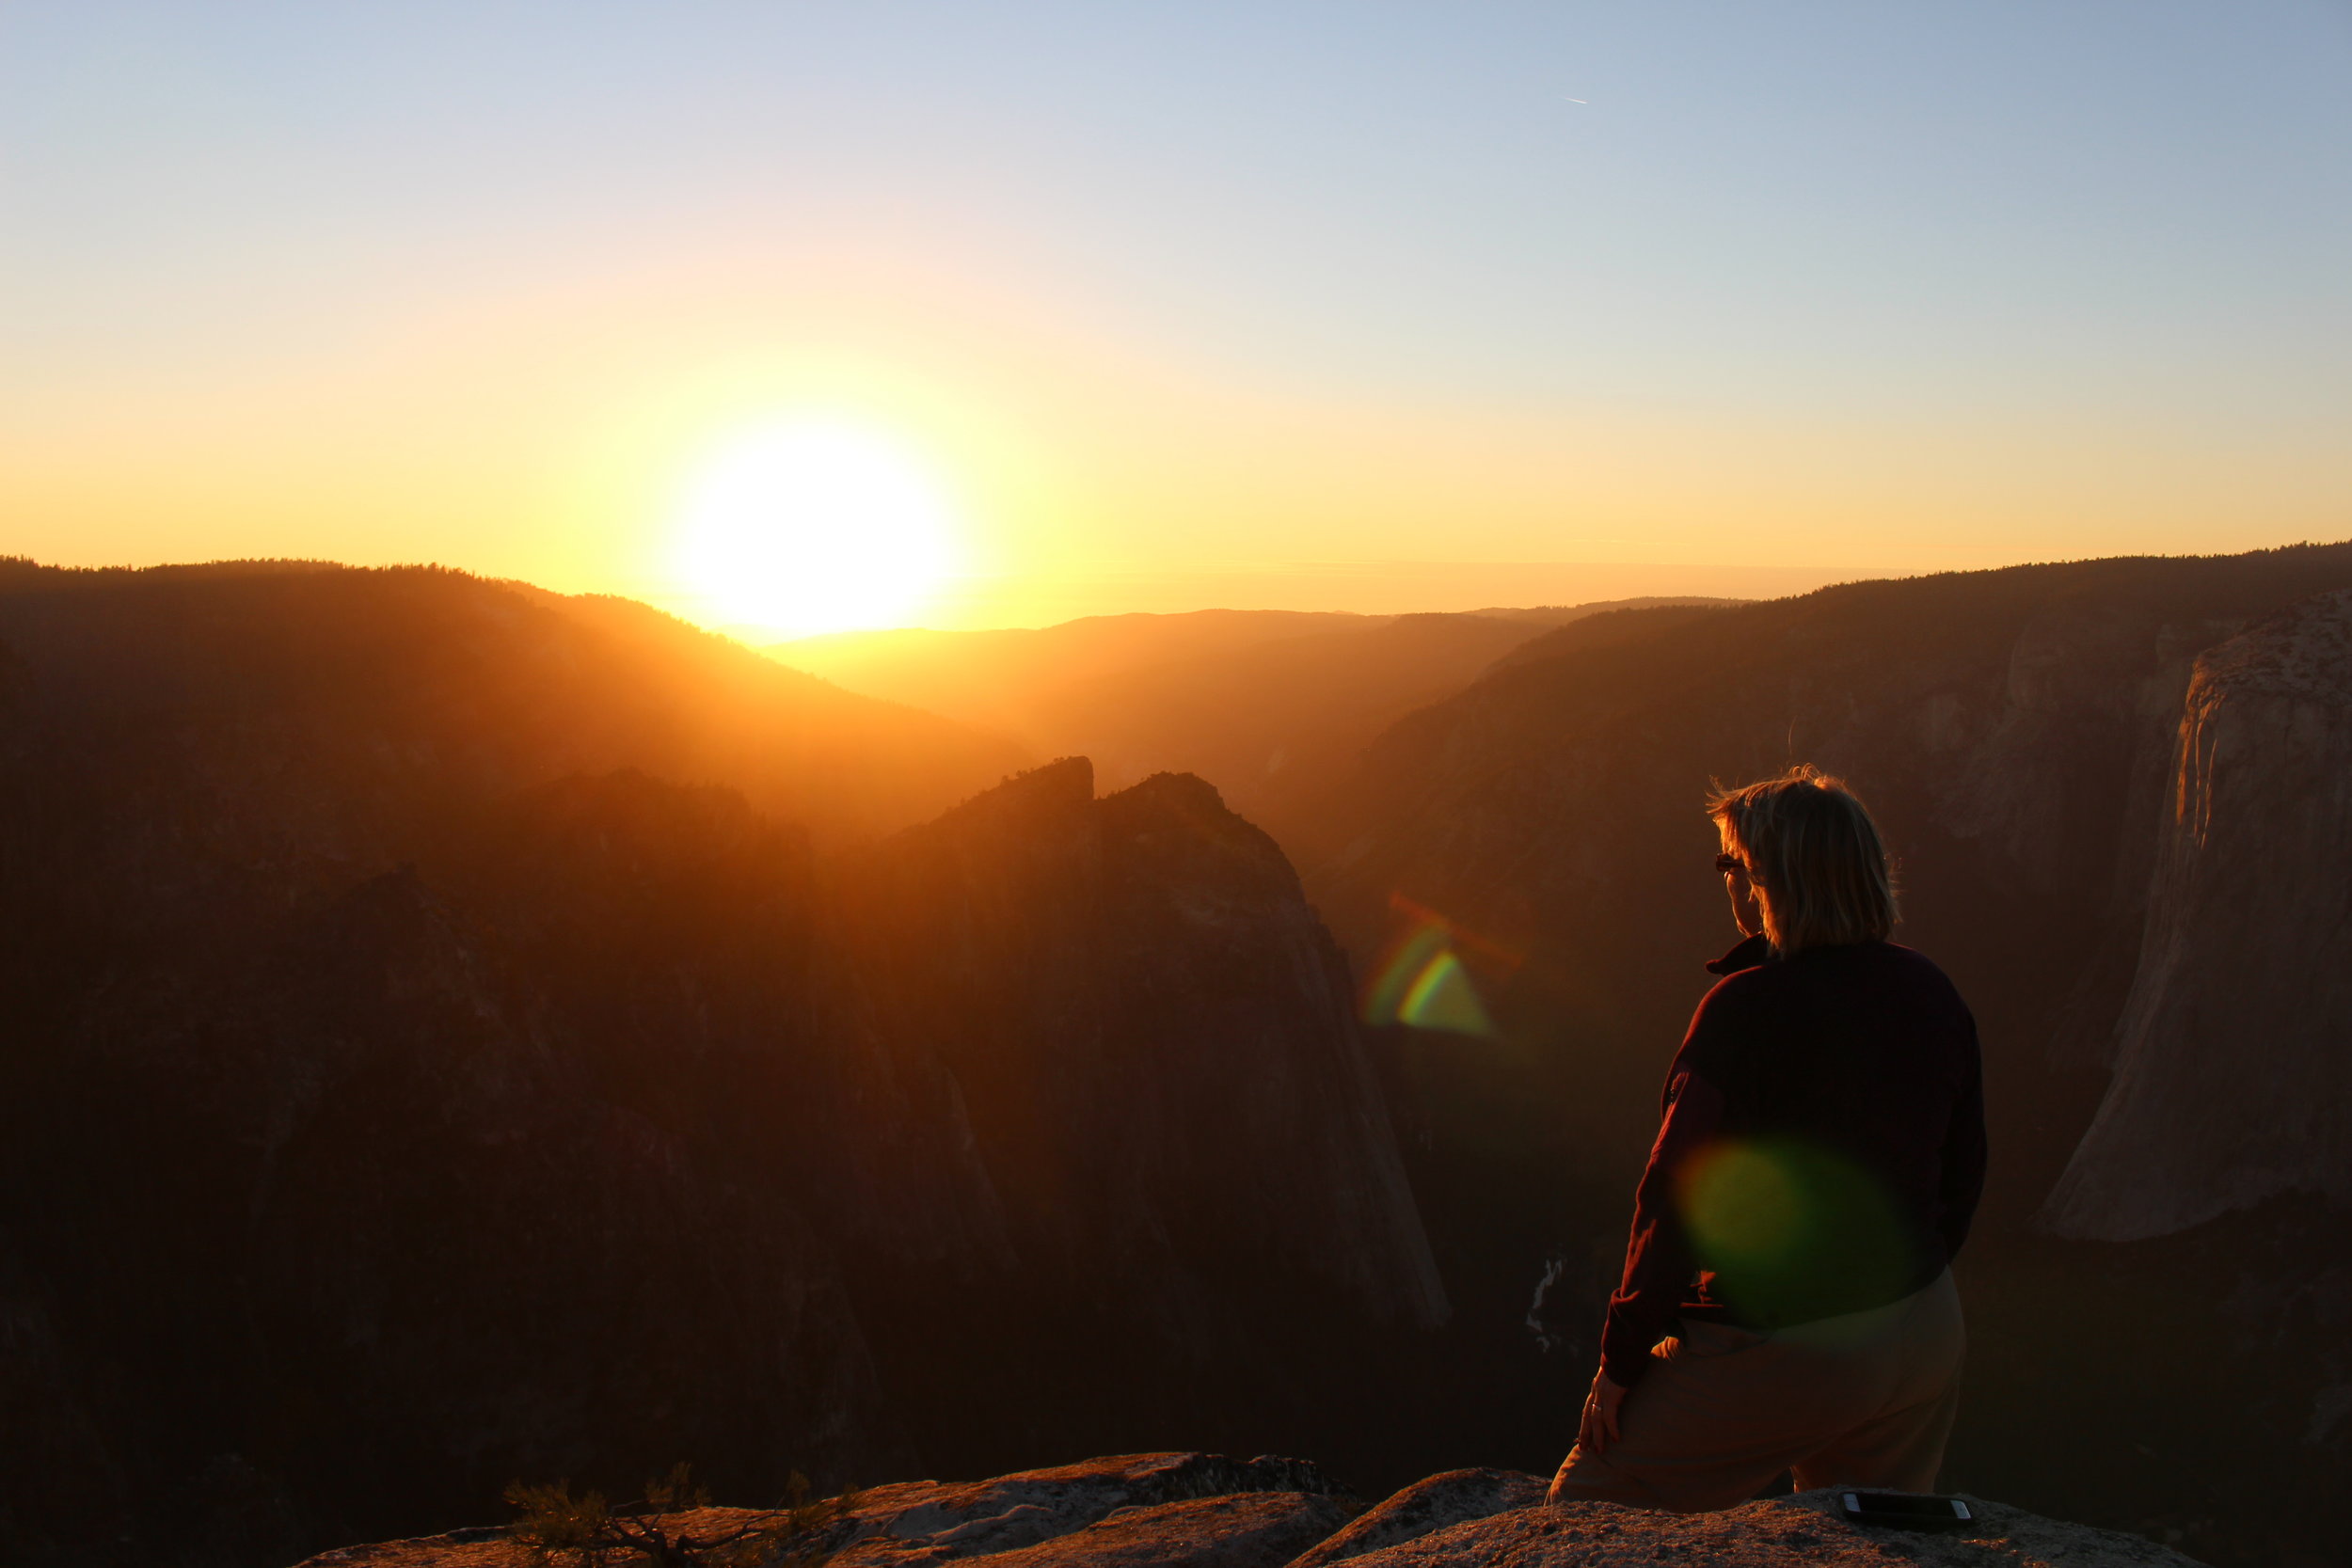
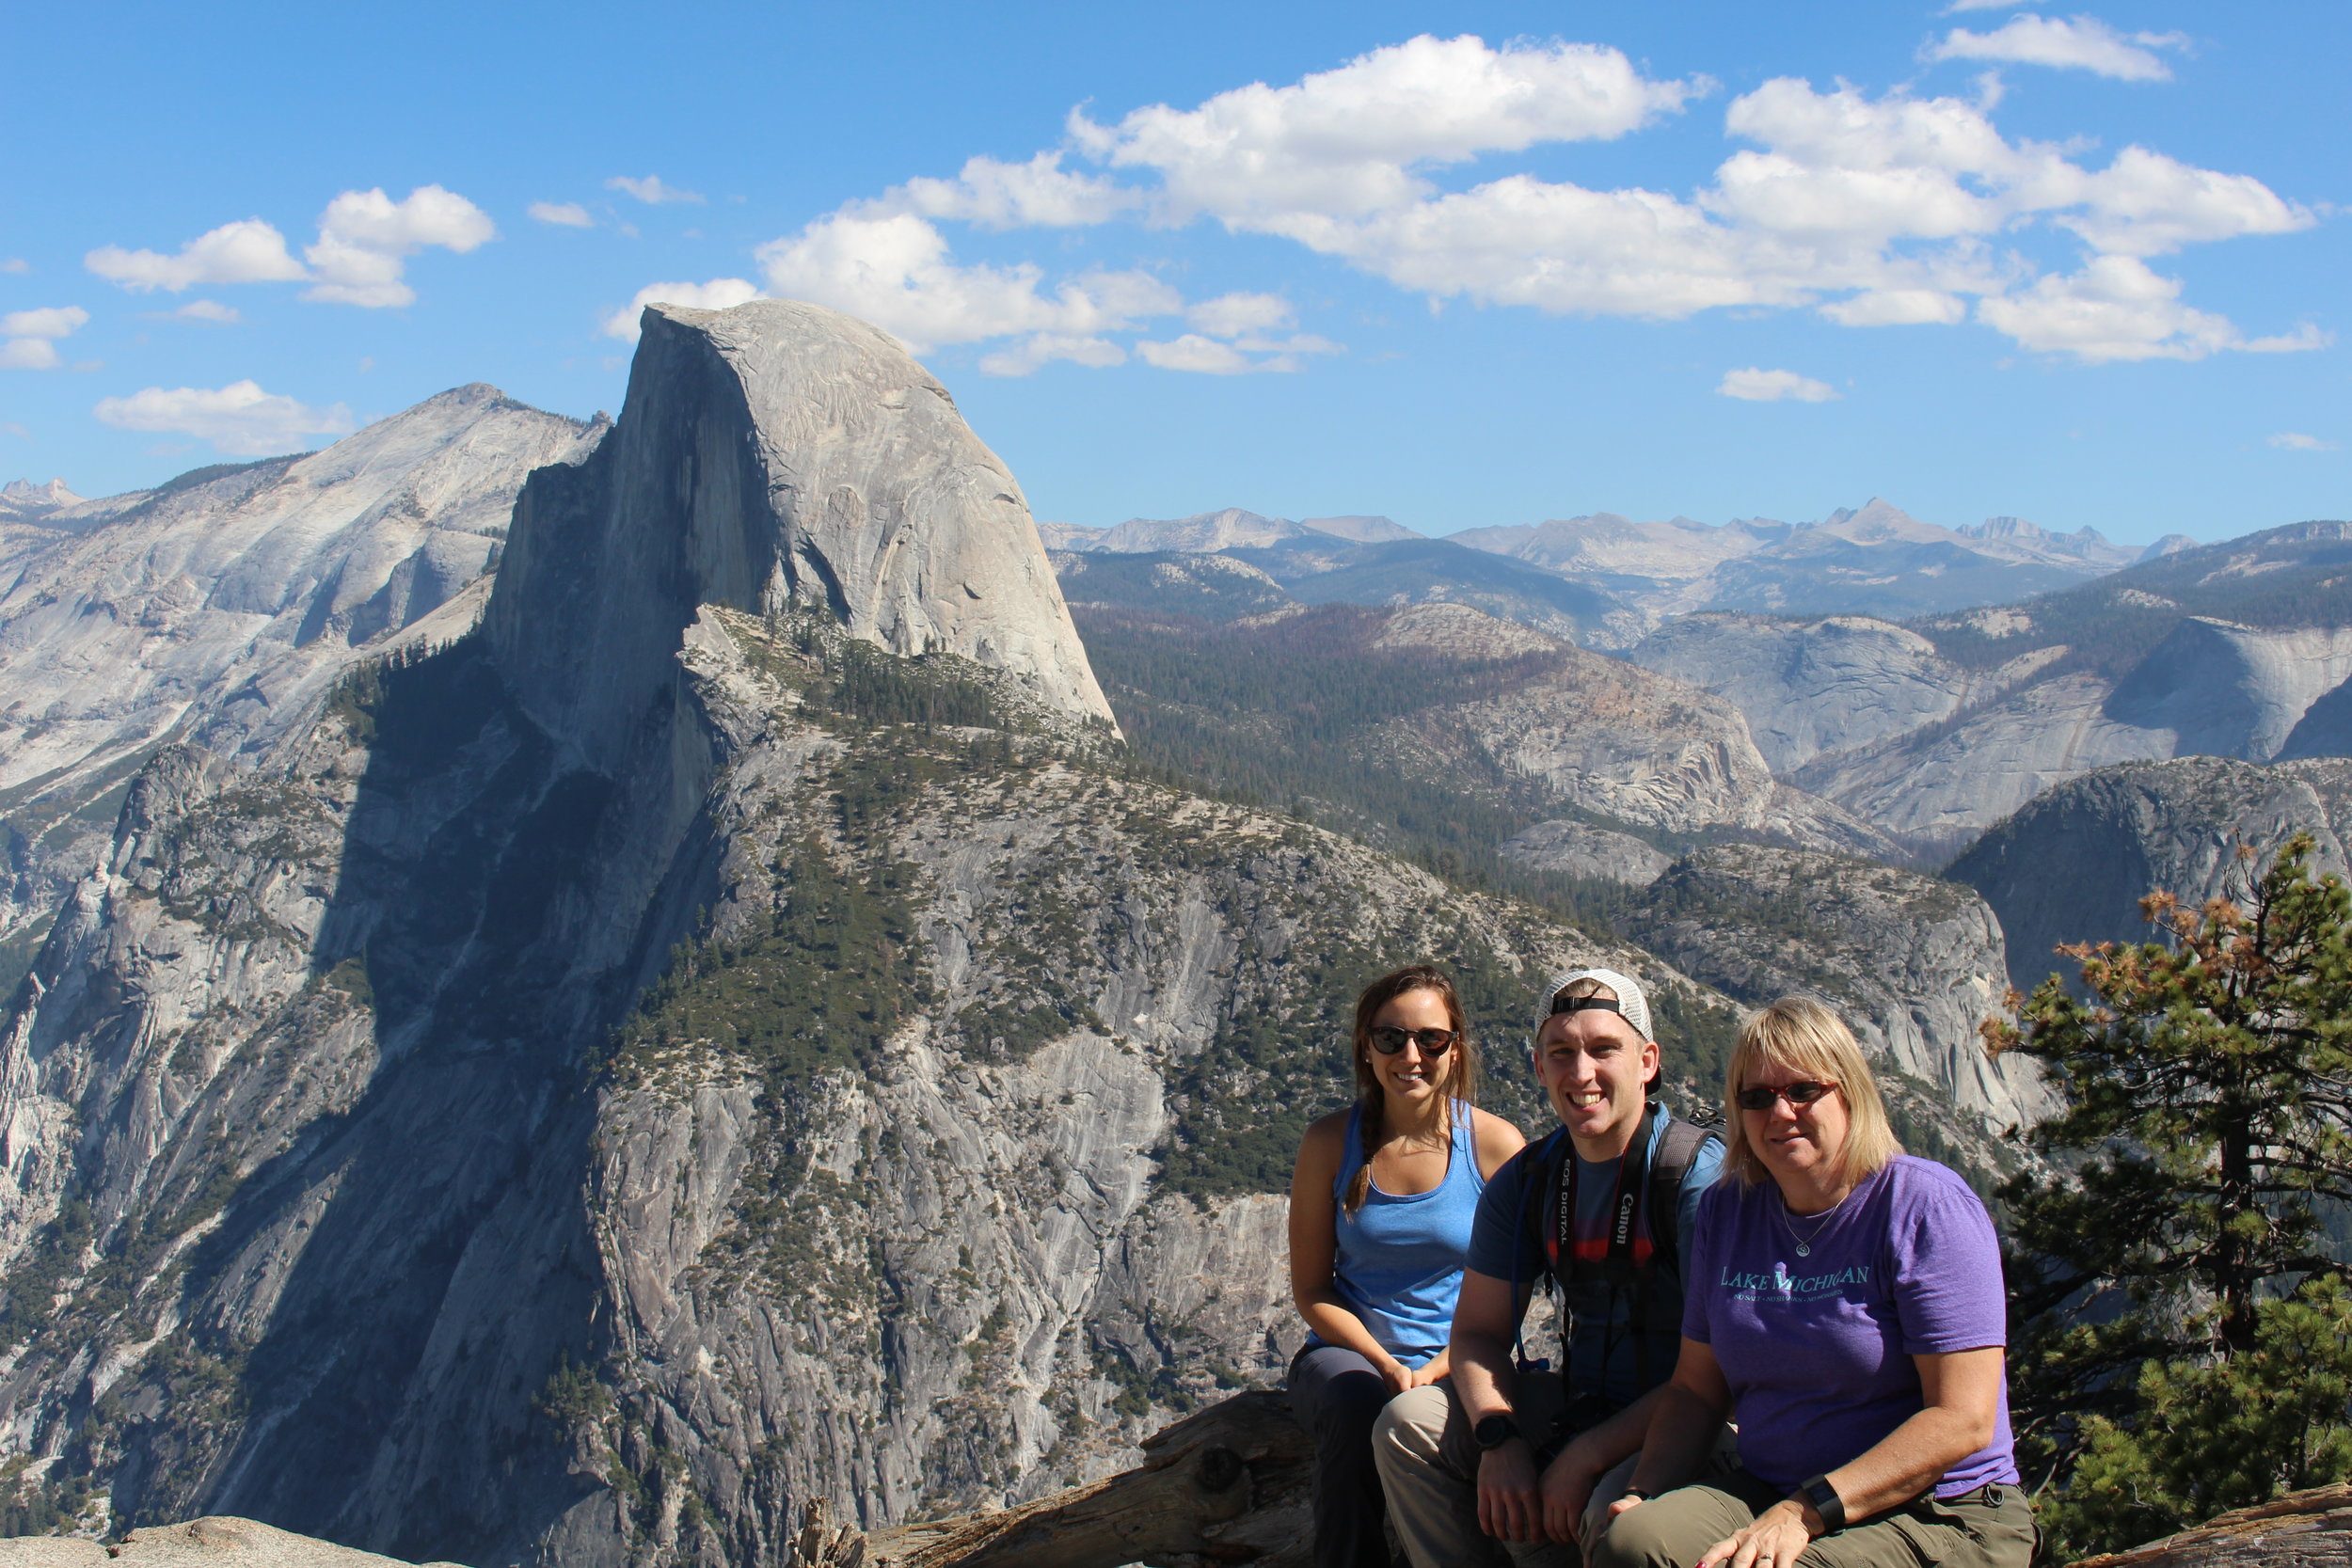
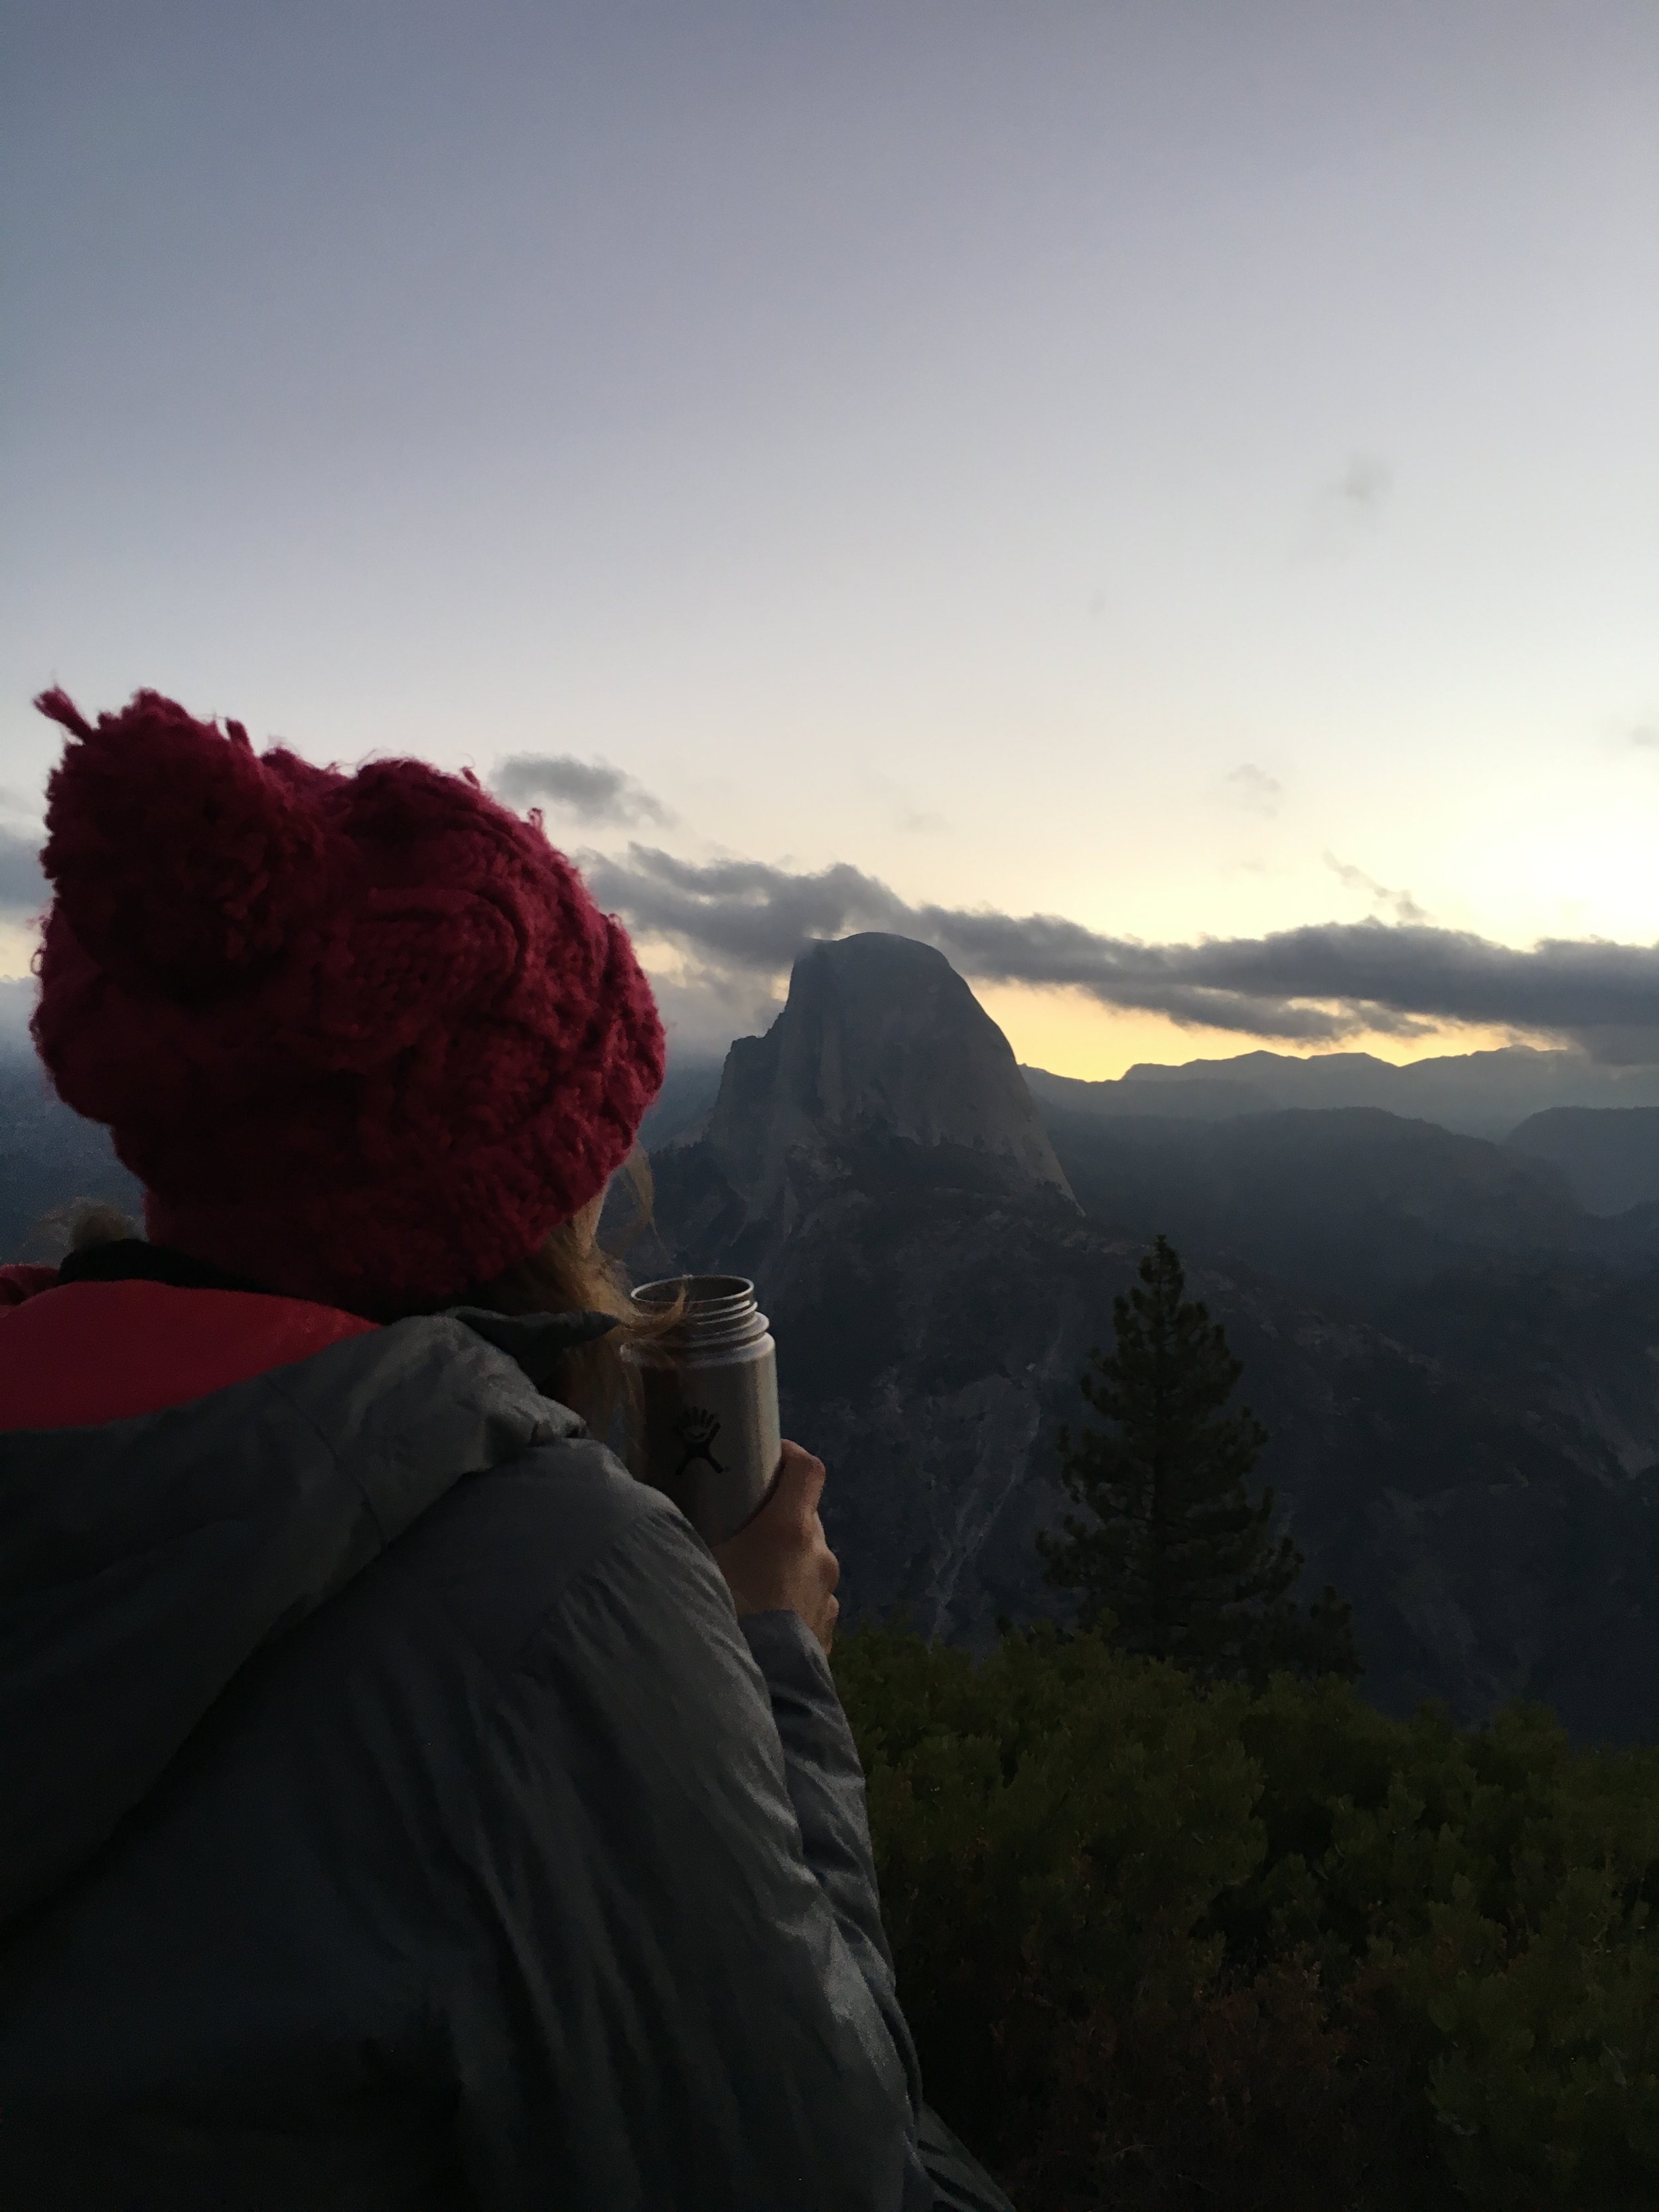
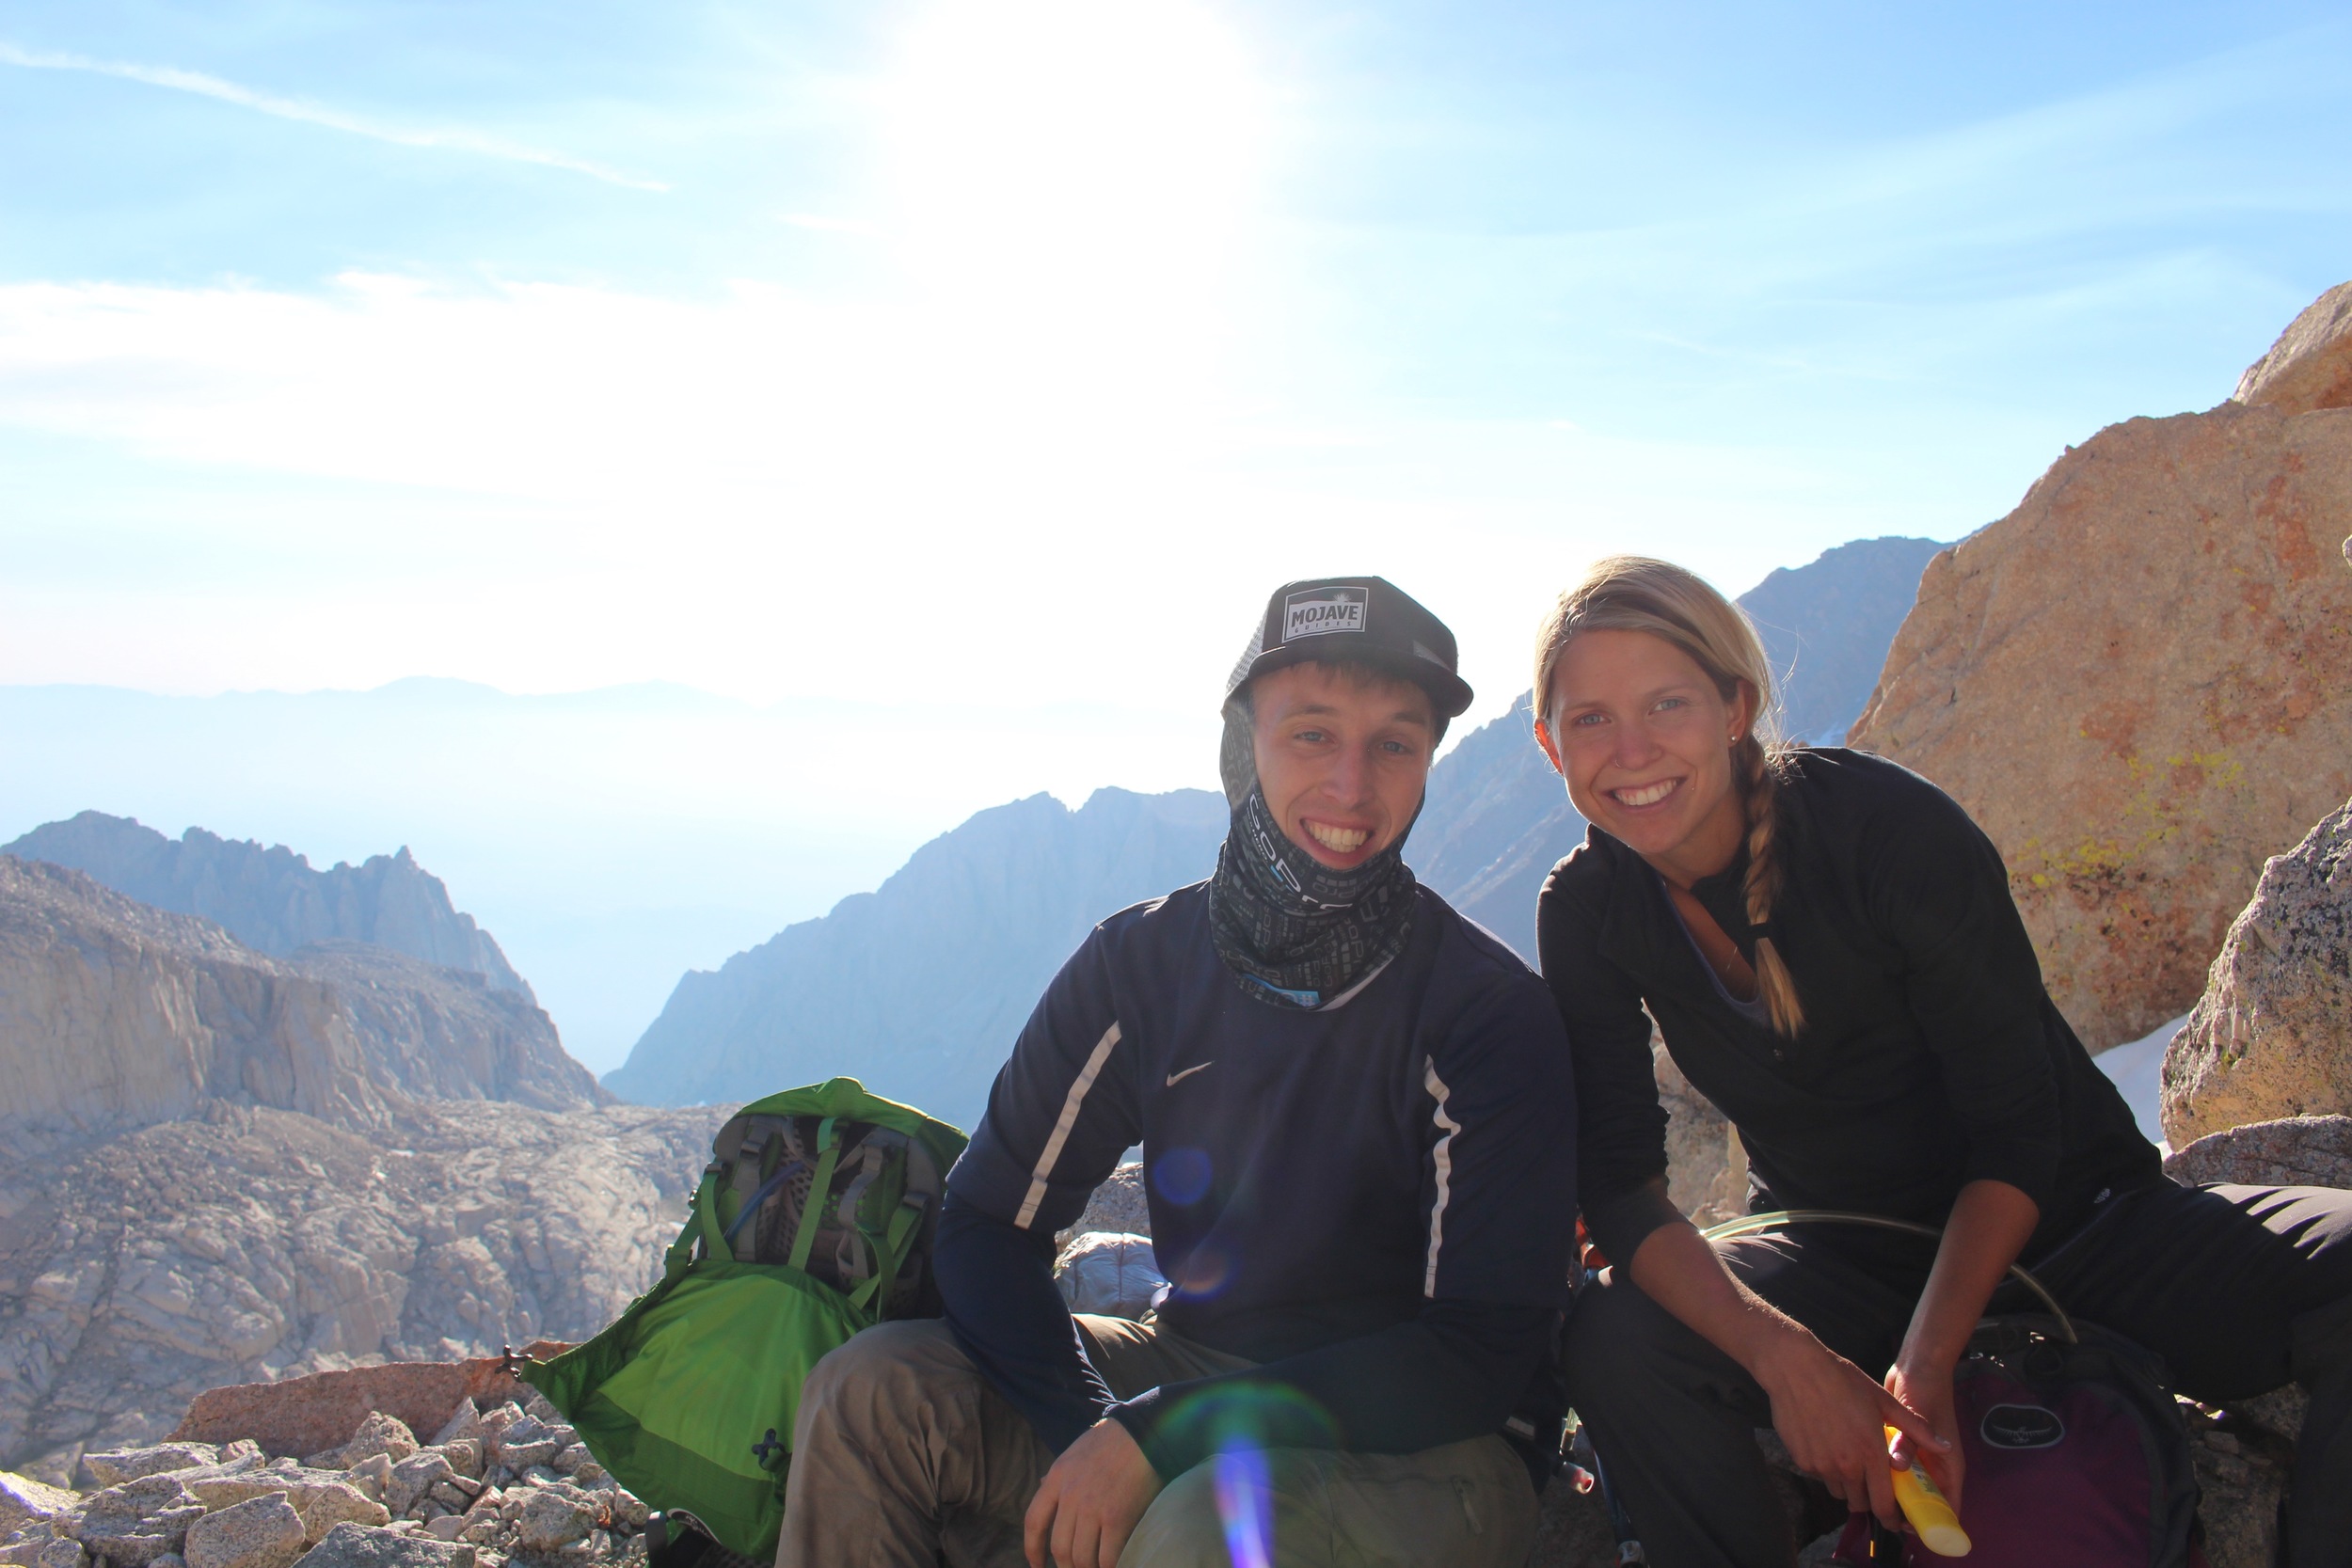
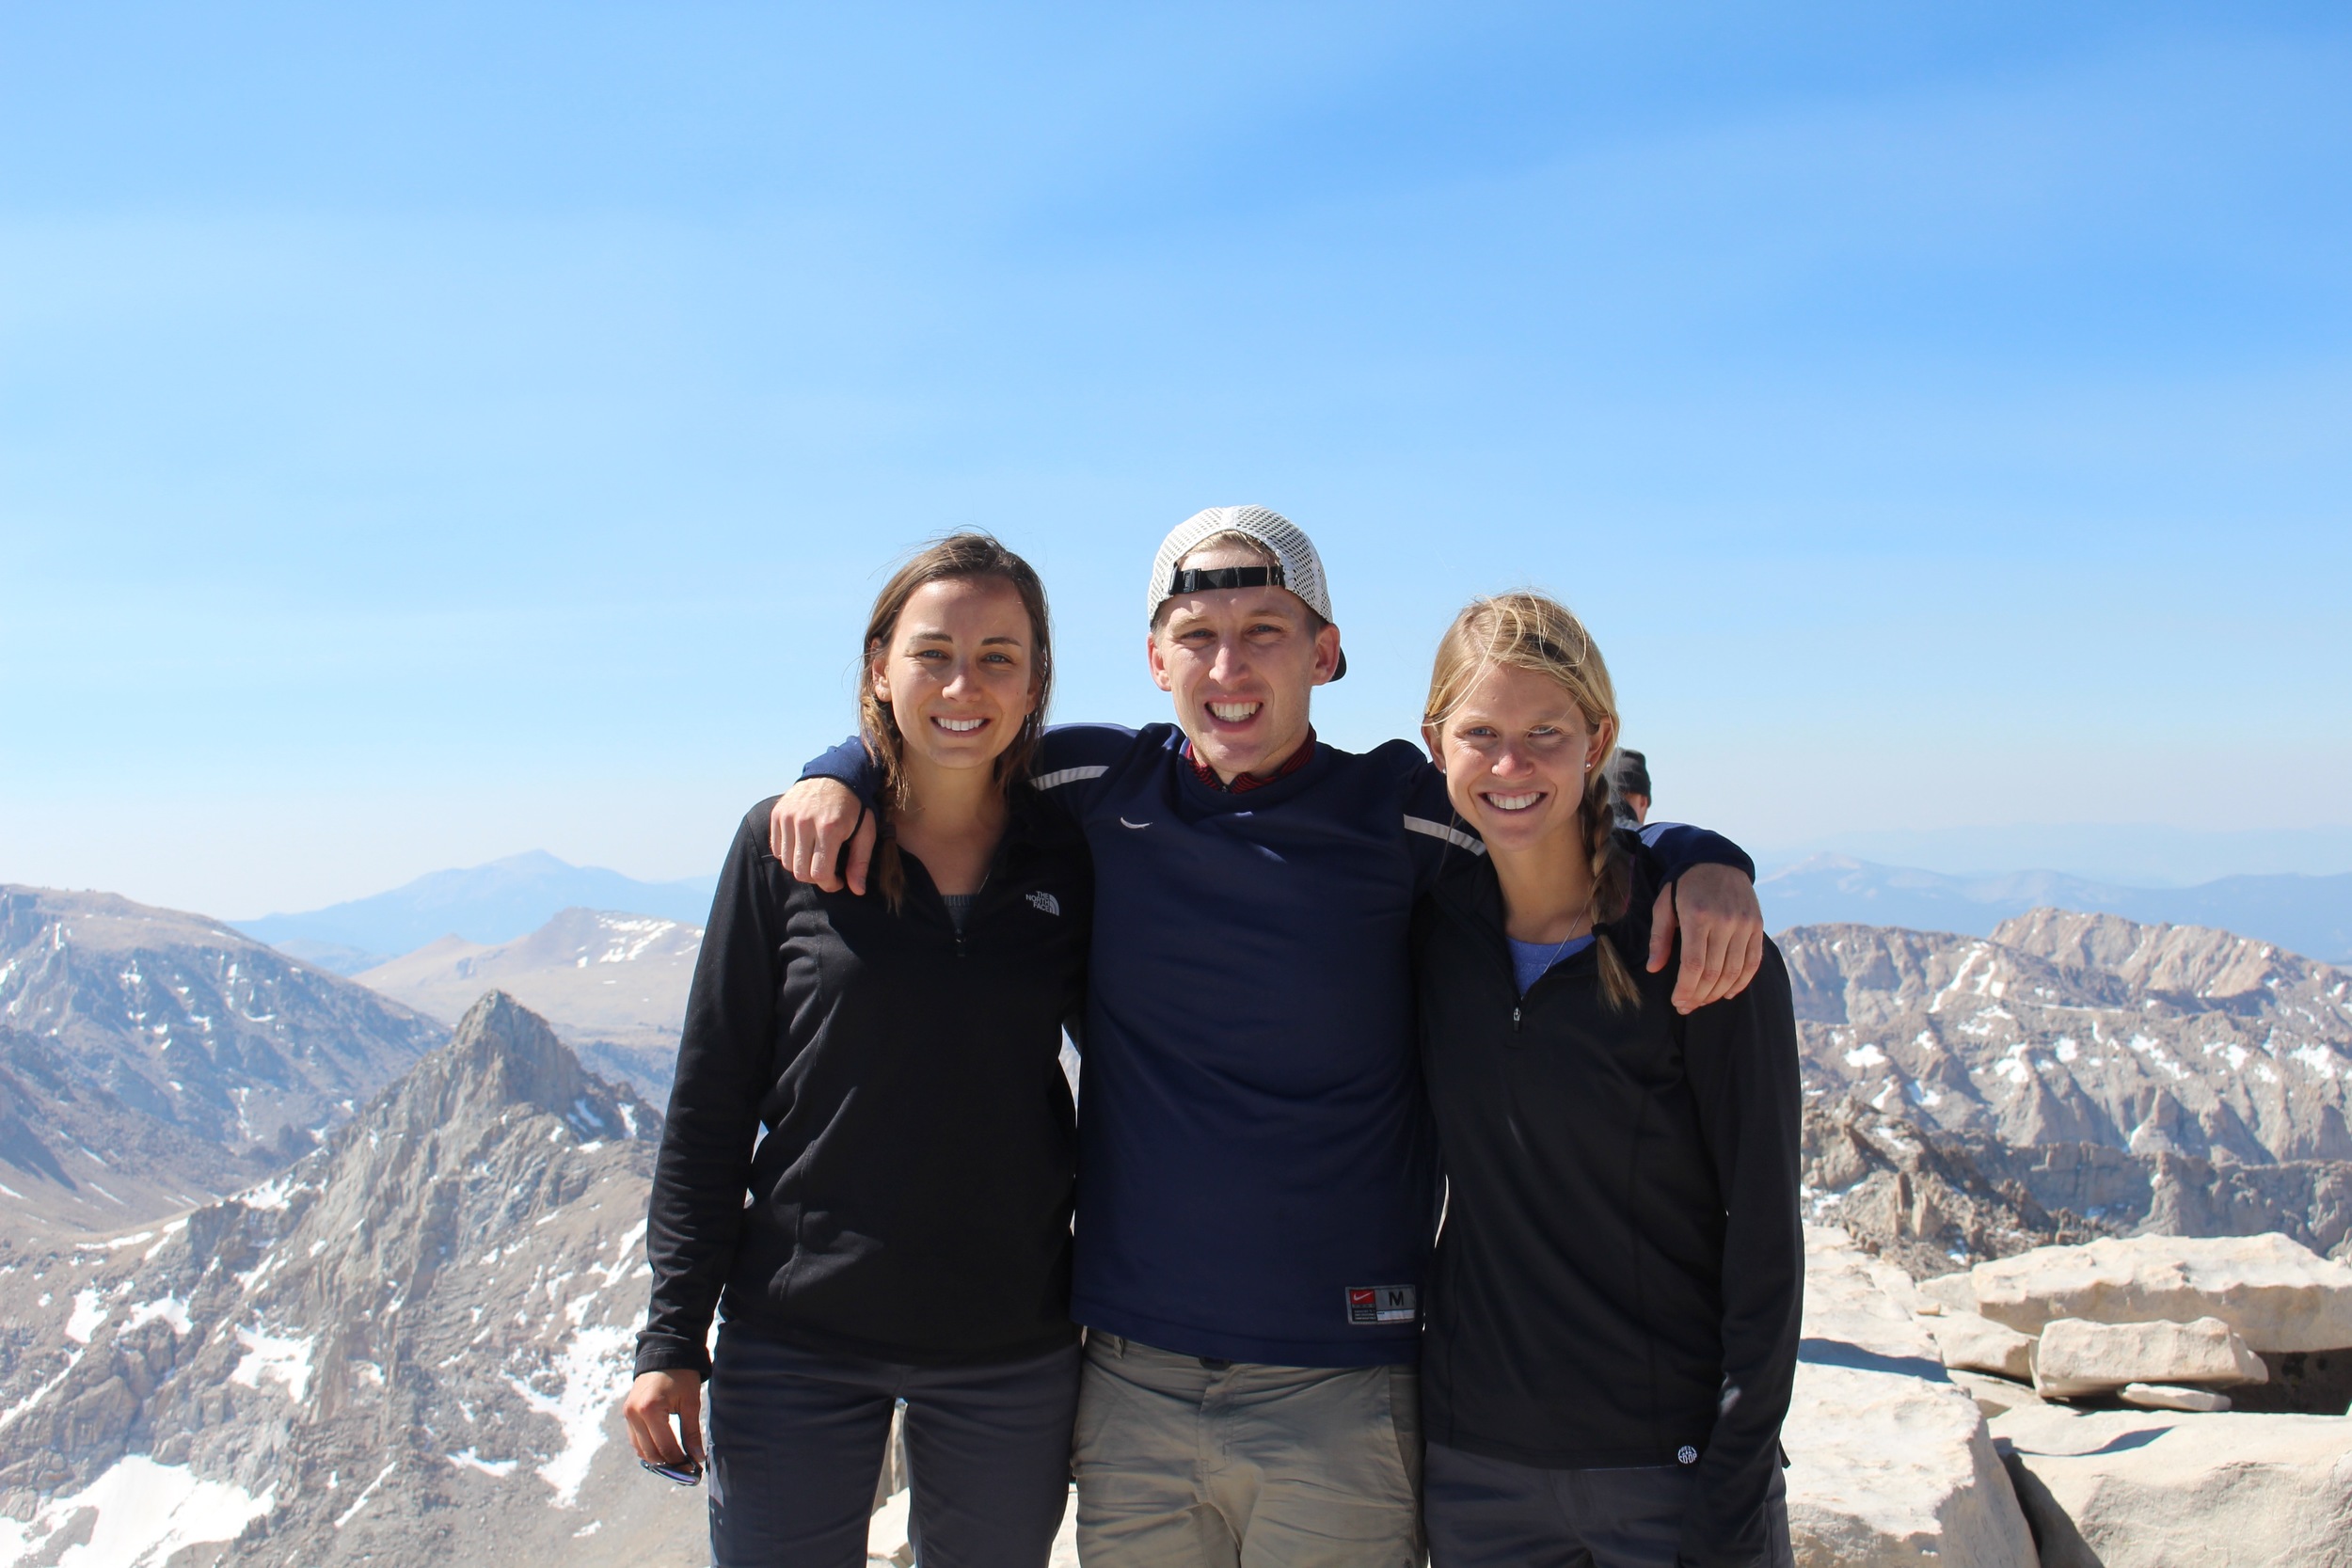
For the second year in a row, Labor Day Weekend was spent in Grand Teton National Park. This year, with a different crew! You can check out the details from Labor Day 2017 here.
Quick background, stolen from last year’s post:
Grand Teton National Park stretches 310,000 acres across the Northwest Corner of Wyoming. The Park is located 10 minutes South of Yellowstone National Park and just North of the popular outdoor town destination of Jackson Hole.
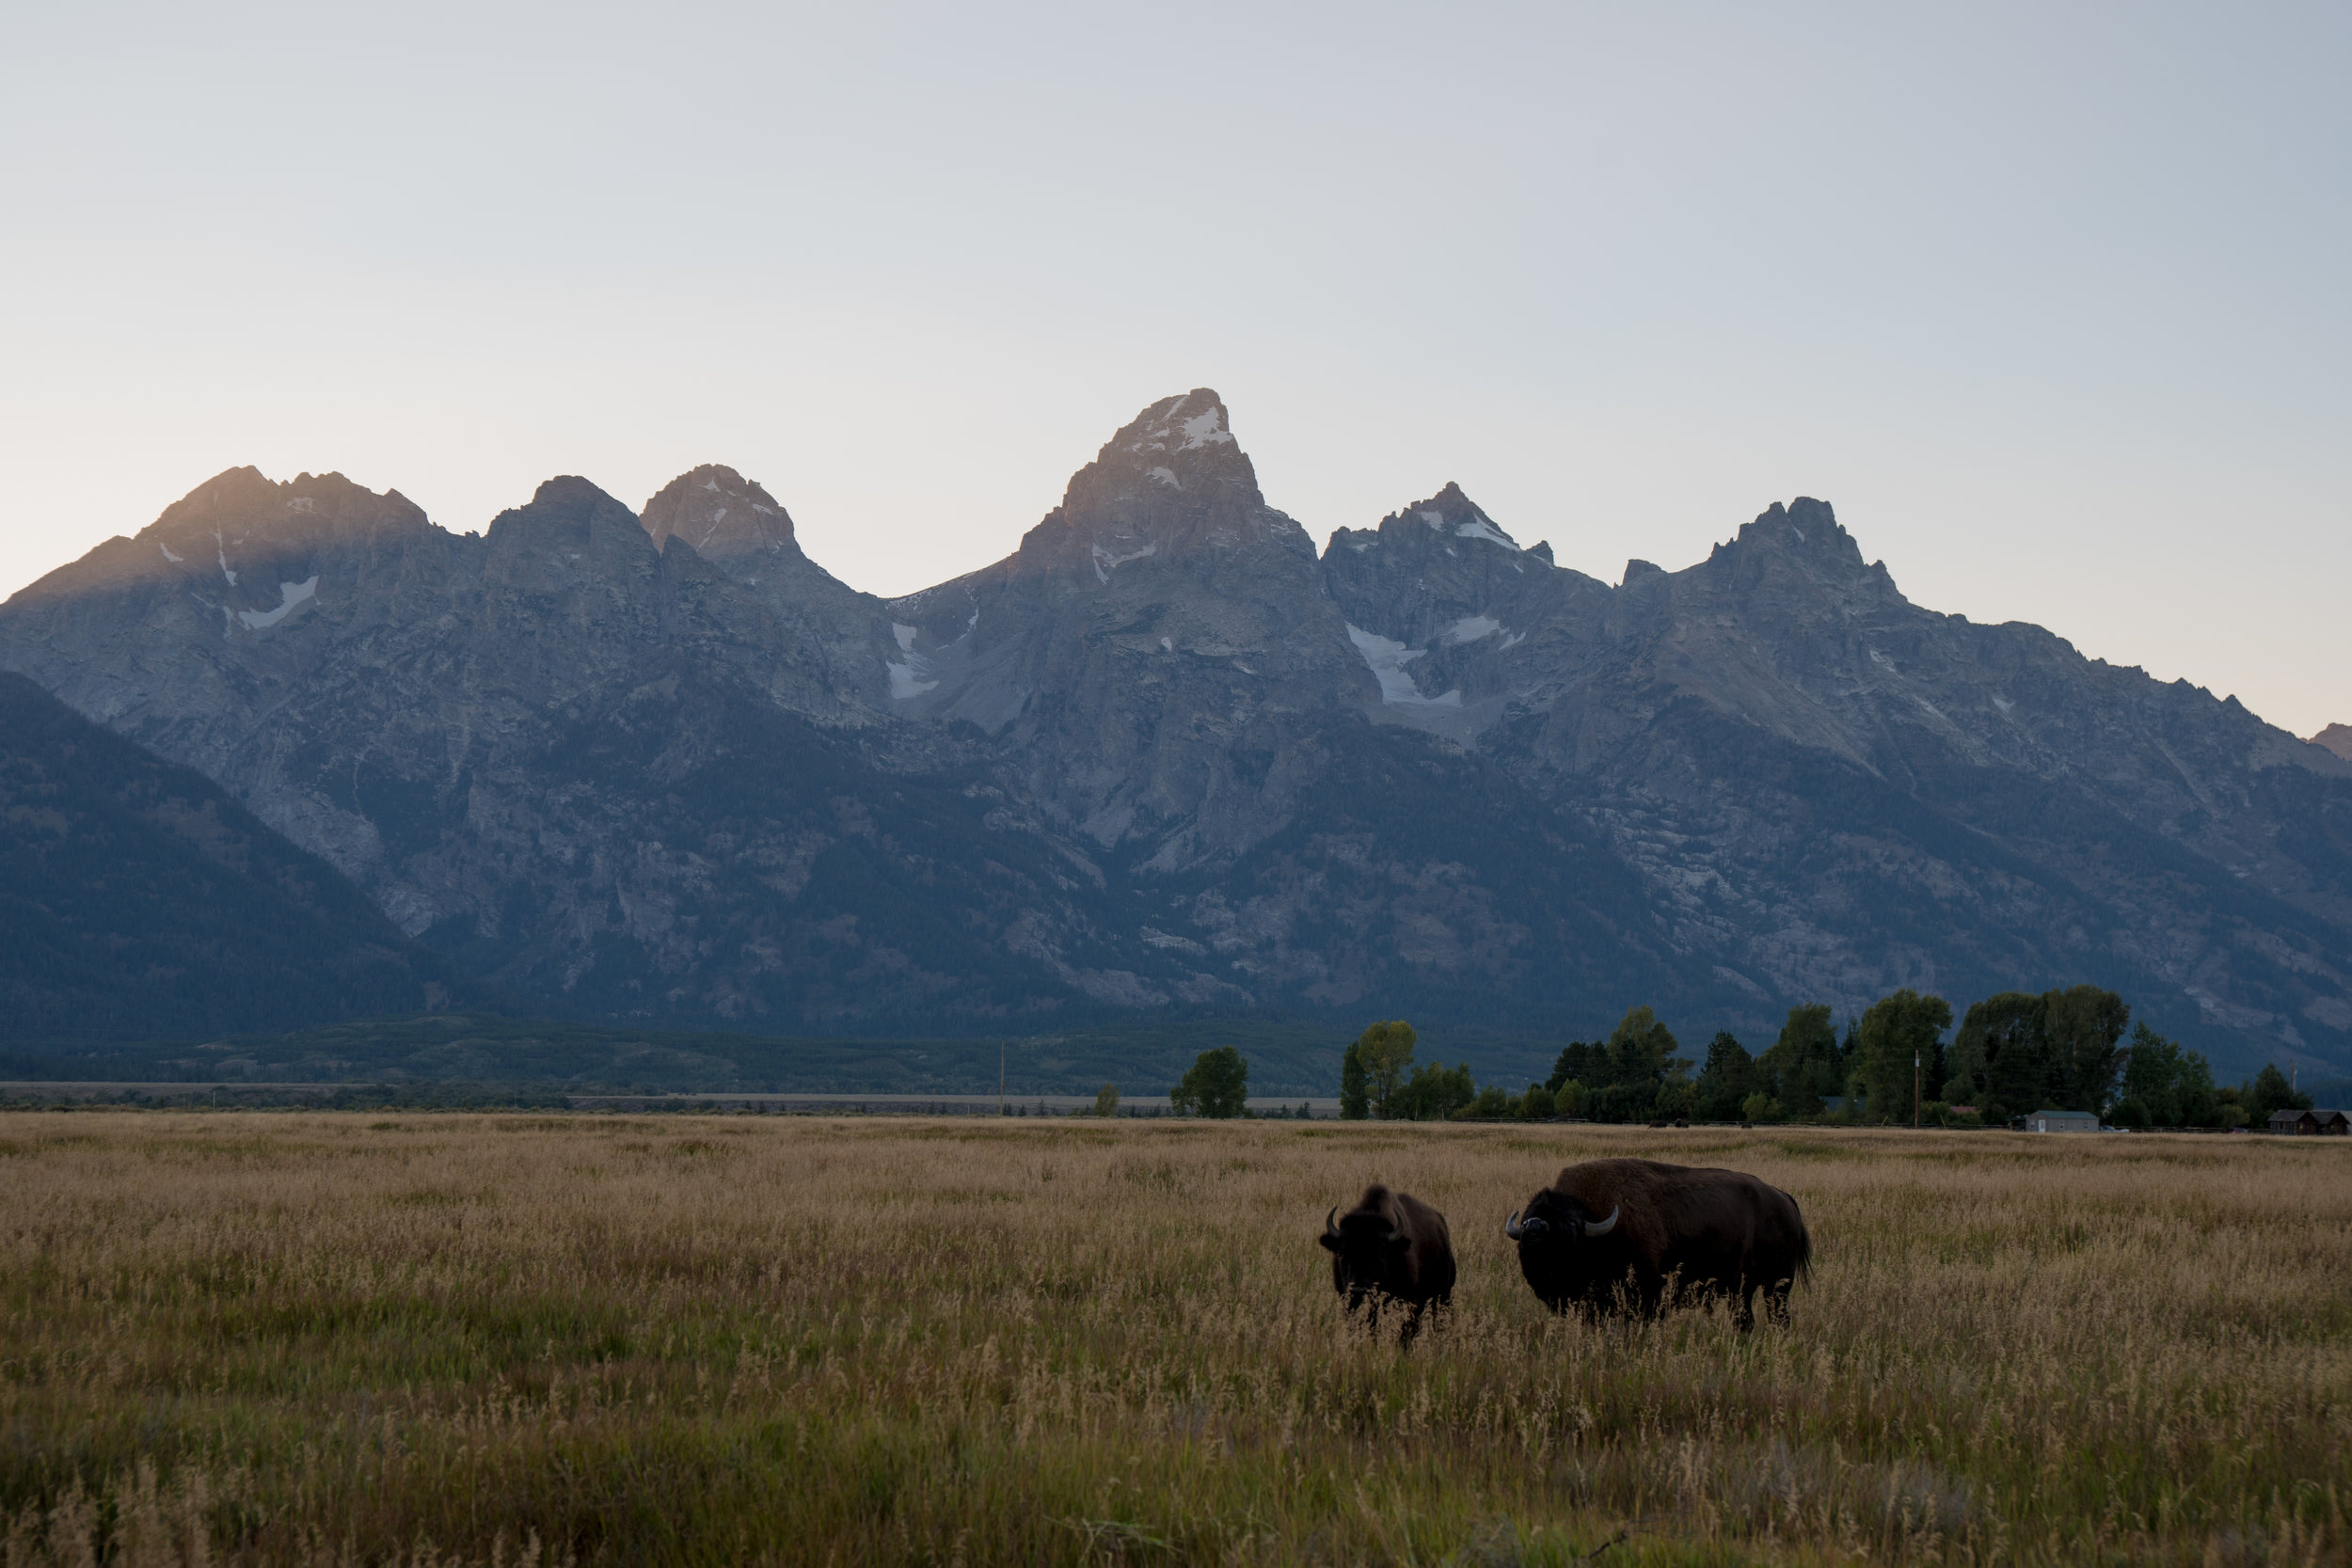
Grand Teton National Park is known for the unique formations of the Teton Range. Home to nine 12,000 ft. peaks, 11 glaciers and sprinkled with alpine lakes. The jagged peaks of the Range are a popular destination for skiers, climbers, mountaineers, and hikers.
Getting there: From SLC it is an easy 4.5 hour drive North to the Southern Park entrance. If you’re staying in the Northern part of the park, that will add another hour.
Where to stay:
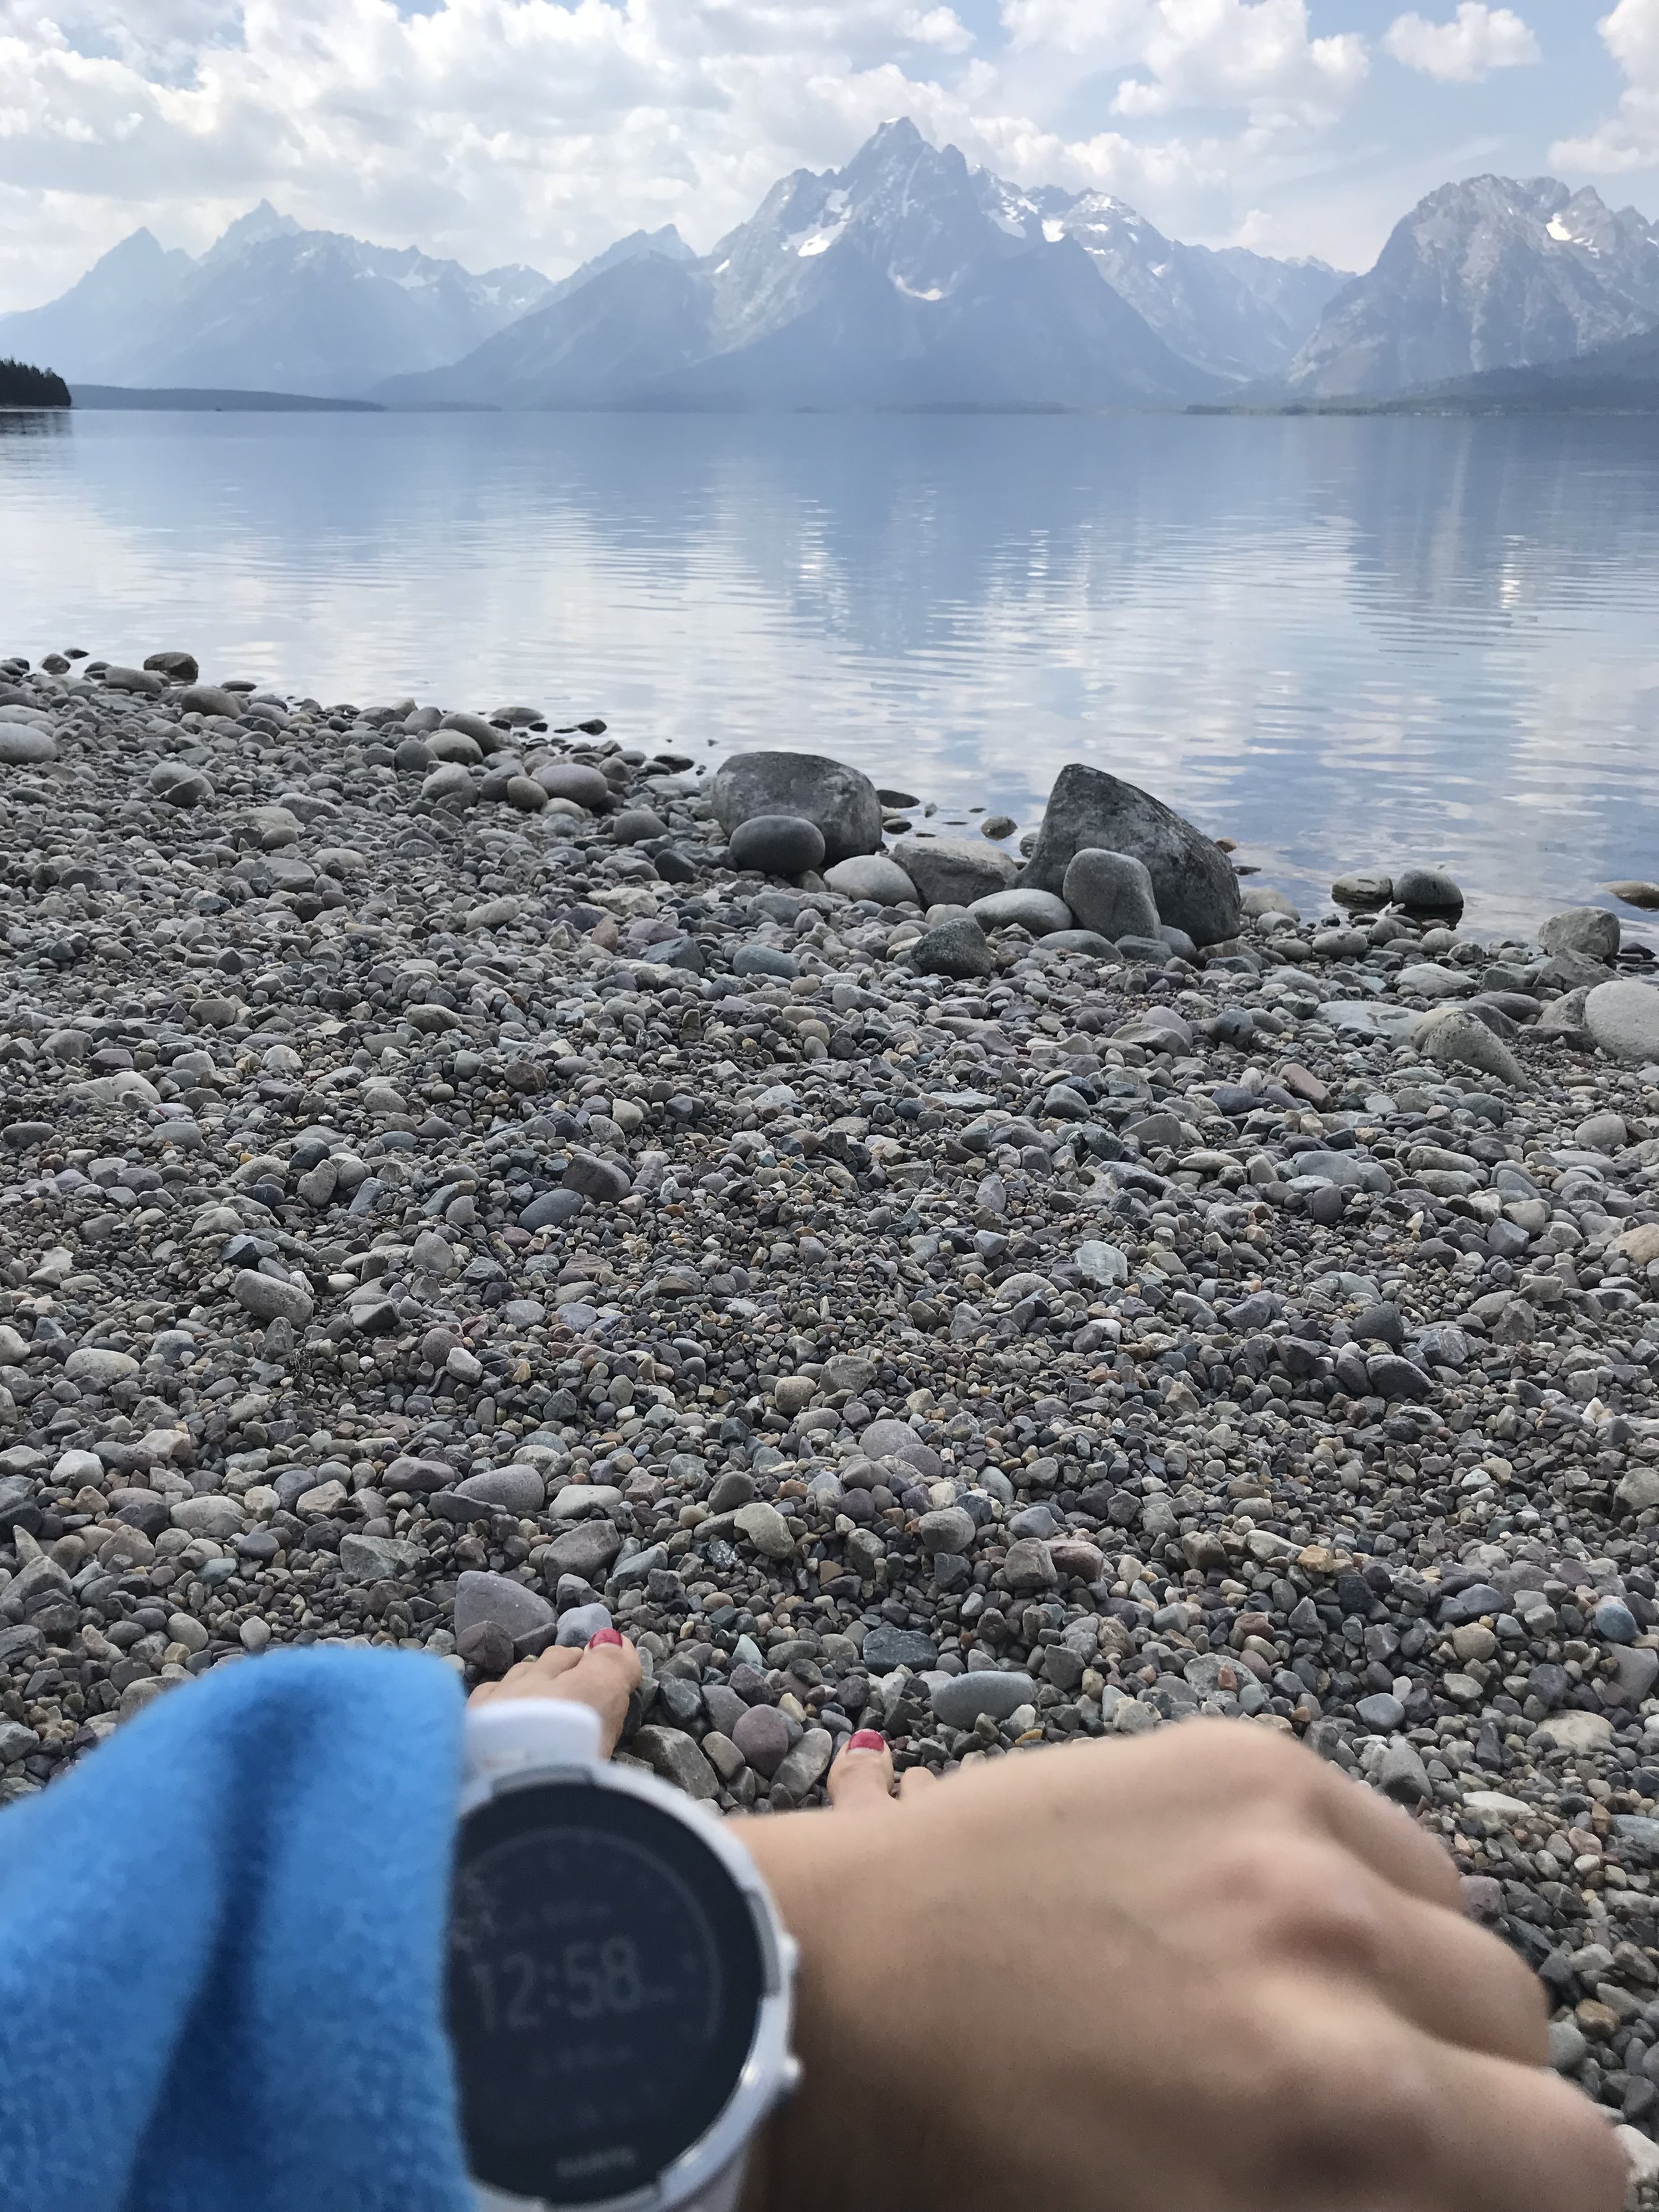
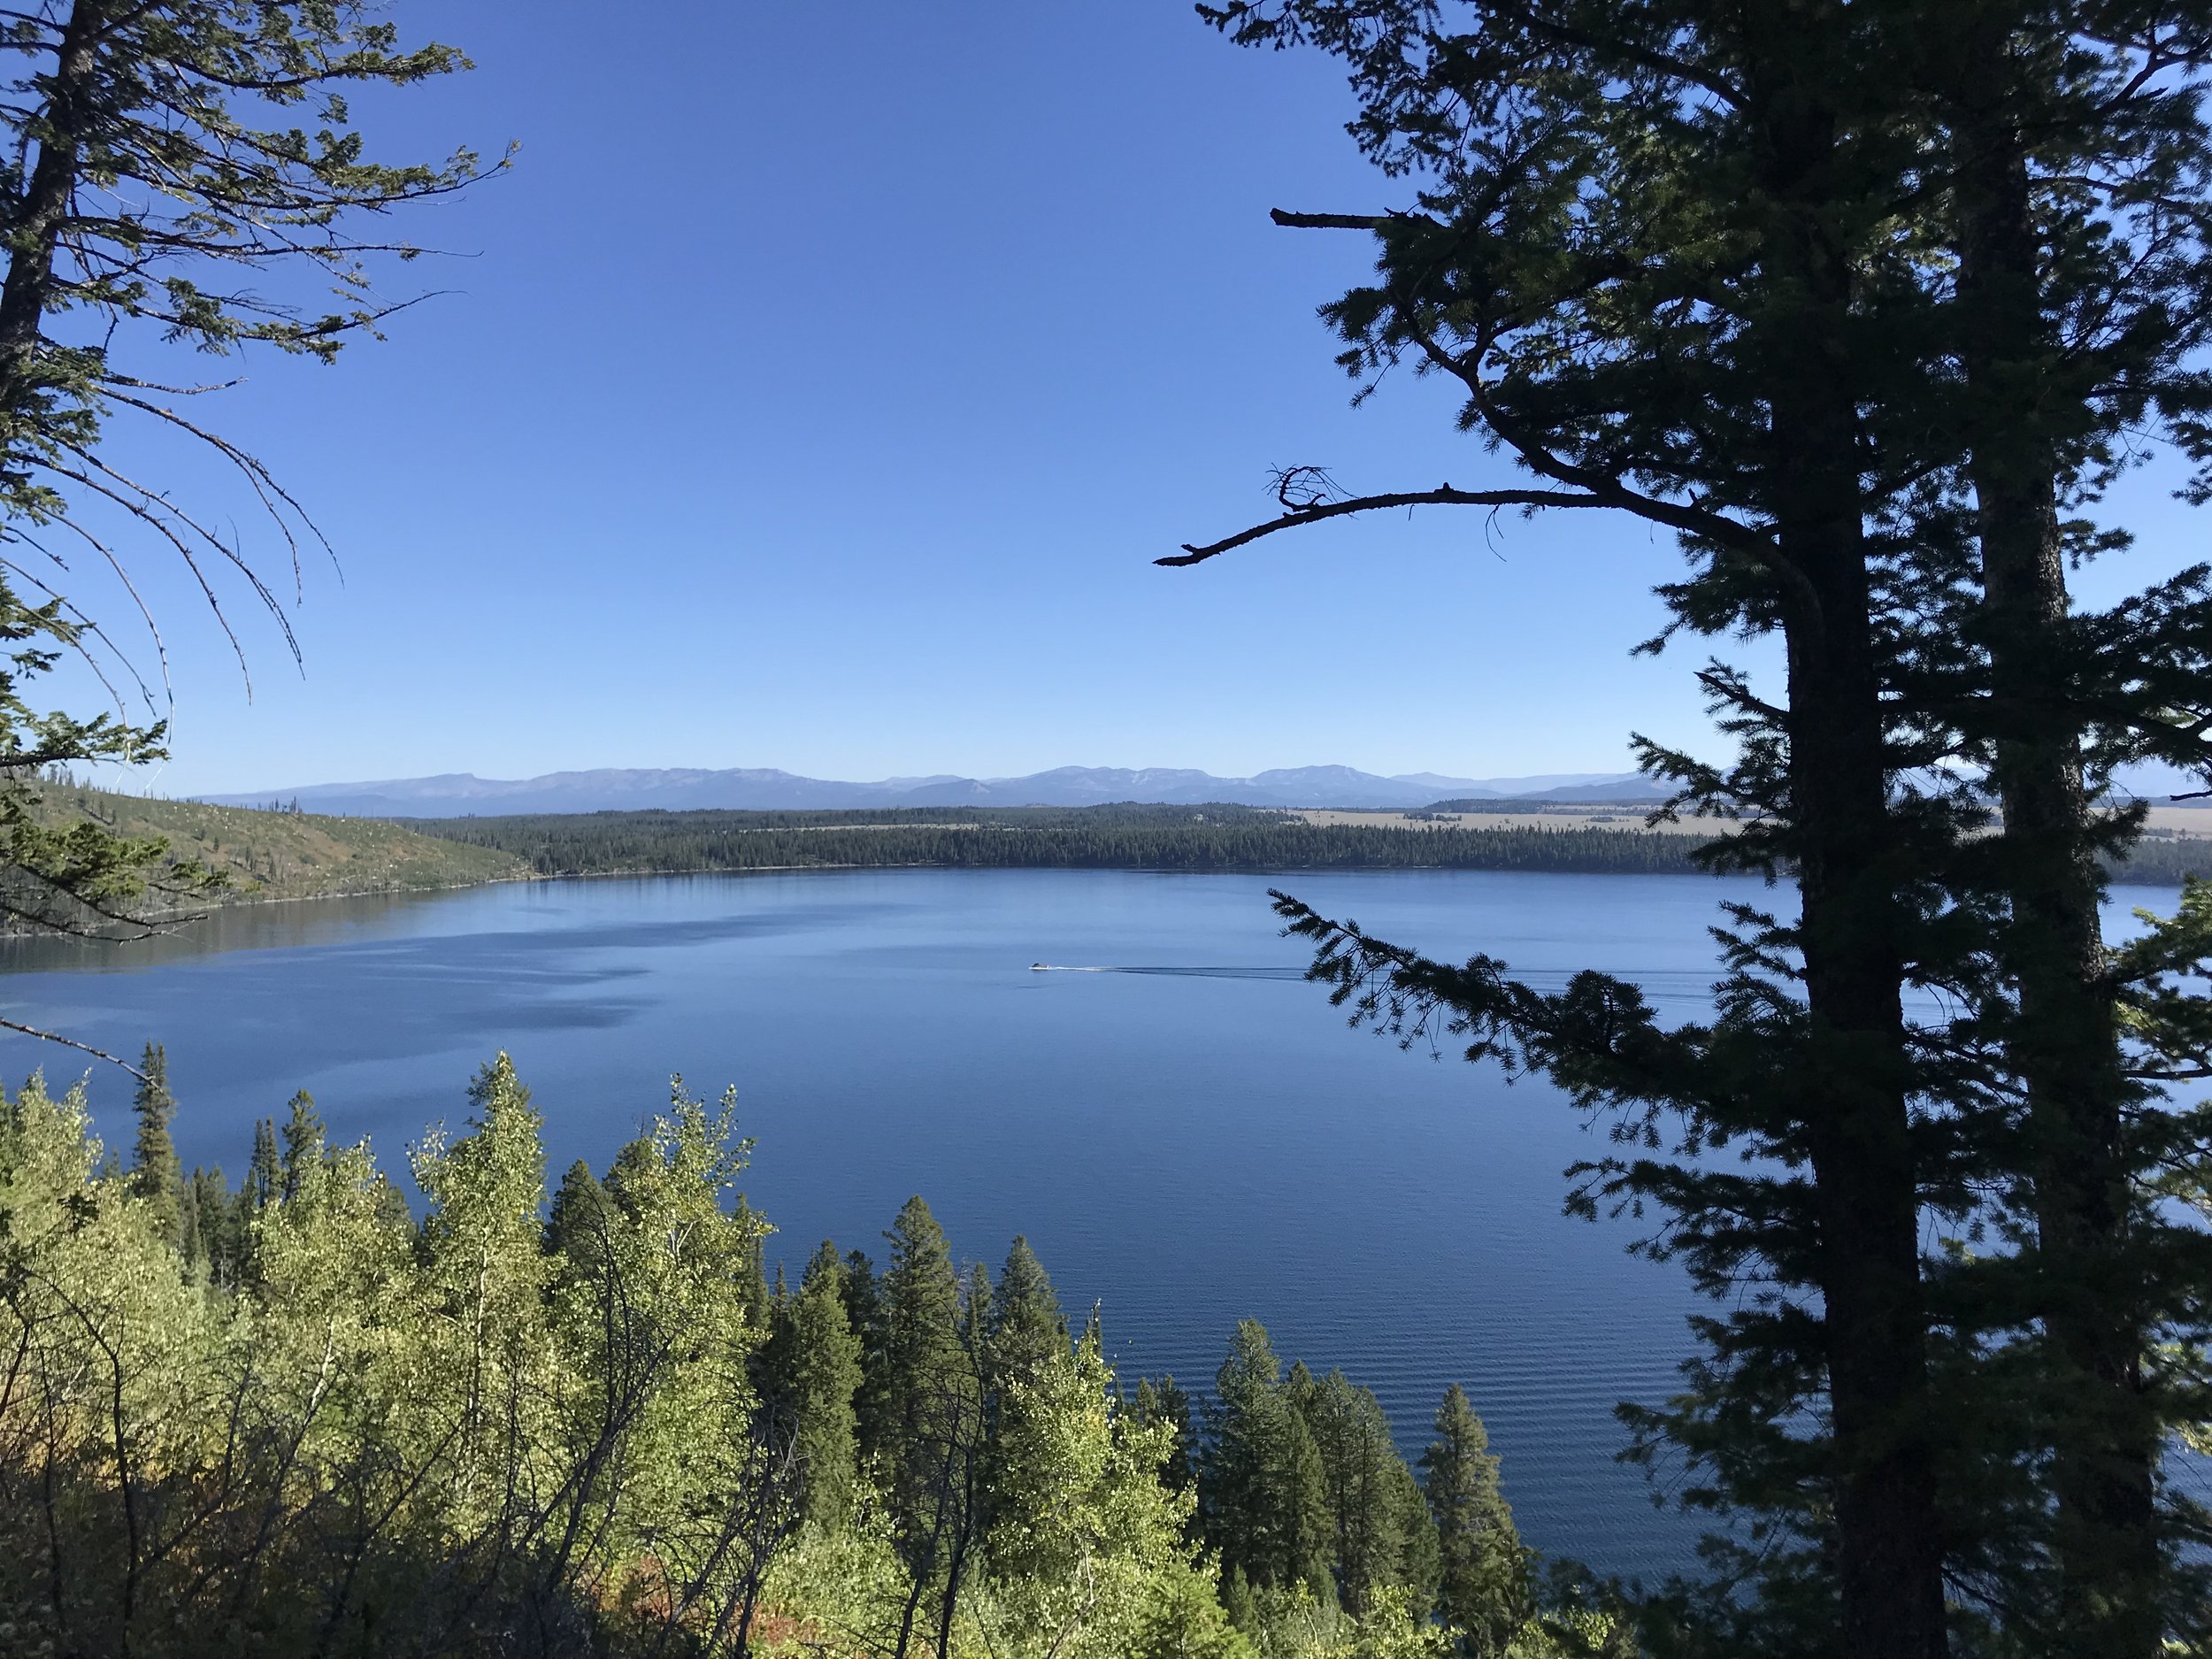
Camp sites: There are six large campgrounds in the Park, as well as backcountry permits available. We grabbed a spot at the same place as last year, Colter Bay. Colter Bay is in the northern part of the park, right on Jackson Lake. Camping was $30 / night, but well worth it for facilities, bear box, convenience store, marina to rent Kayaks/Canoes, and being RIGHT on Jackson Lake. We were hoping to stay at Jenny Lake, but realized we would need to be in line waiting by 6AM. Leaving from SLC, this would mean a bit too early of a wakeup call.
BLM Land: If you don’t mind driving into the park every day, there is plenty of surrounding BLM land to camp
What to do:
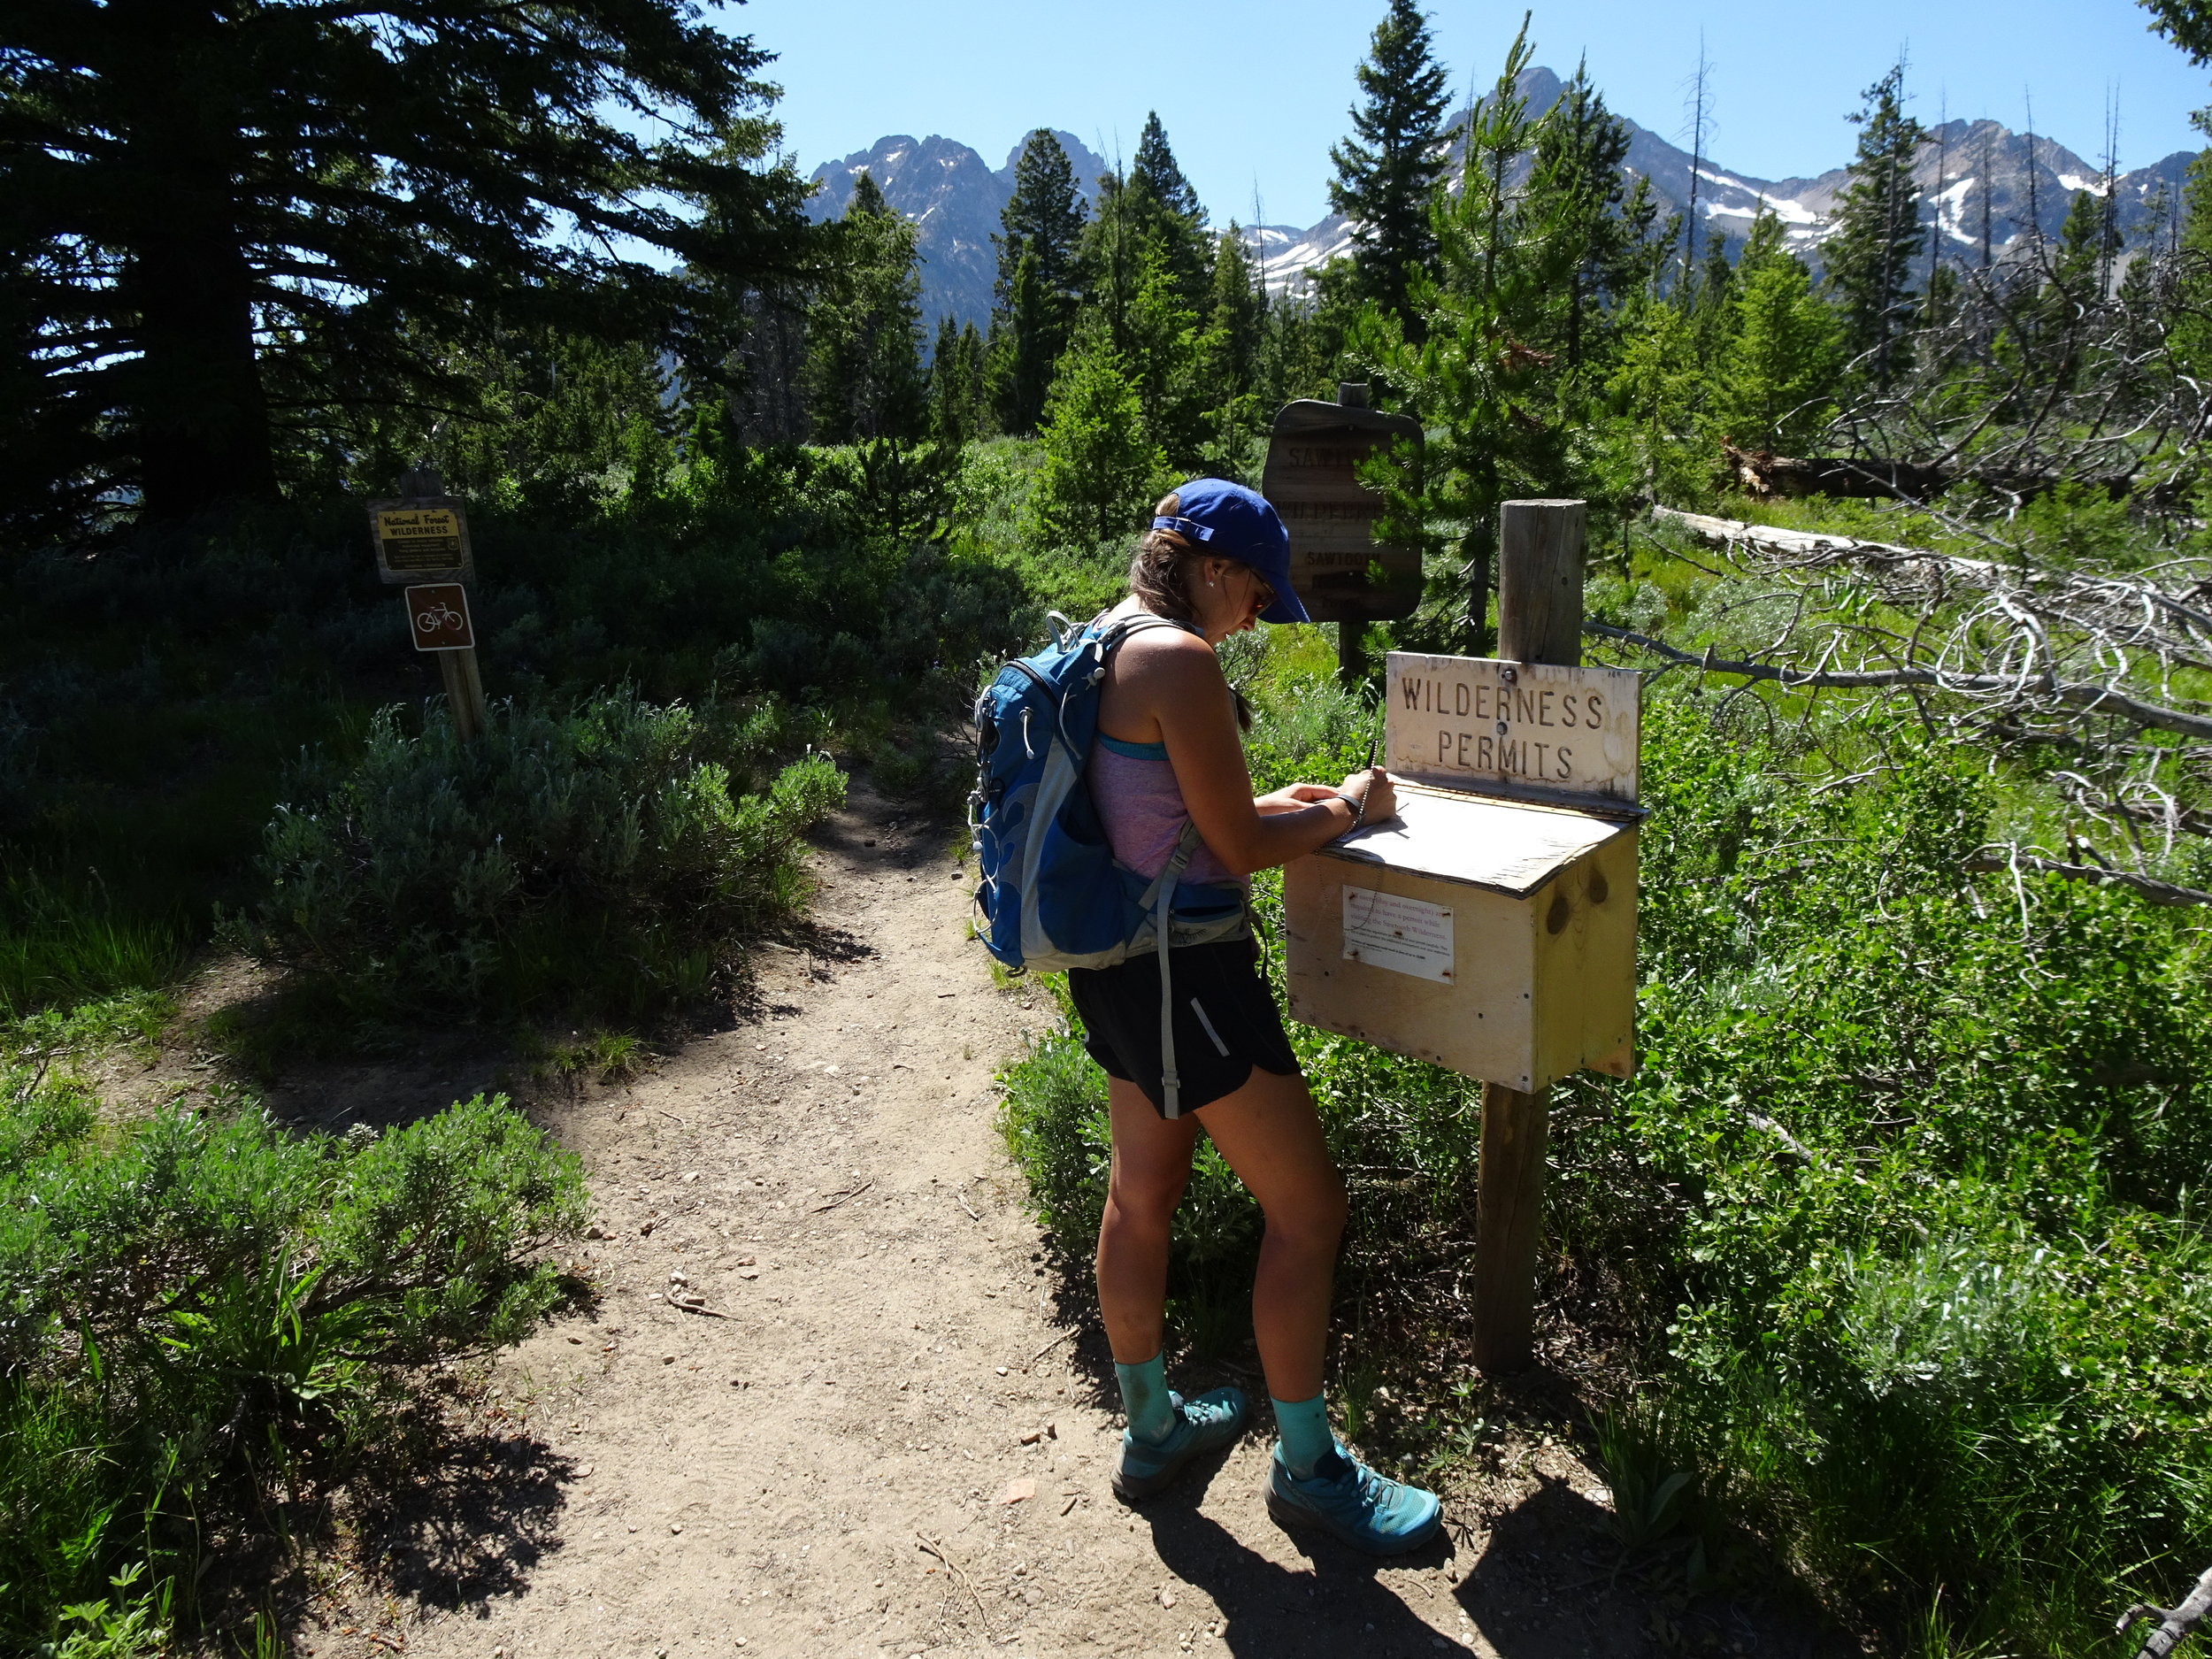
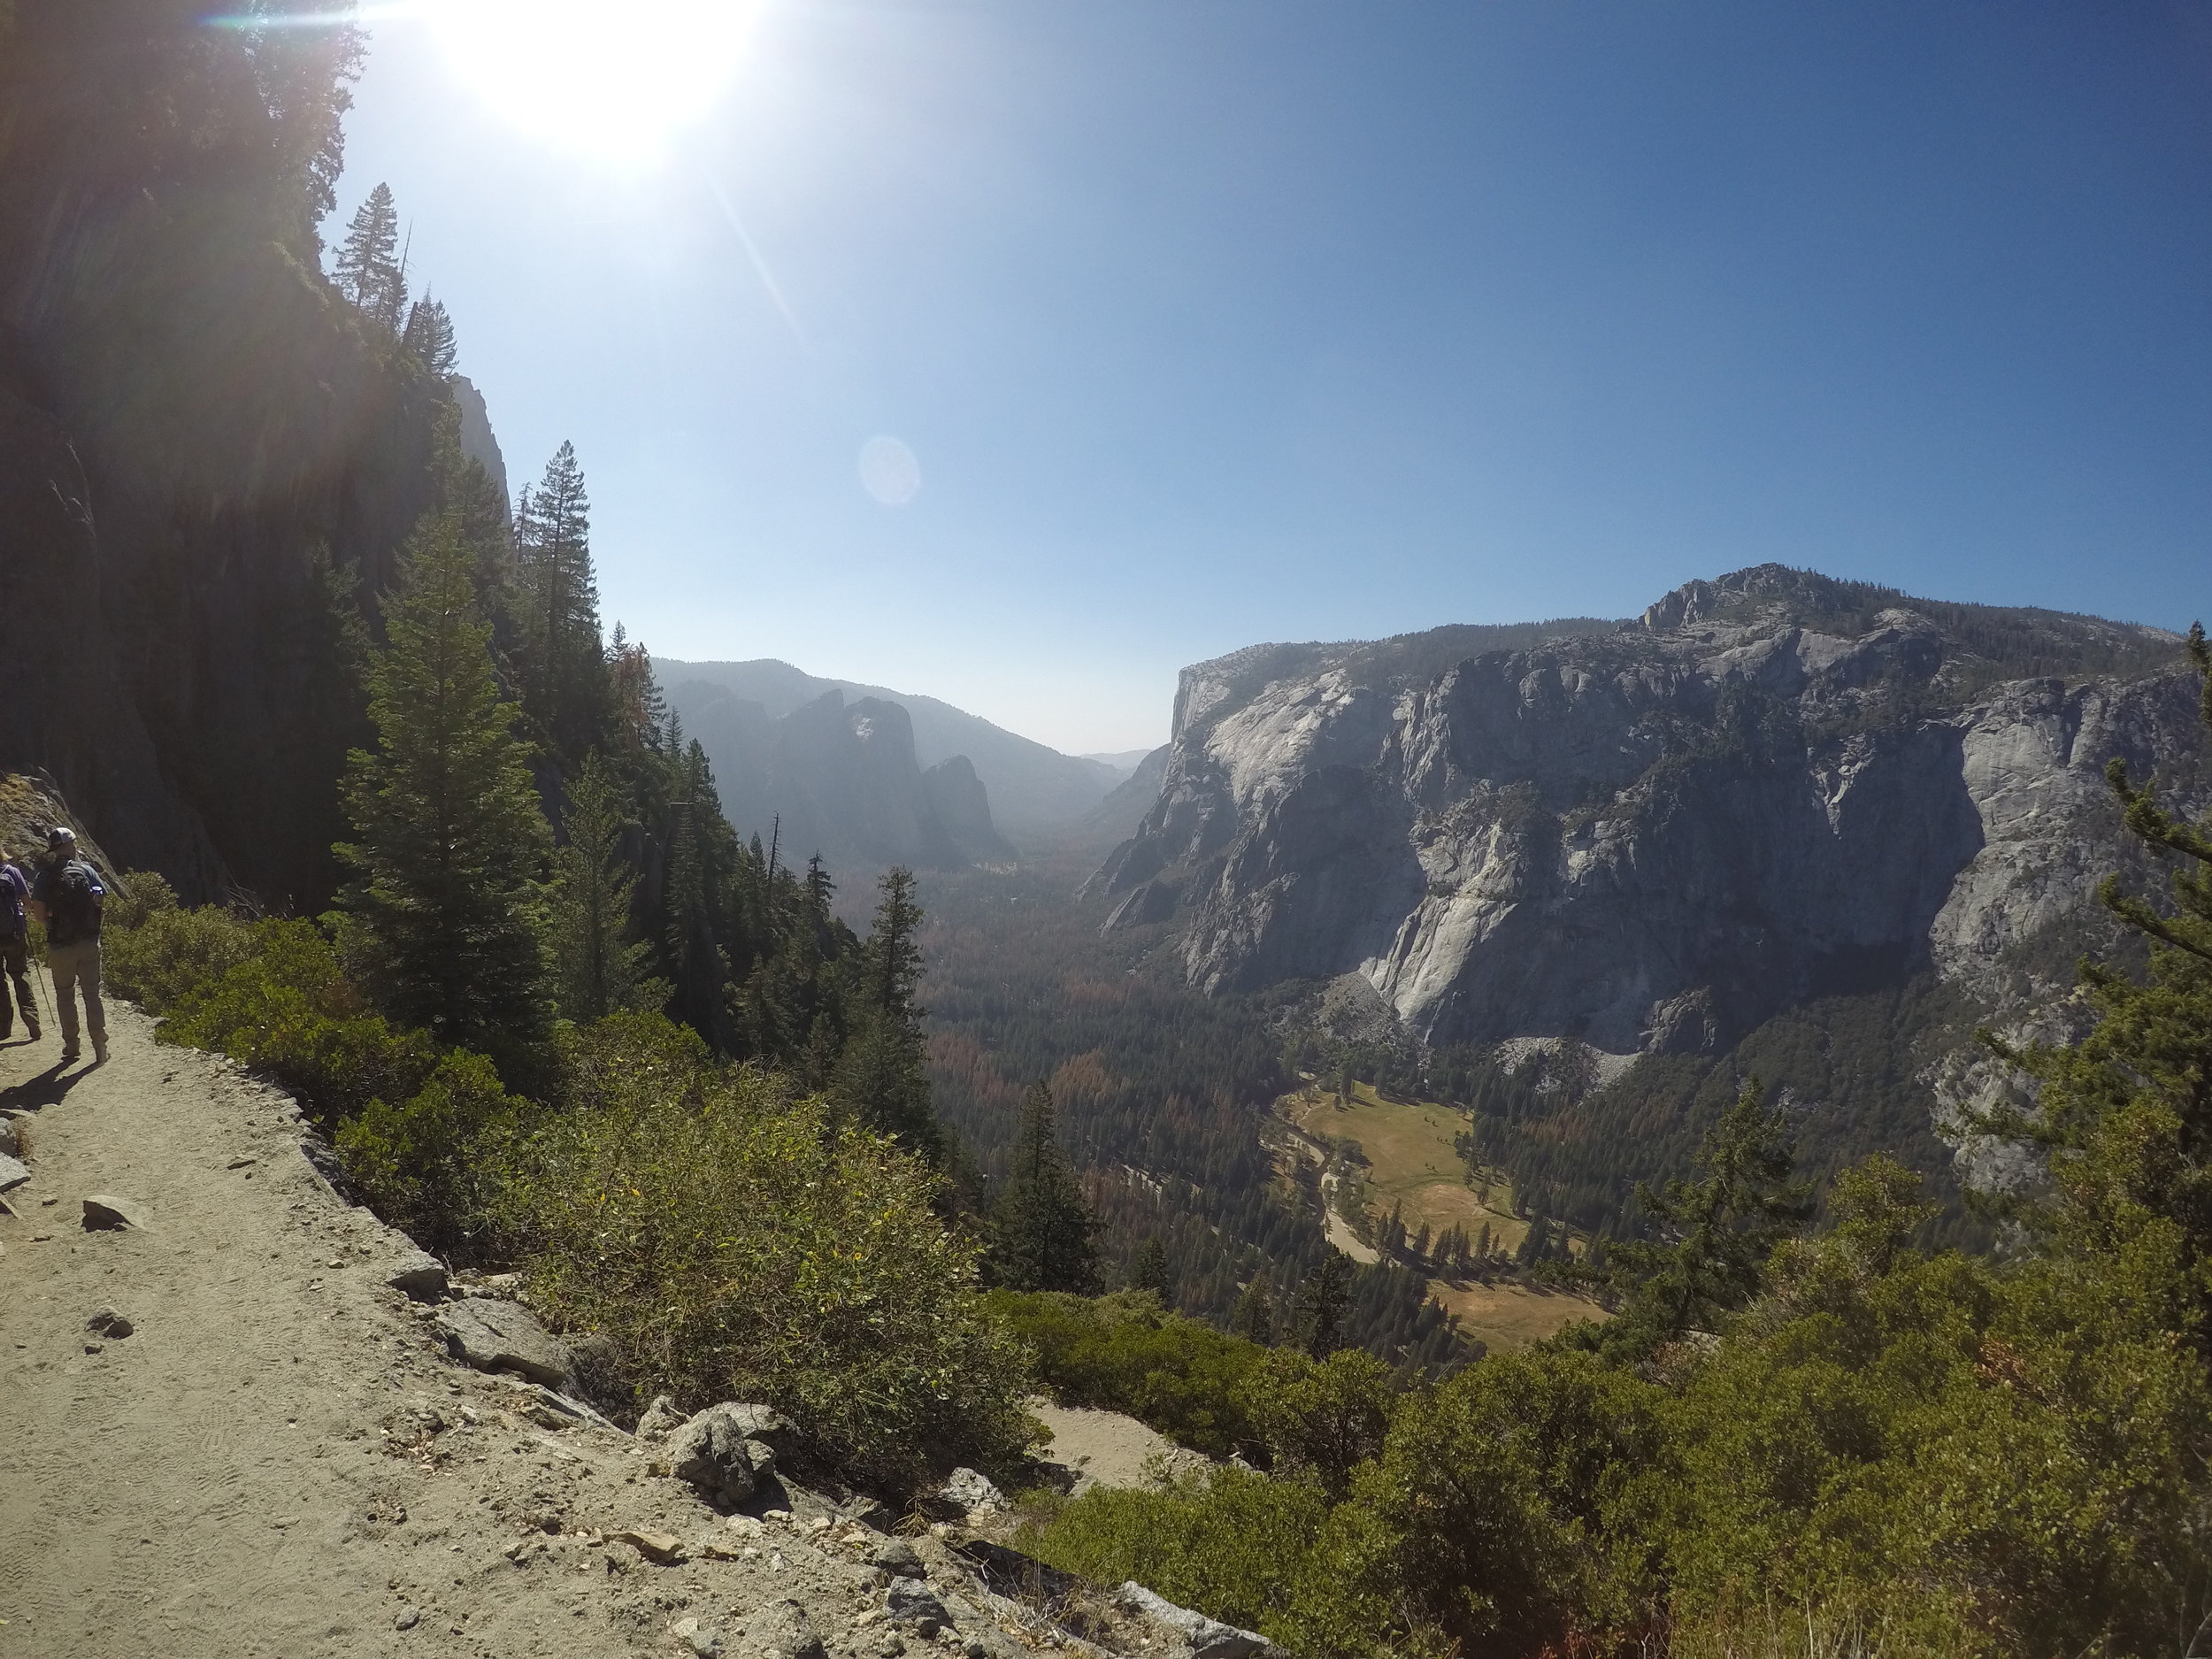
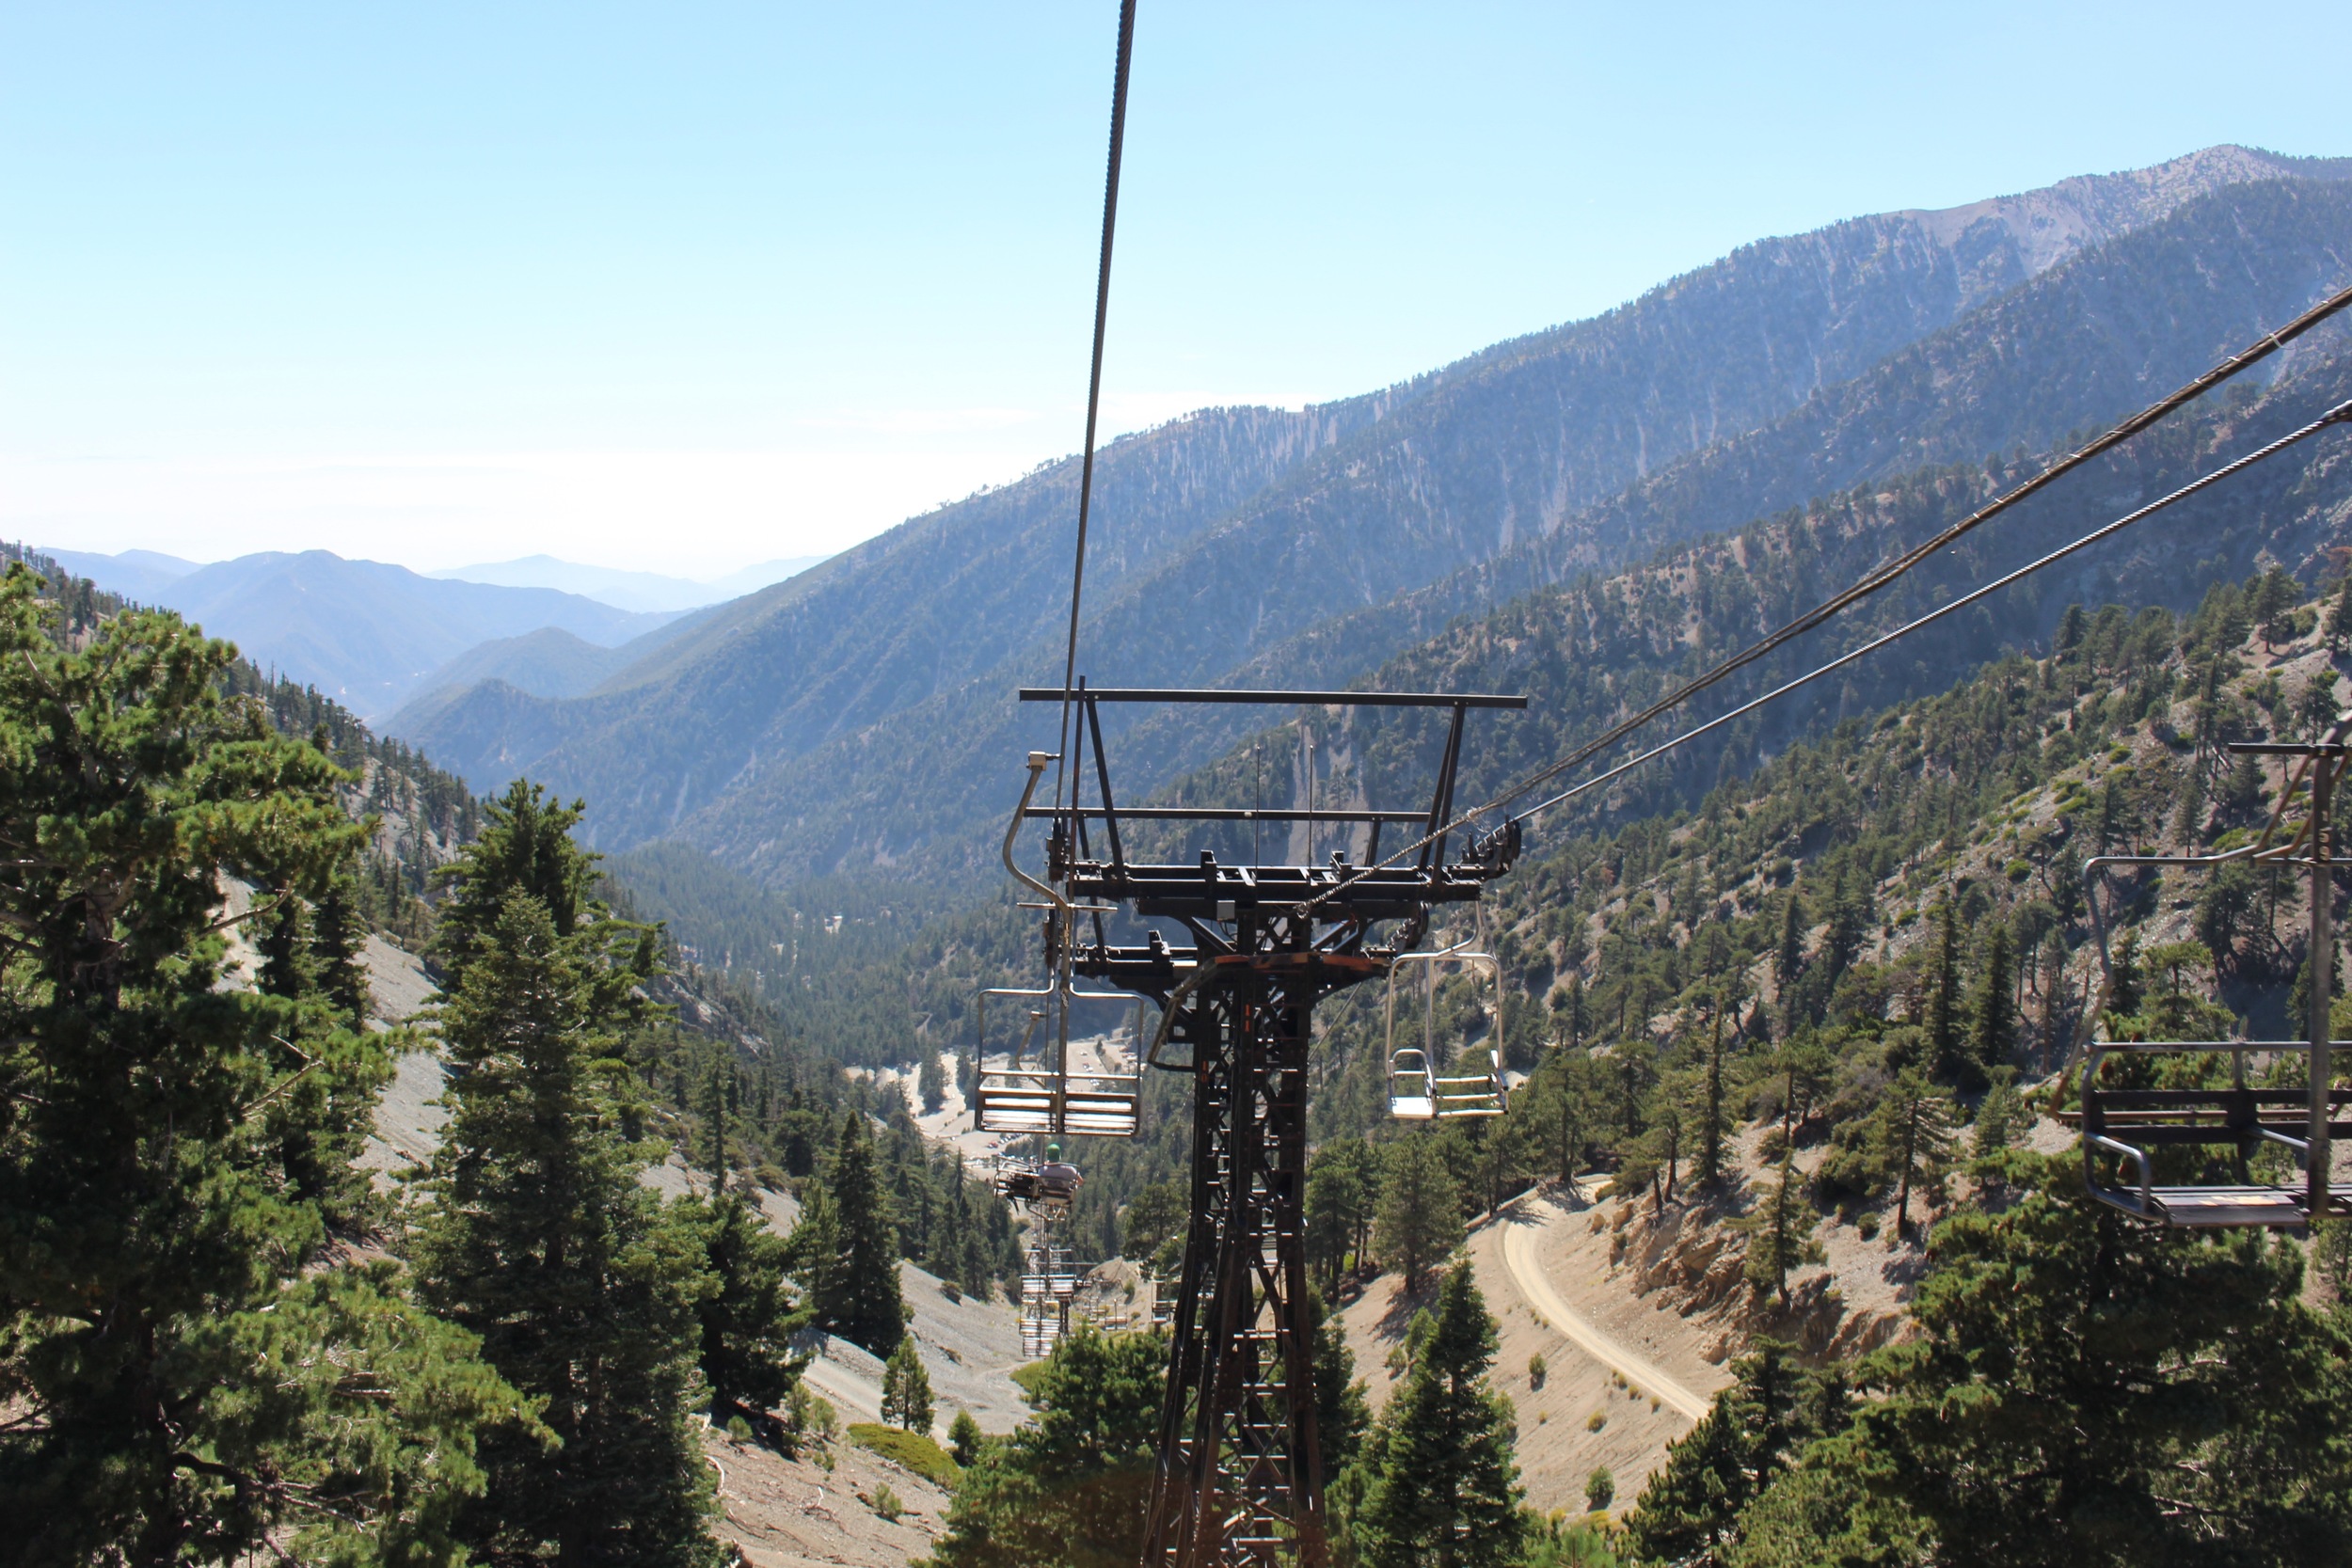
· No matter what type of outdoor rec you’re interested in, you can find it at Grand Teton National Park or somewhere in the surrounding area! There’s access to everything from hiking, trial running, road running, cycling, mountain biking, climbing, skiing, swimming and paddling. Make sure to stop into the Visitors Center, pick up a few maps, and talk to a Ranger for recommendations.
Day 1:
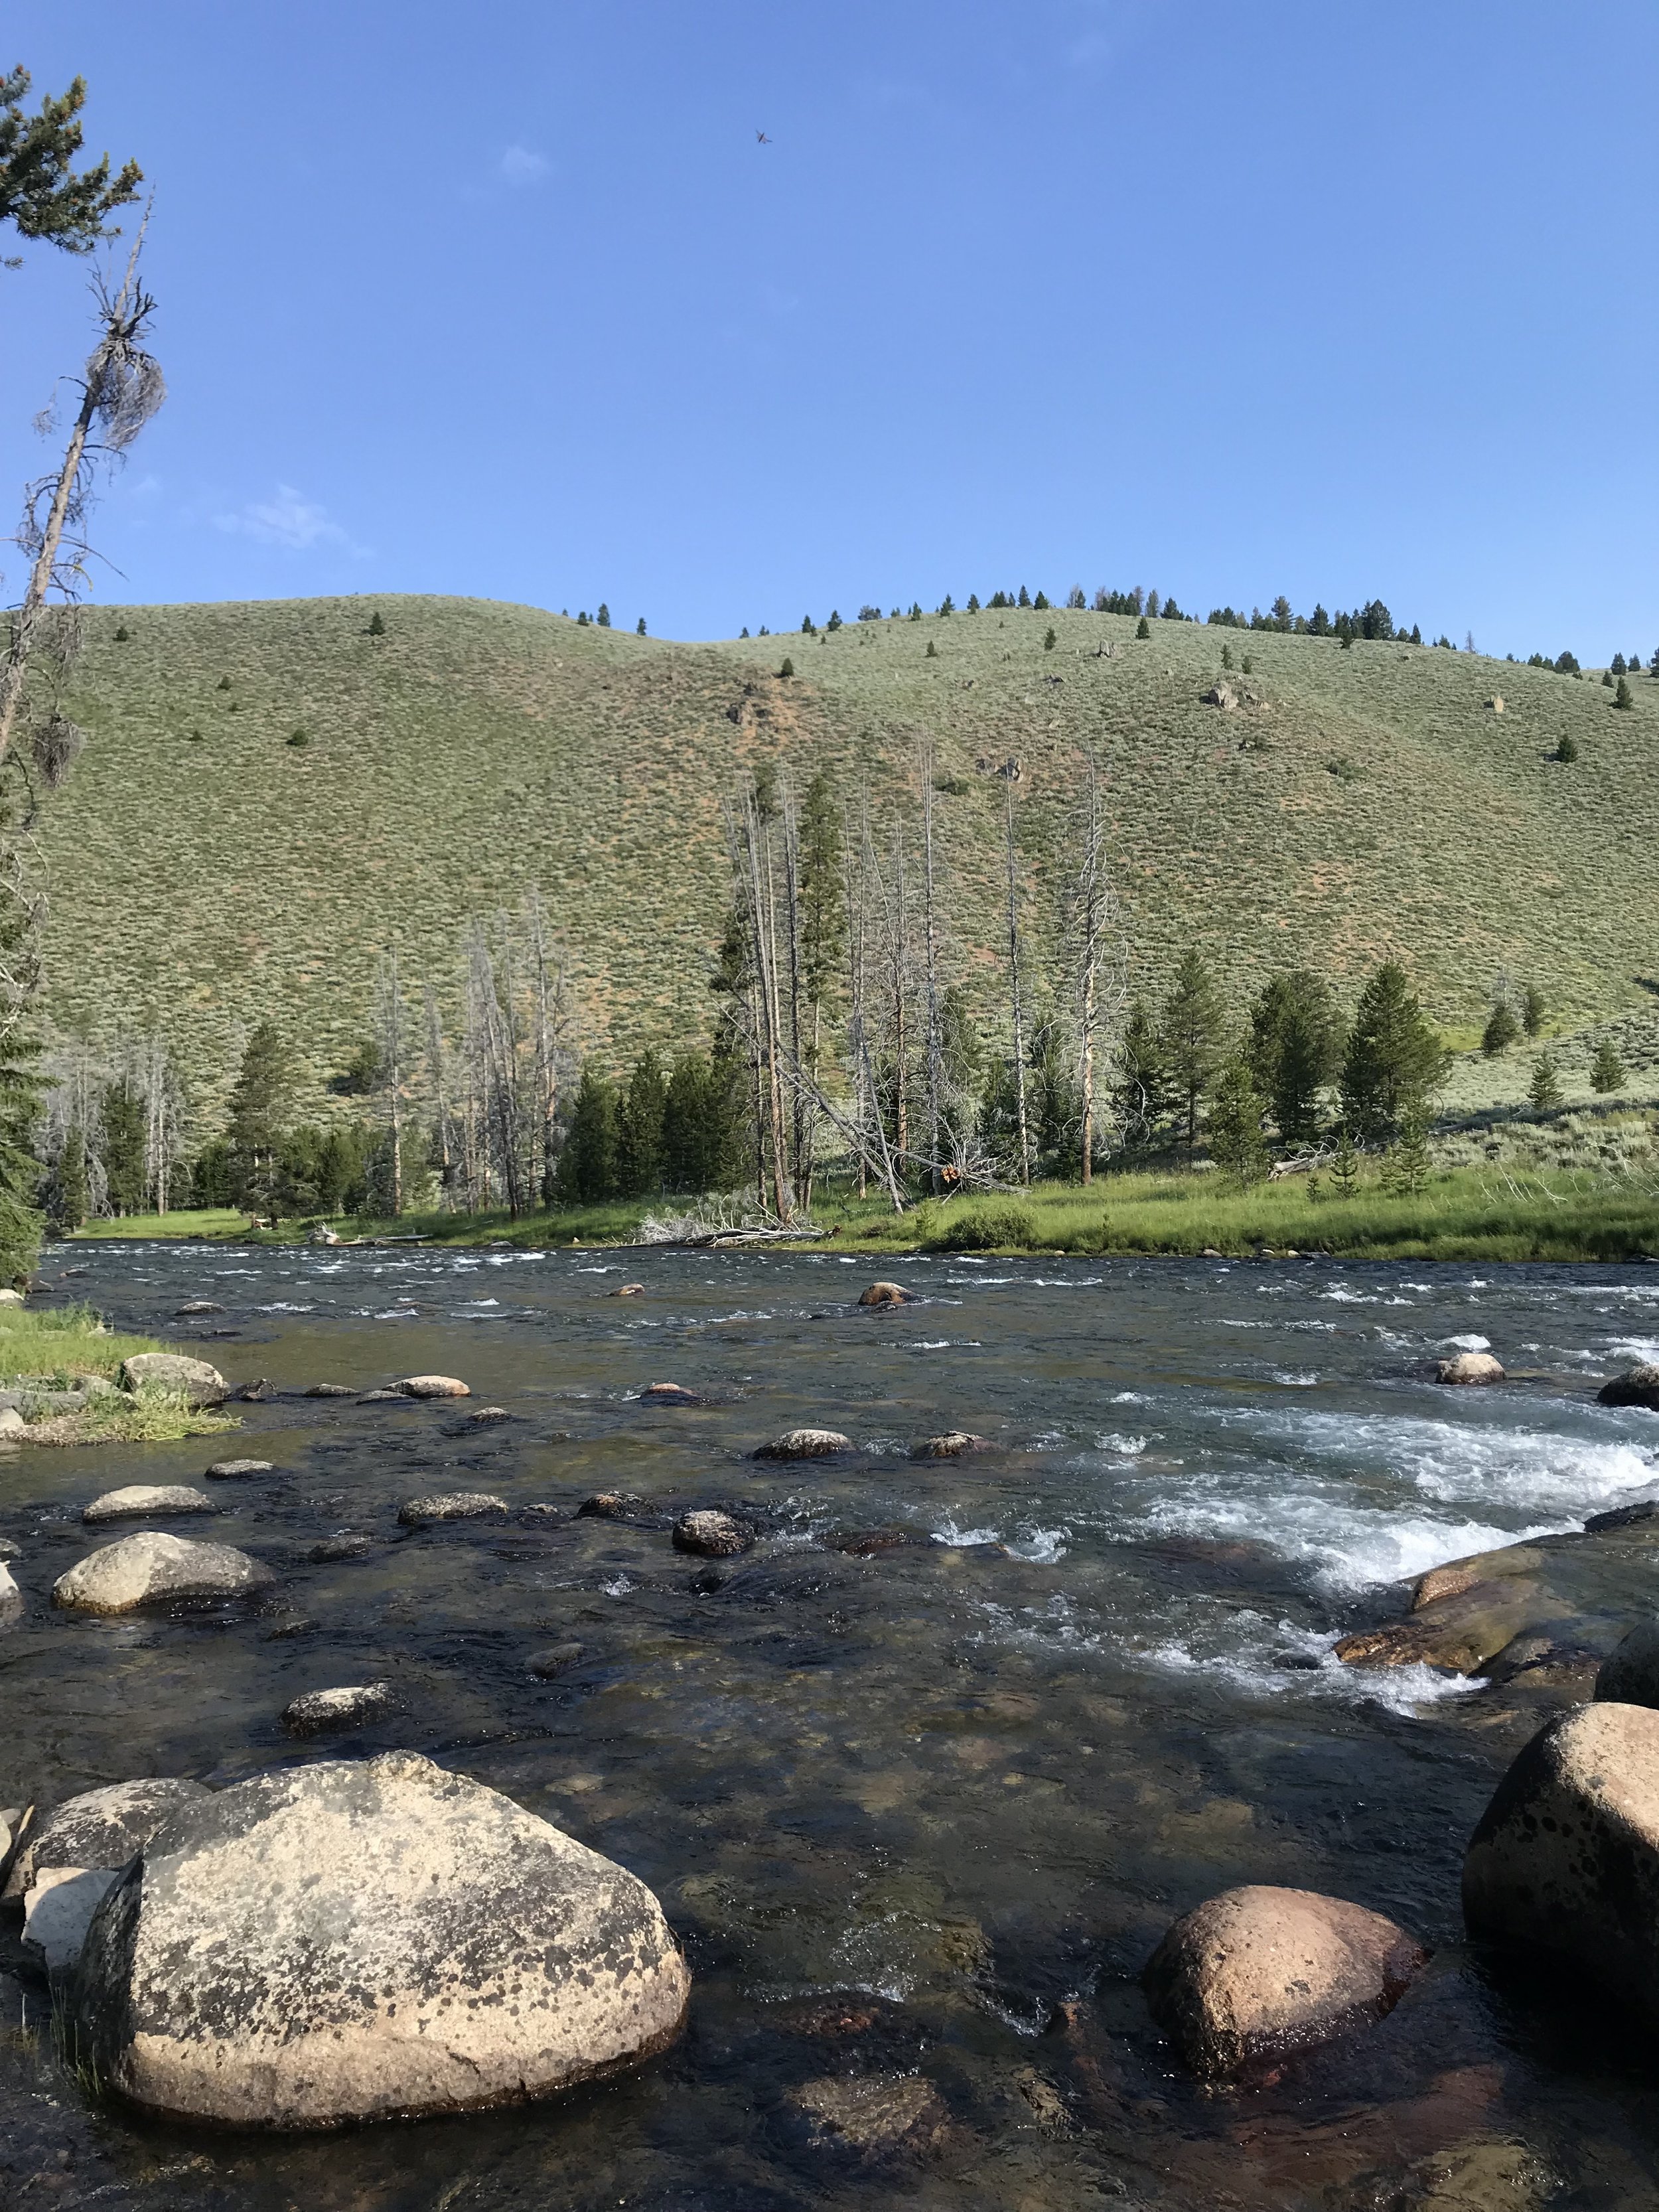
Arriving just around lunch-time at Colter Bay, we set up camp, and with bear spray in hand, went out for a quick run to stretch the legs. Colter Bay is a great location, with easy access to a trail running along Jackson Lake (run GPS here). While waiting for the rest of the crew to arrive, we relaxed along the Lake until a delicious camp dinner of Jackfruit Tacos.