Ben Lomond - Ogden, UT
Hannah Fleming
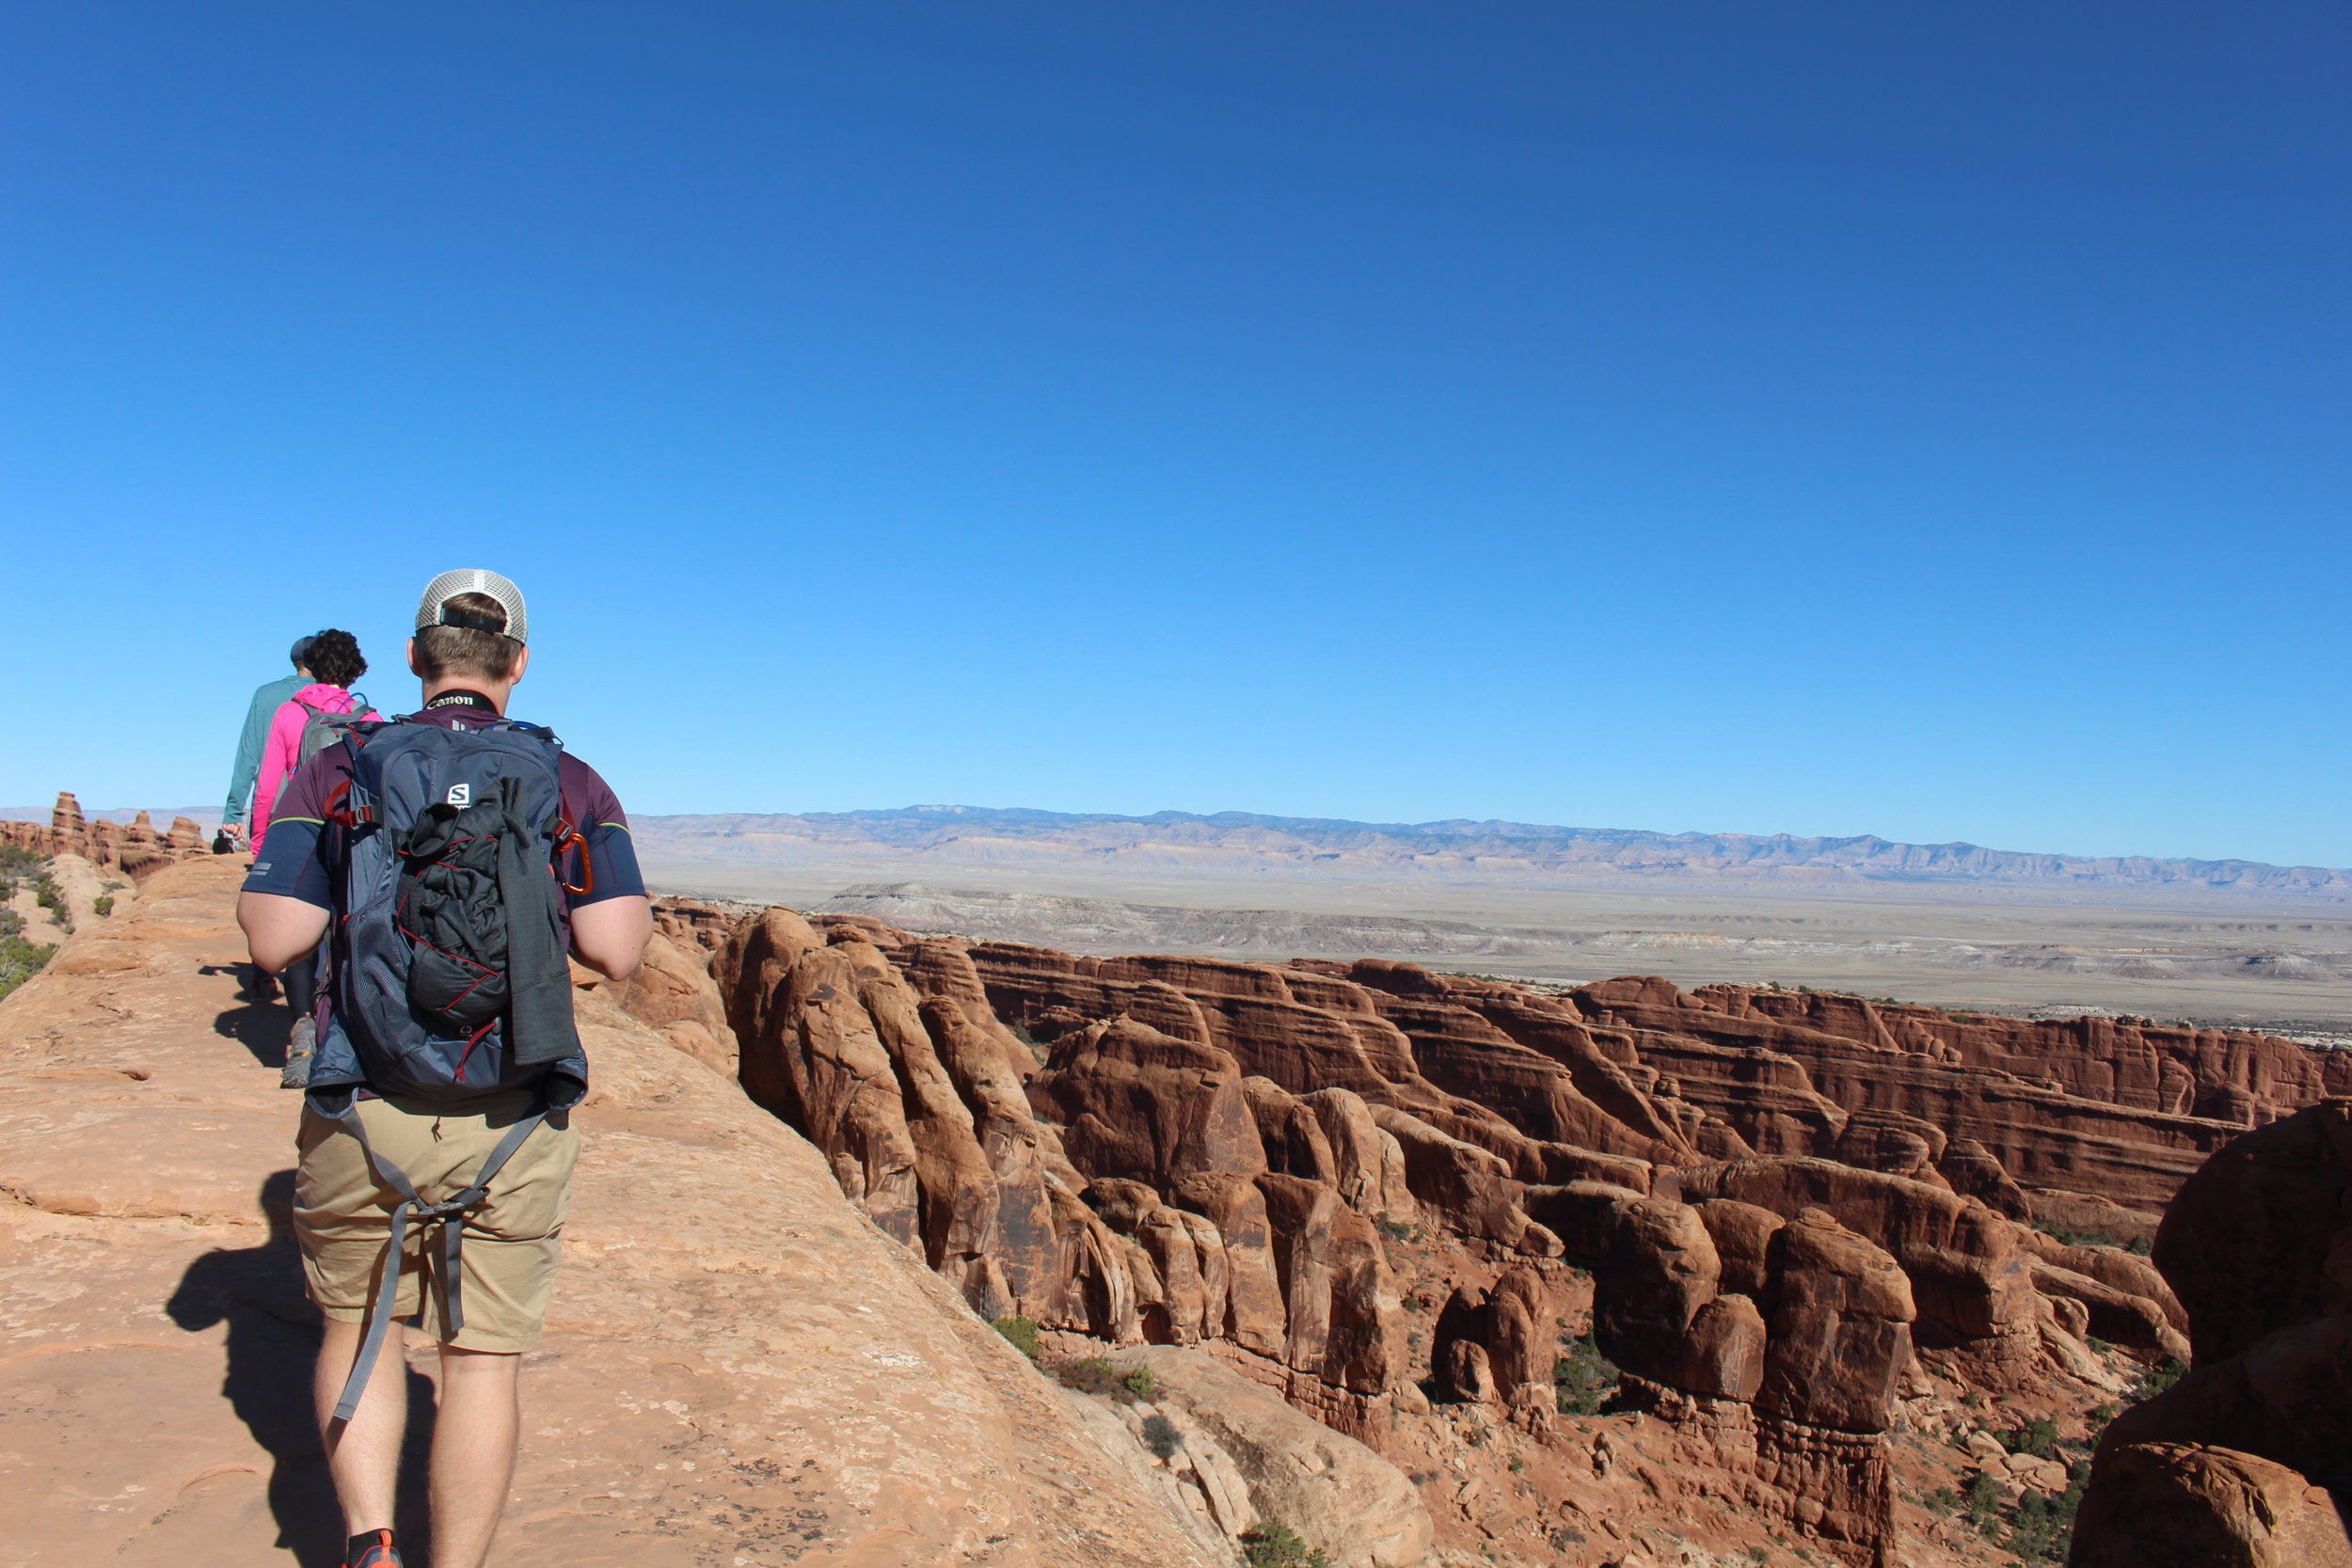
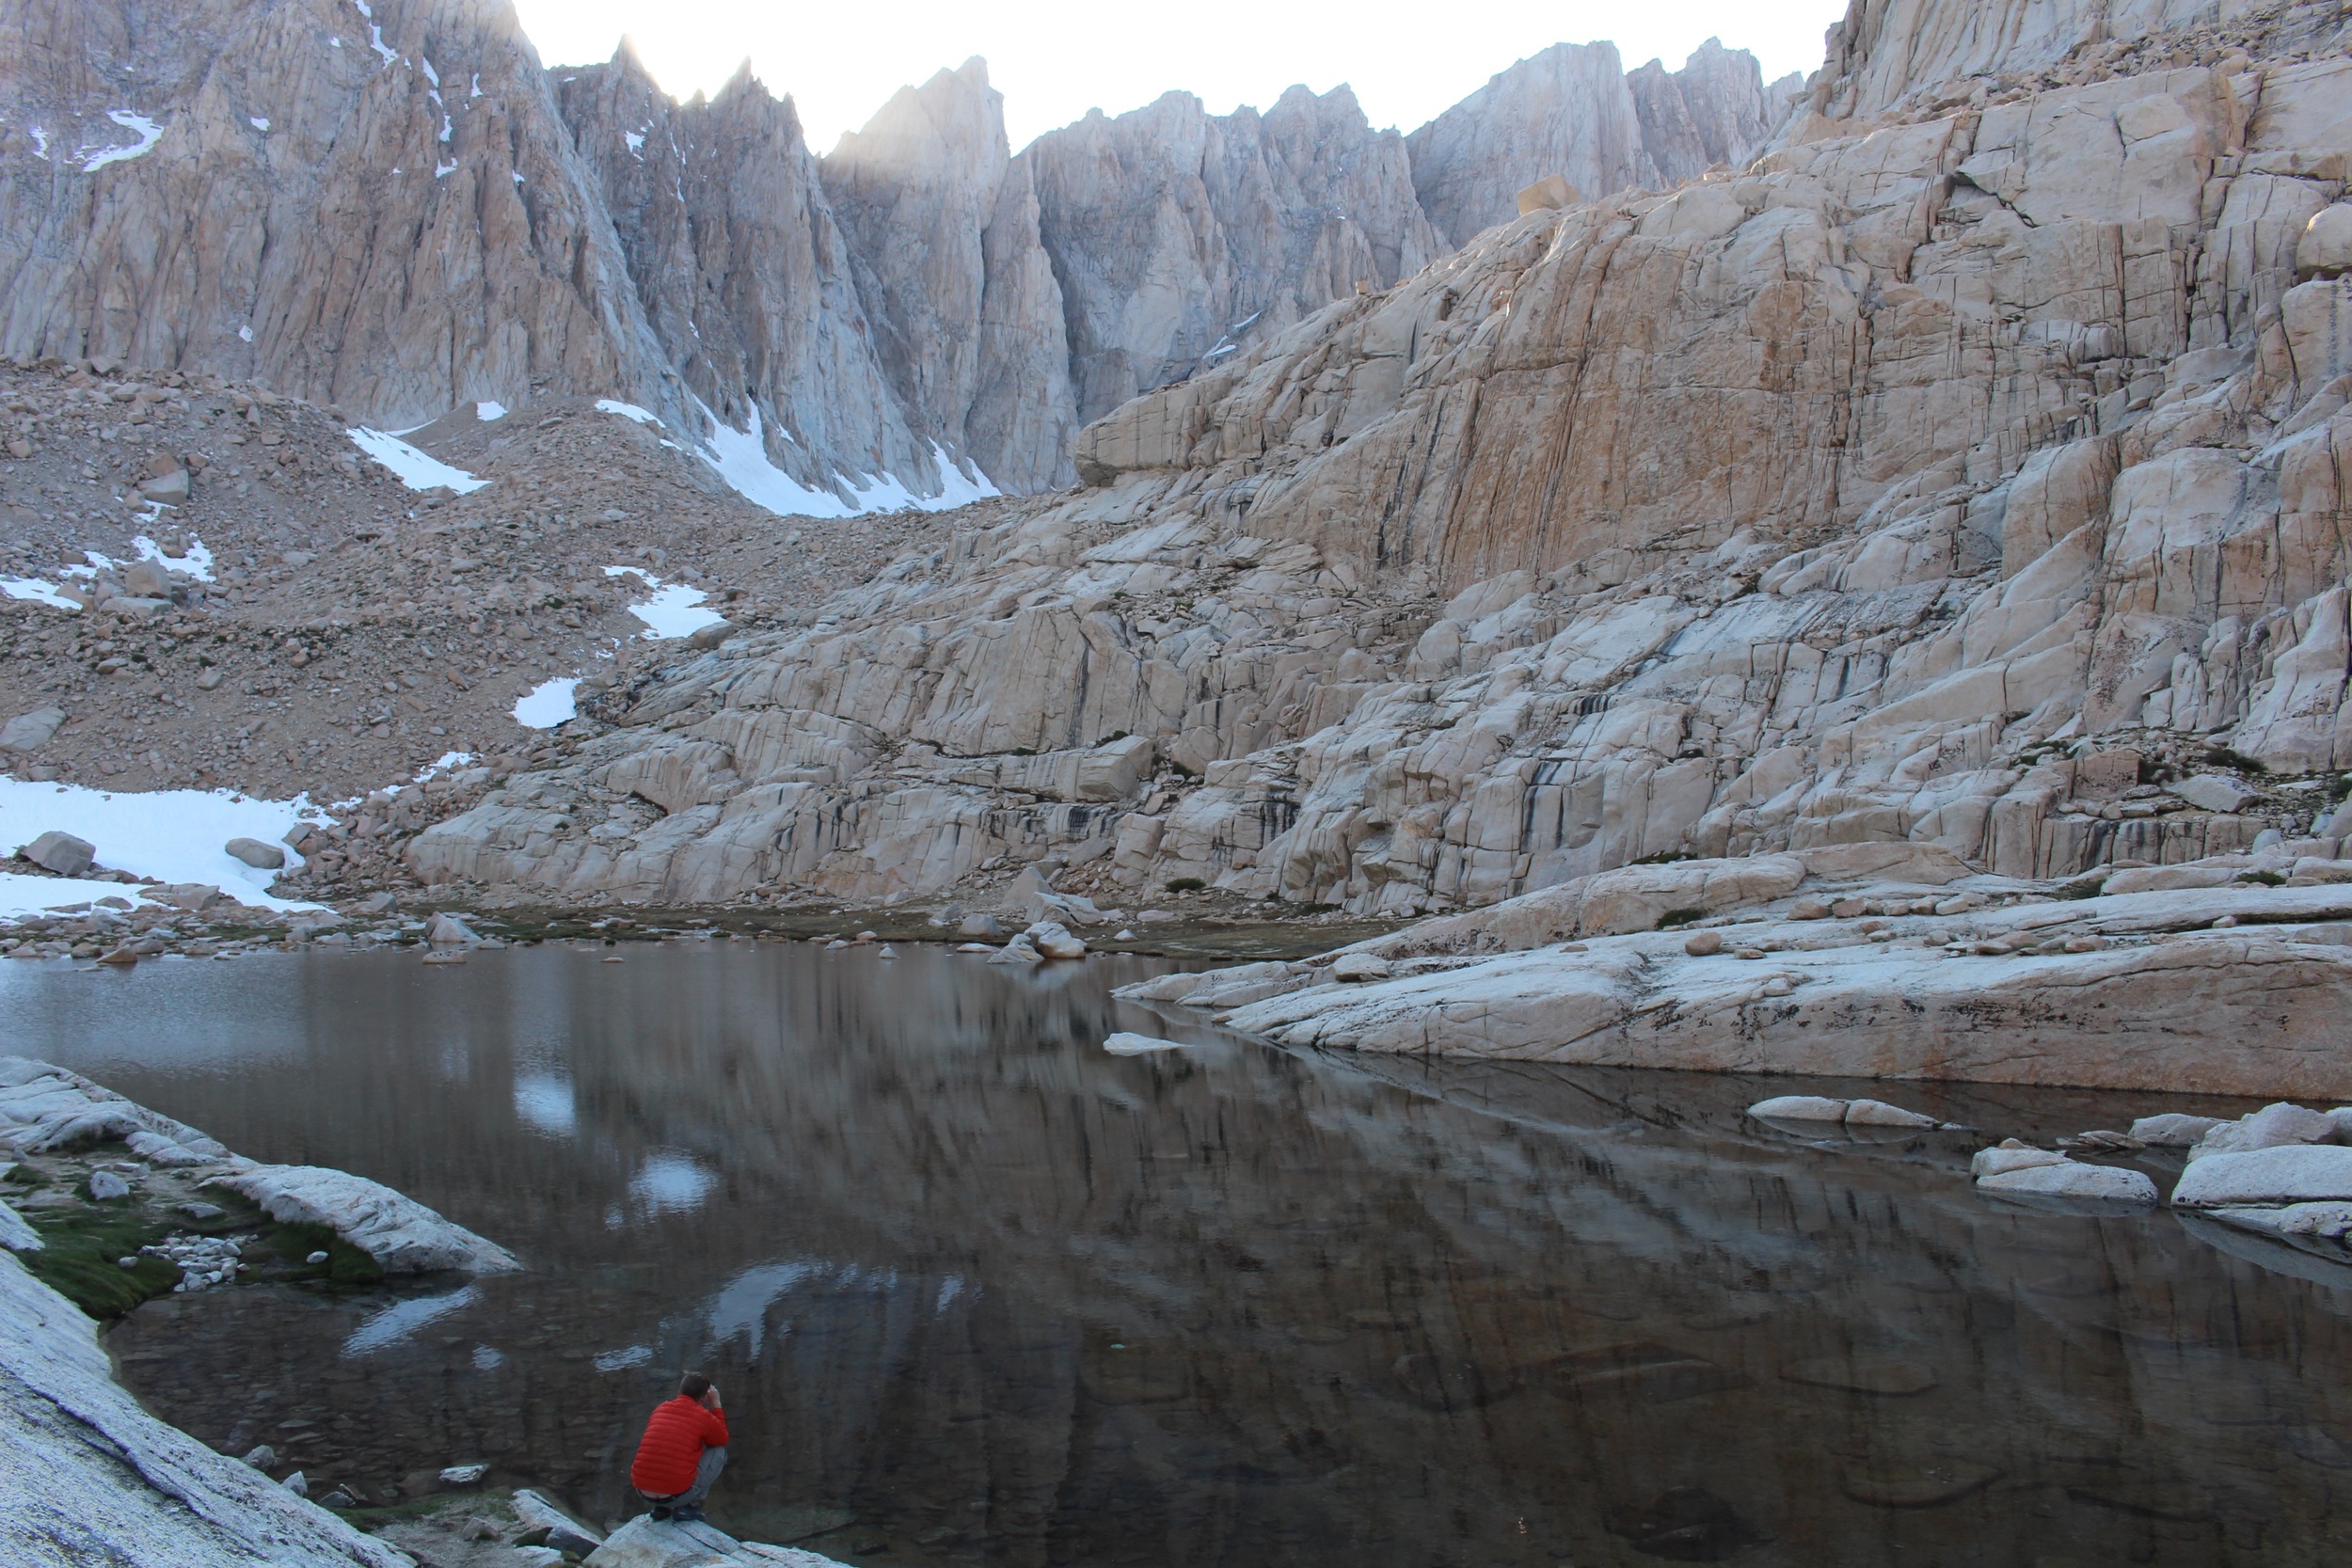
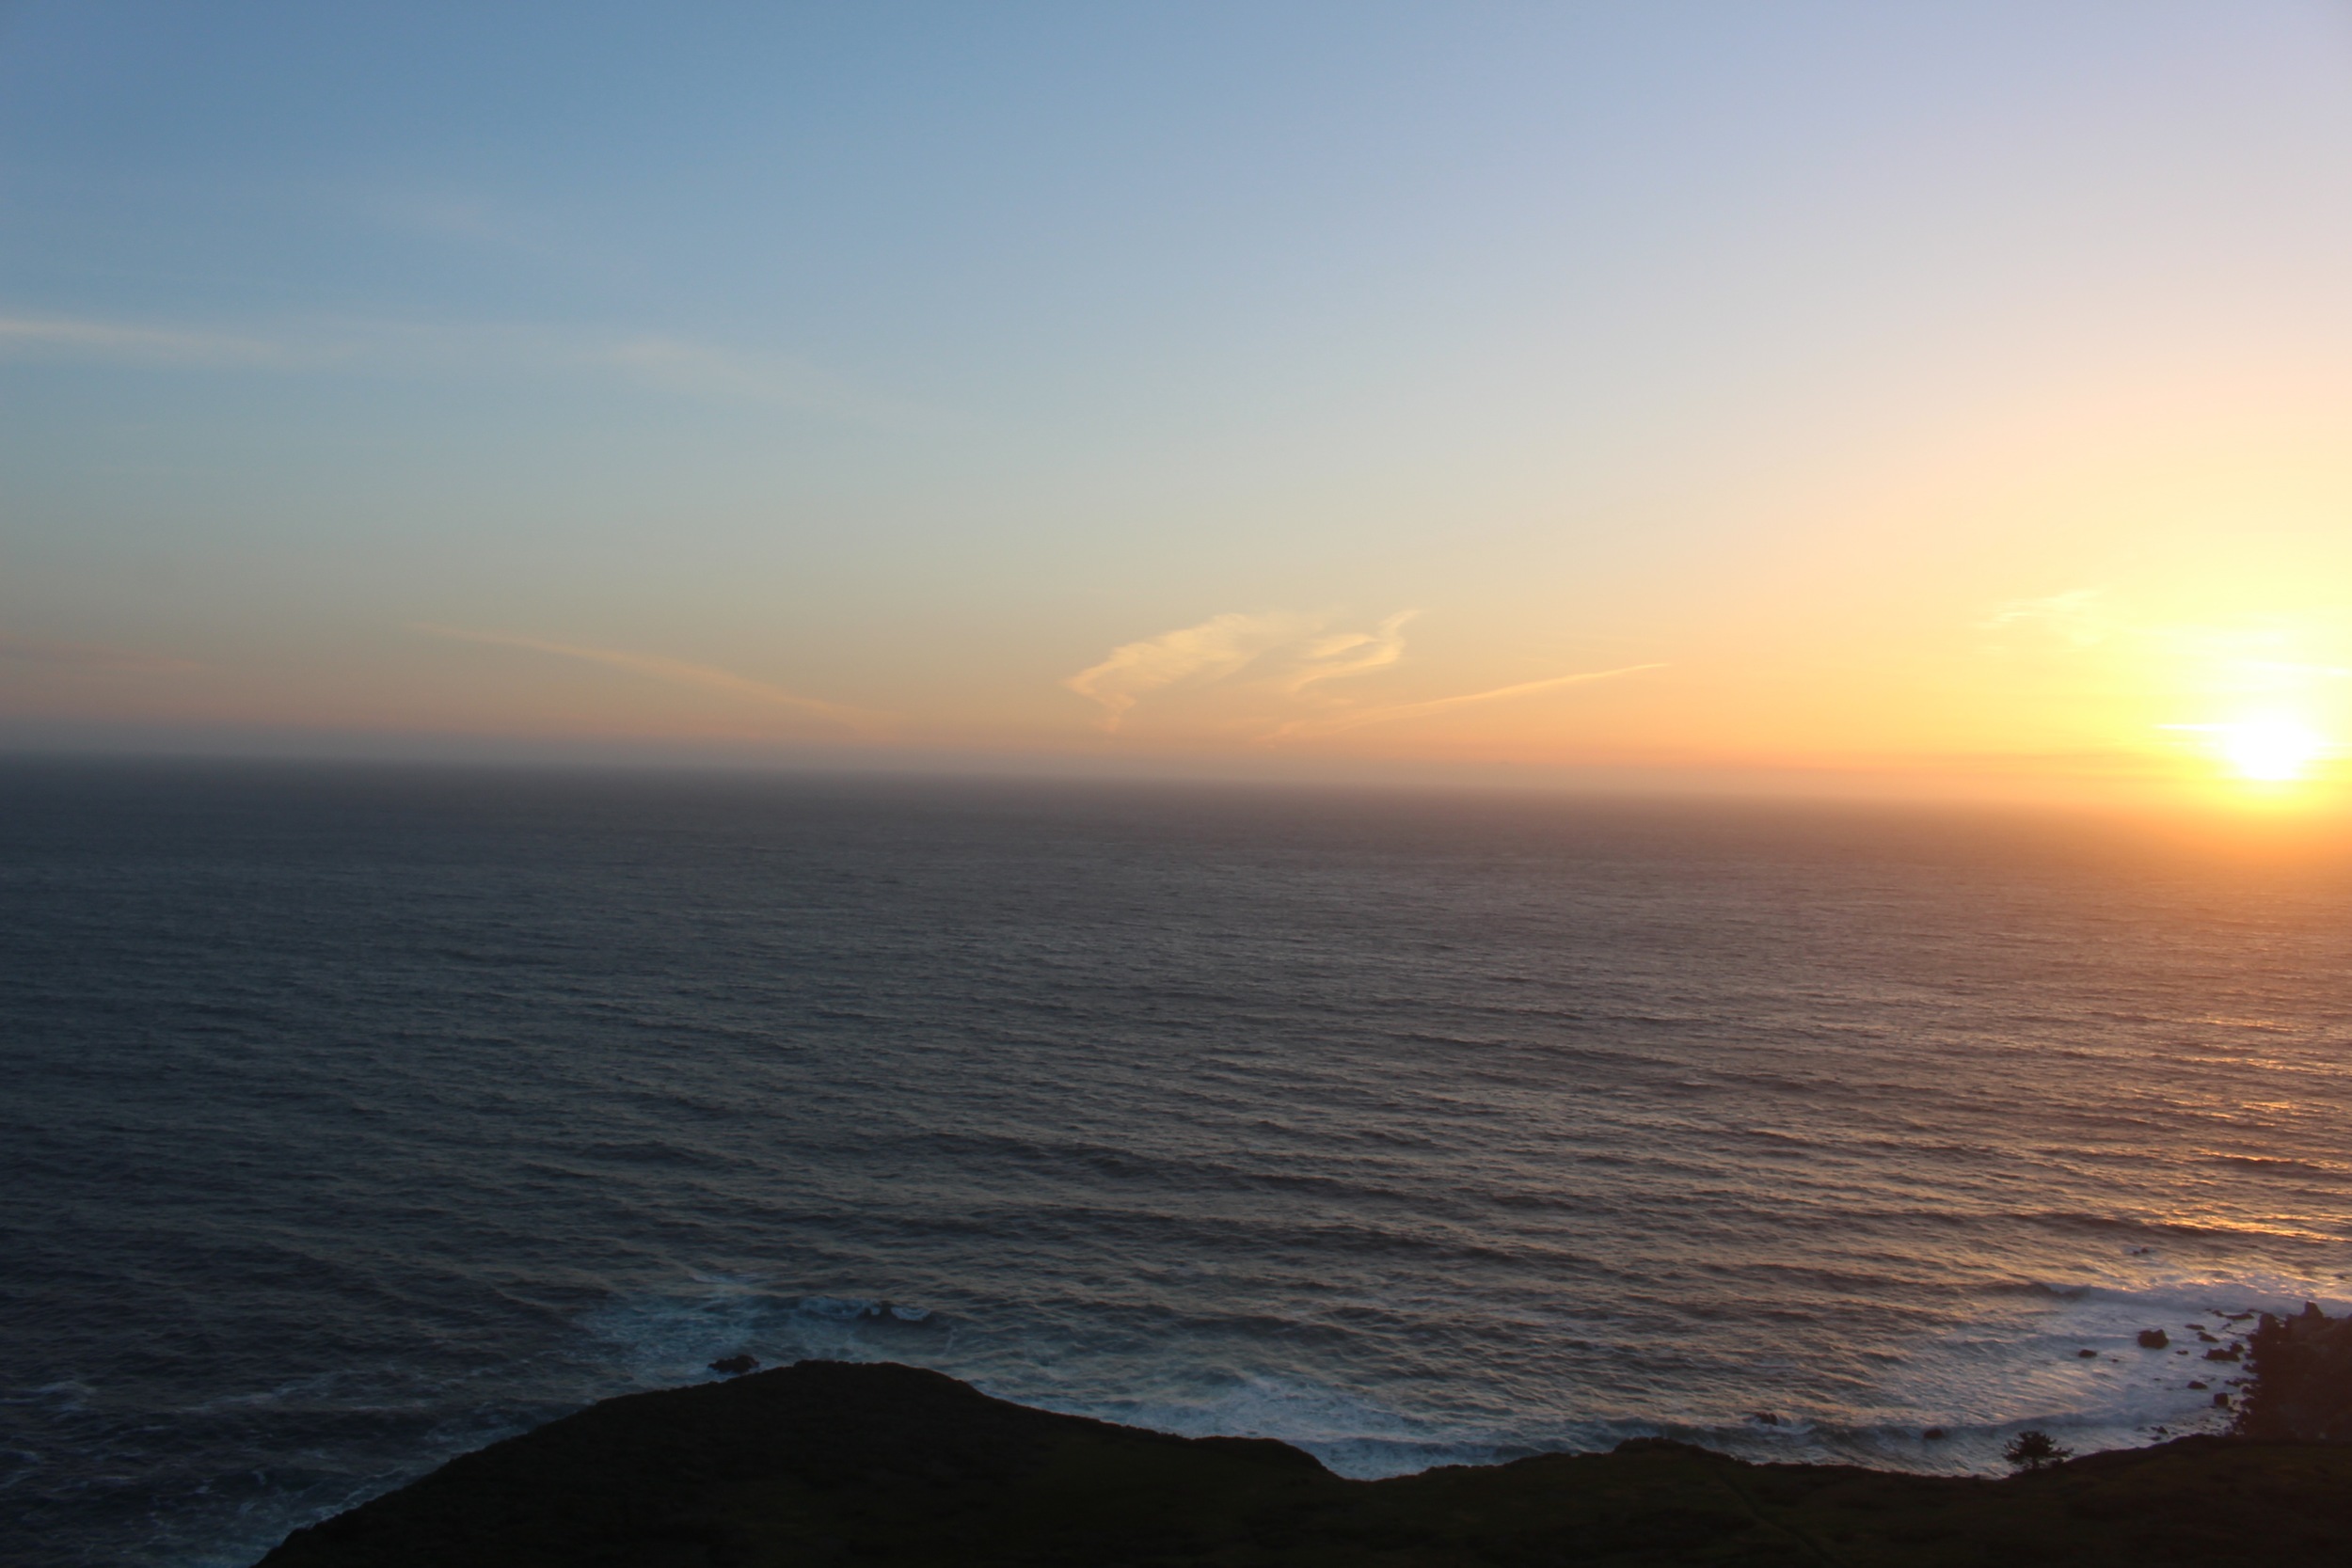
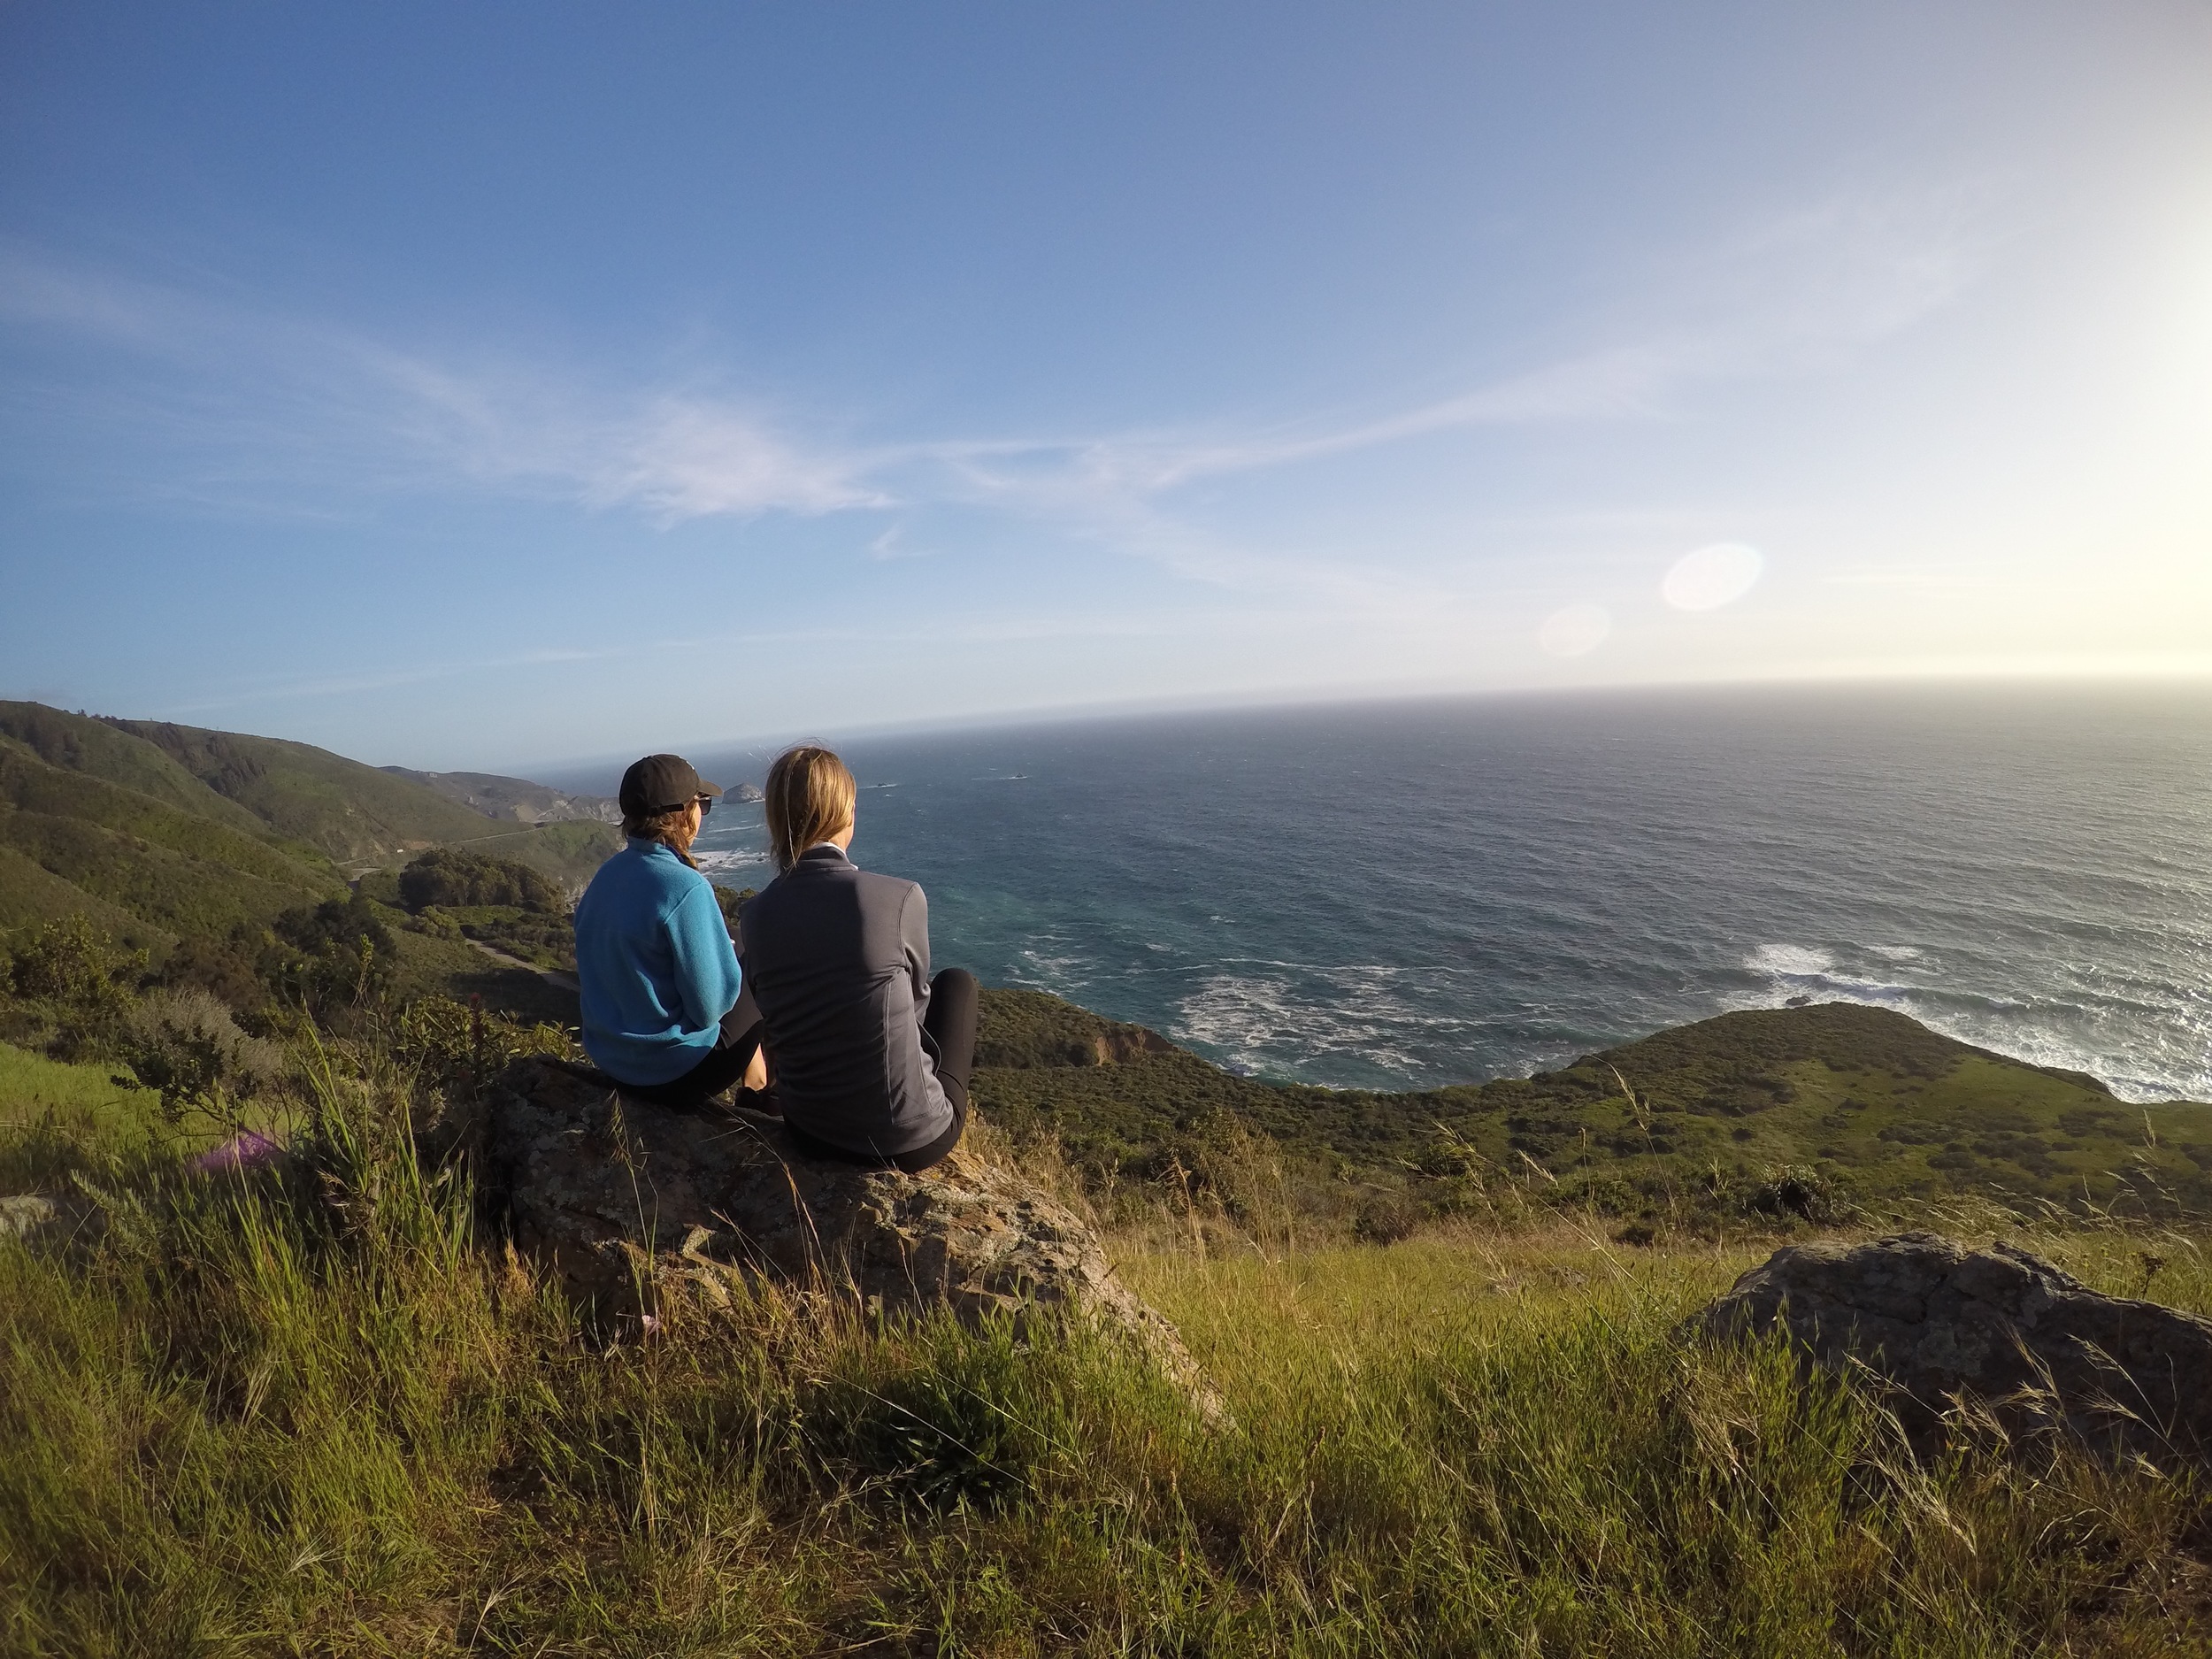
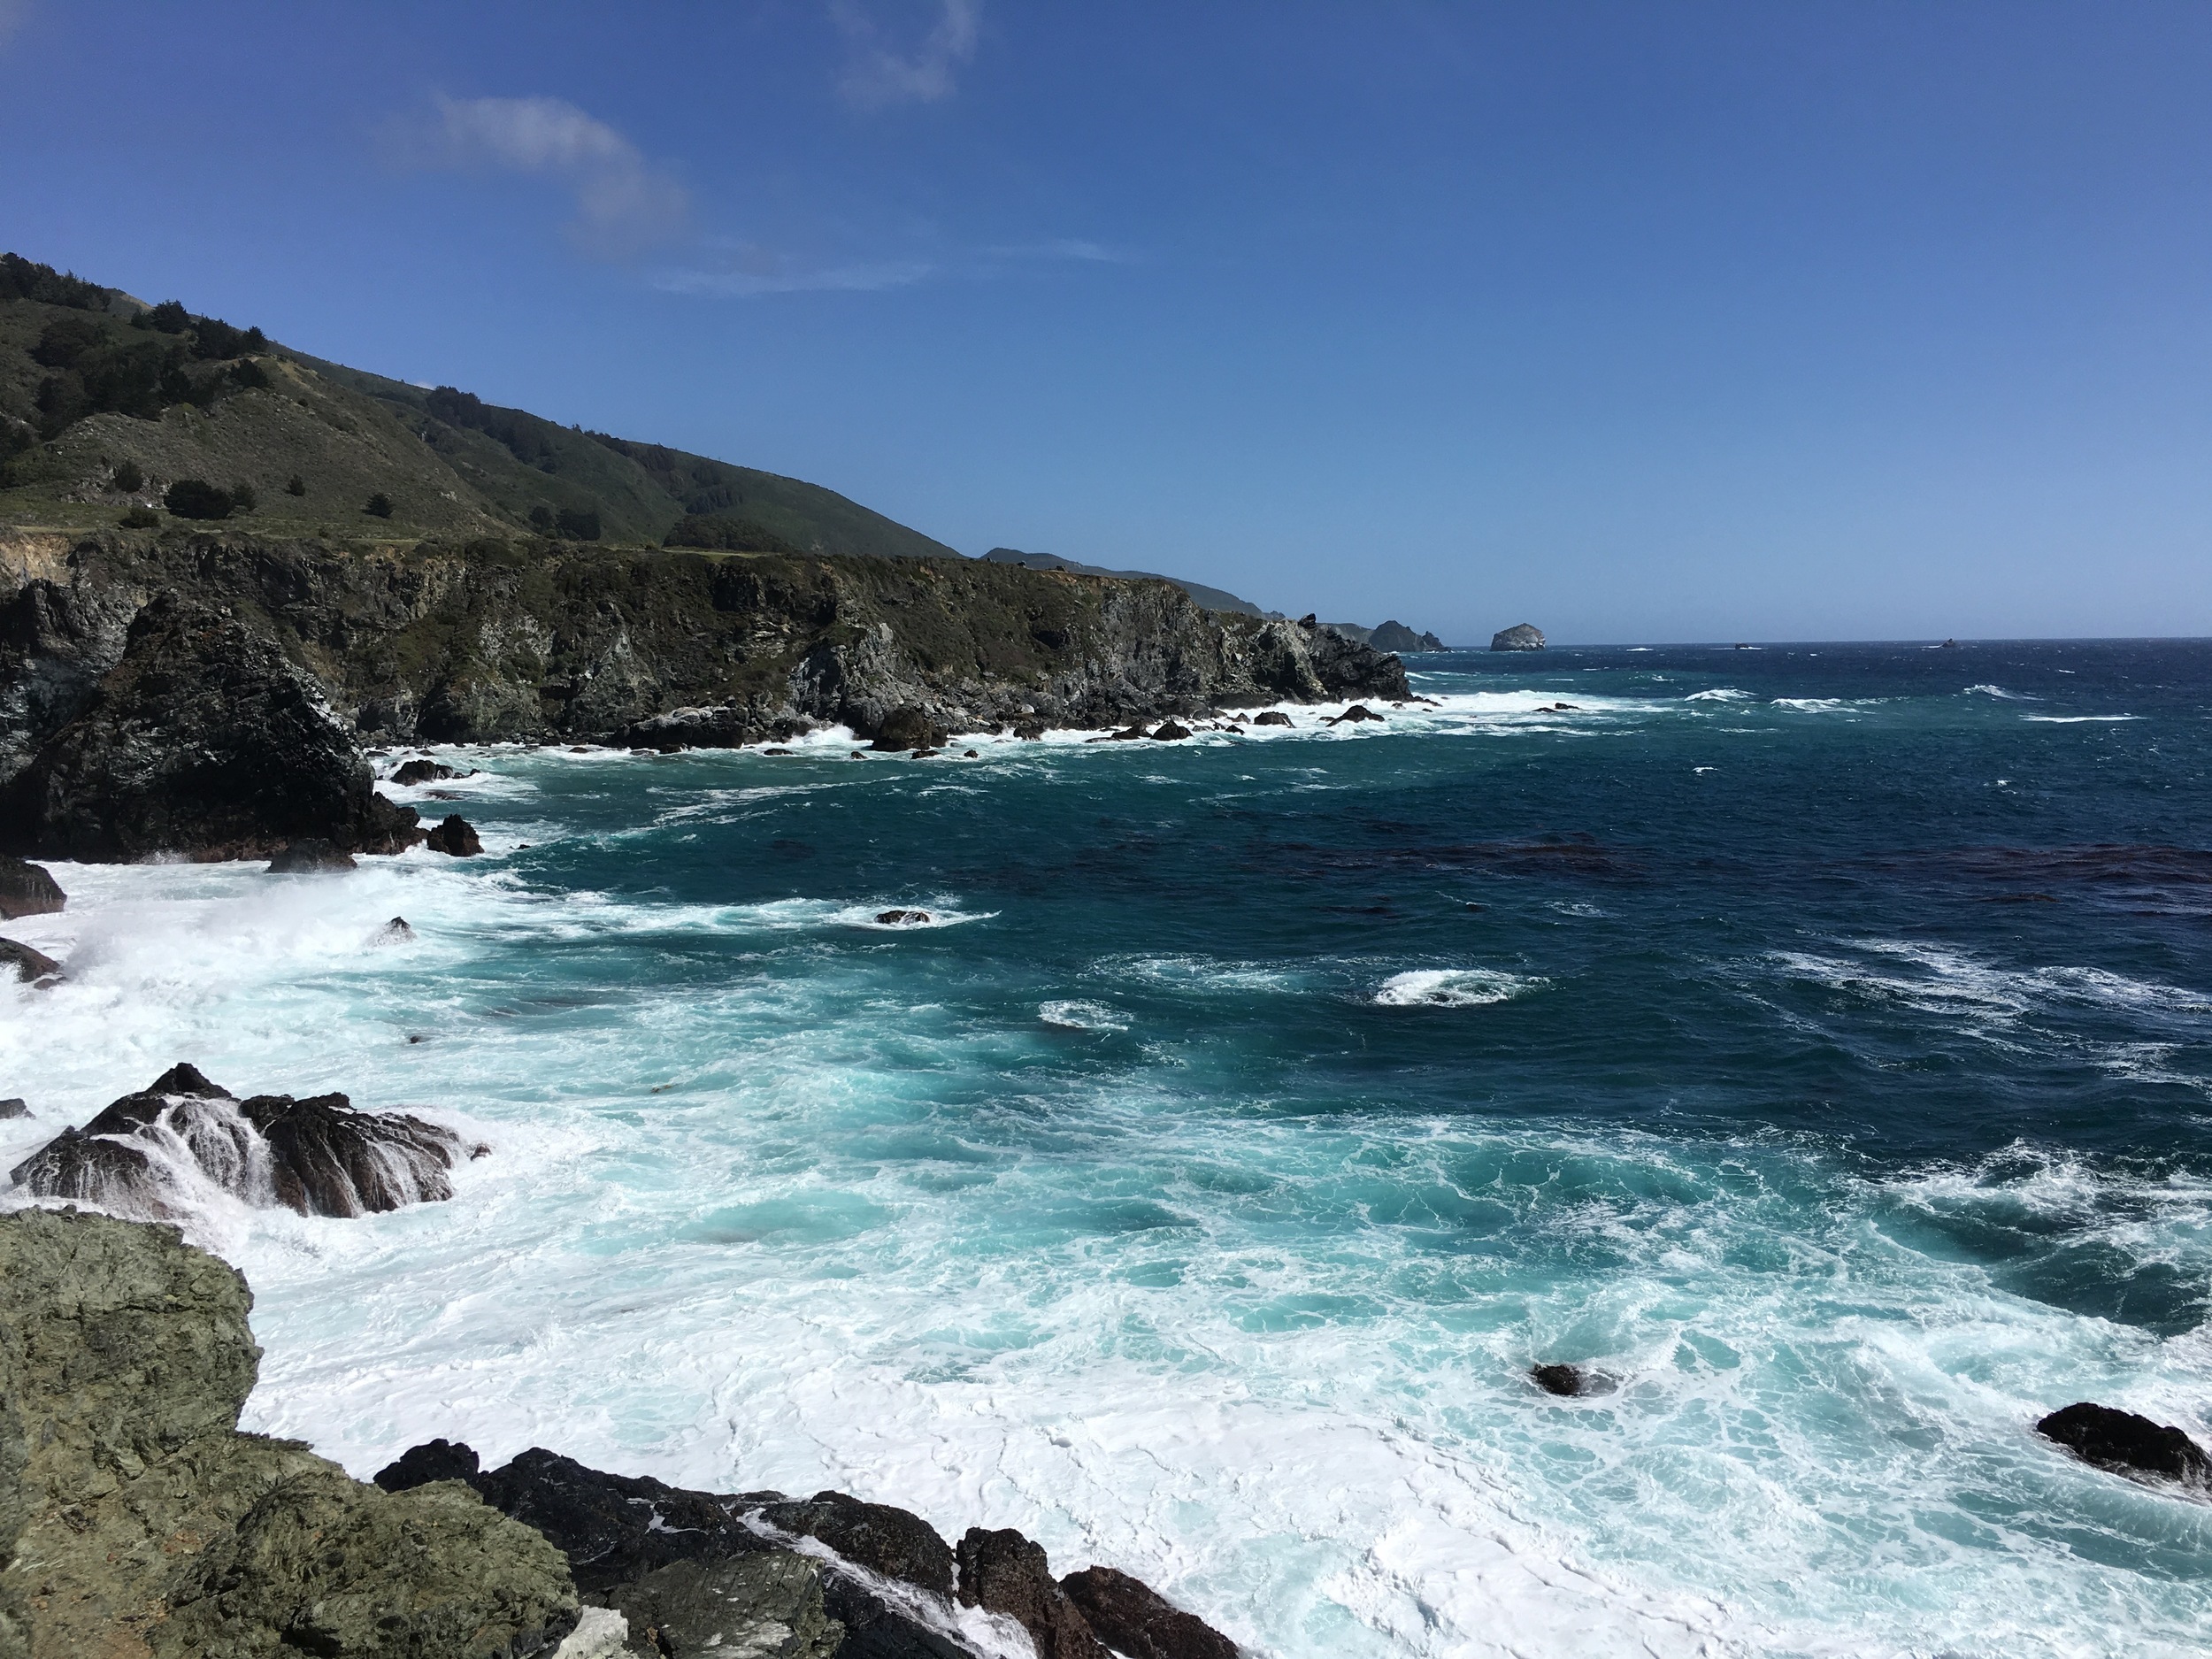
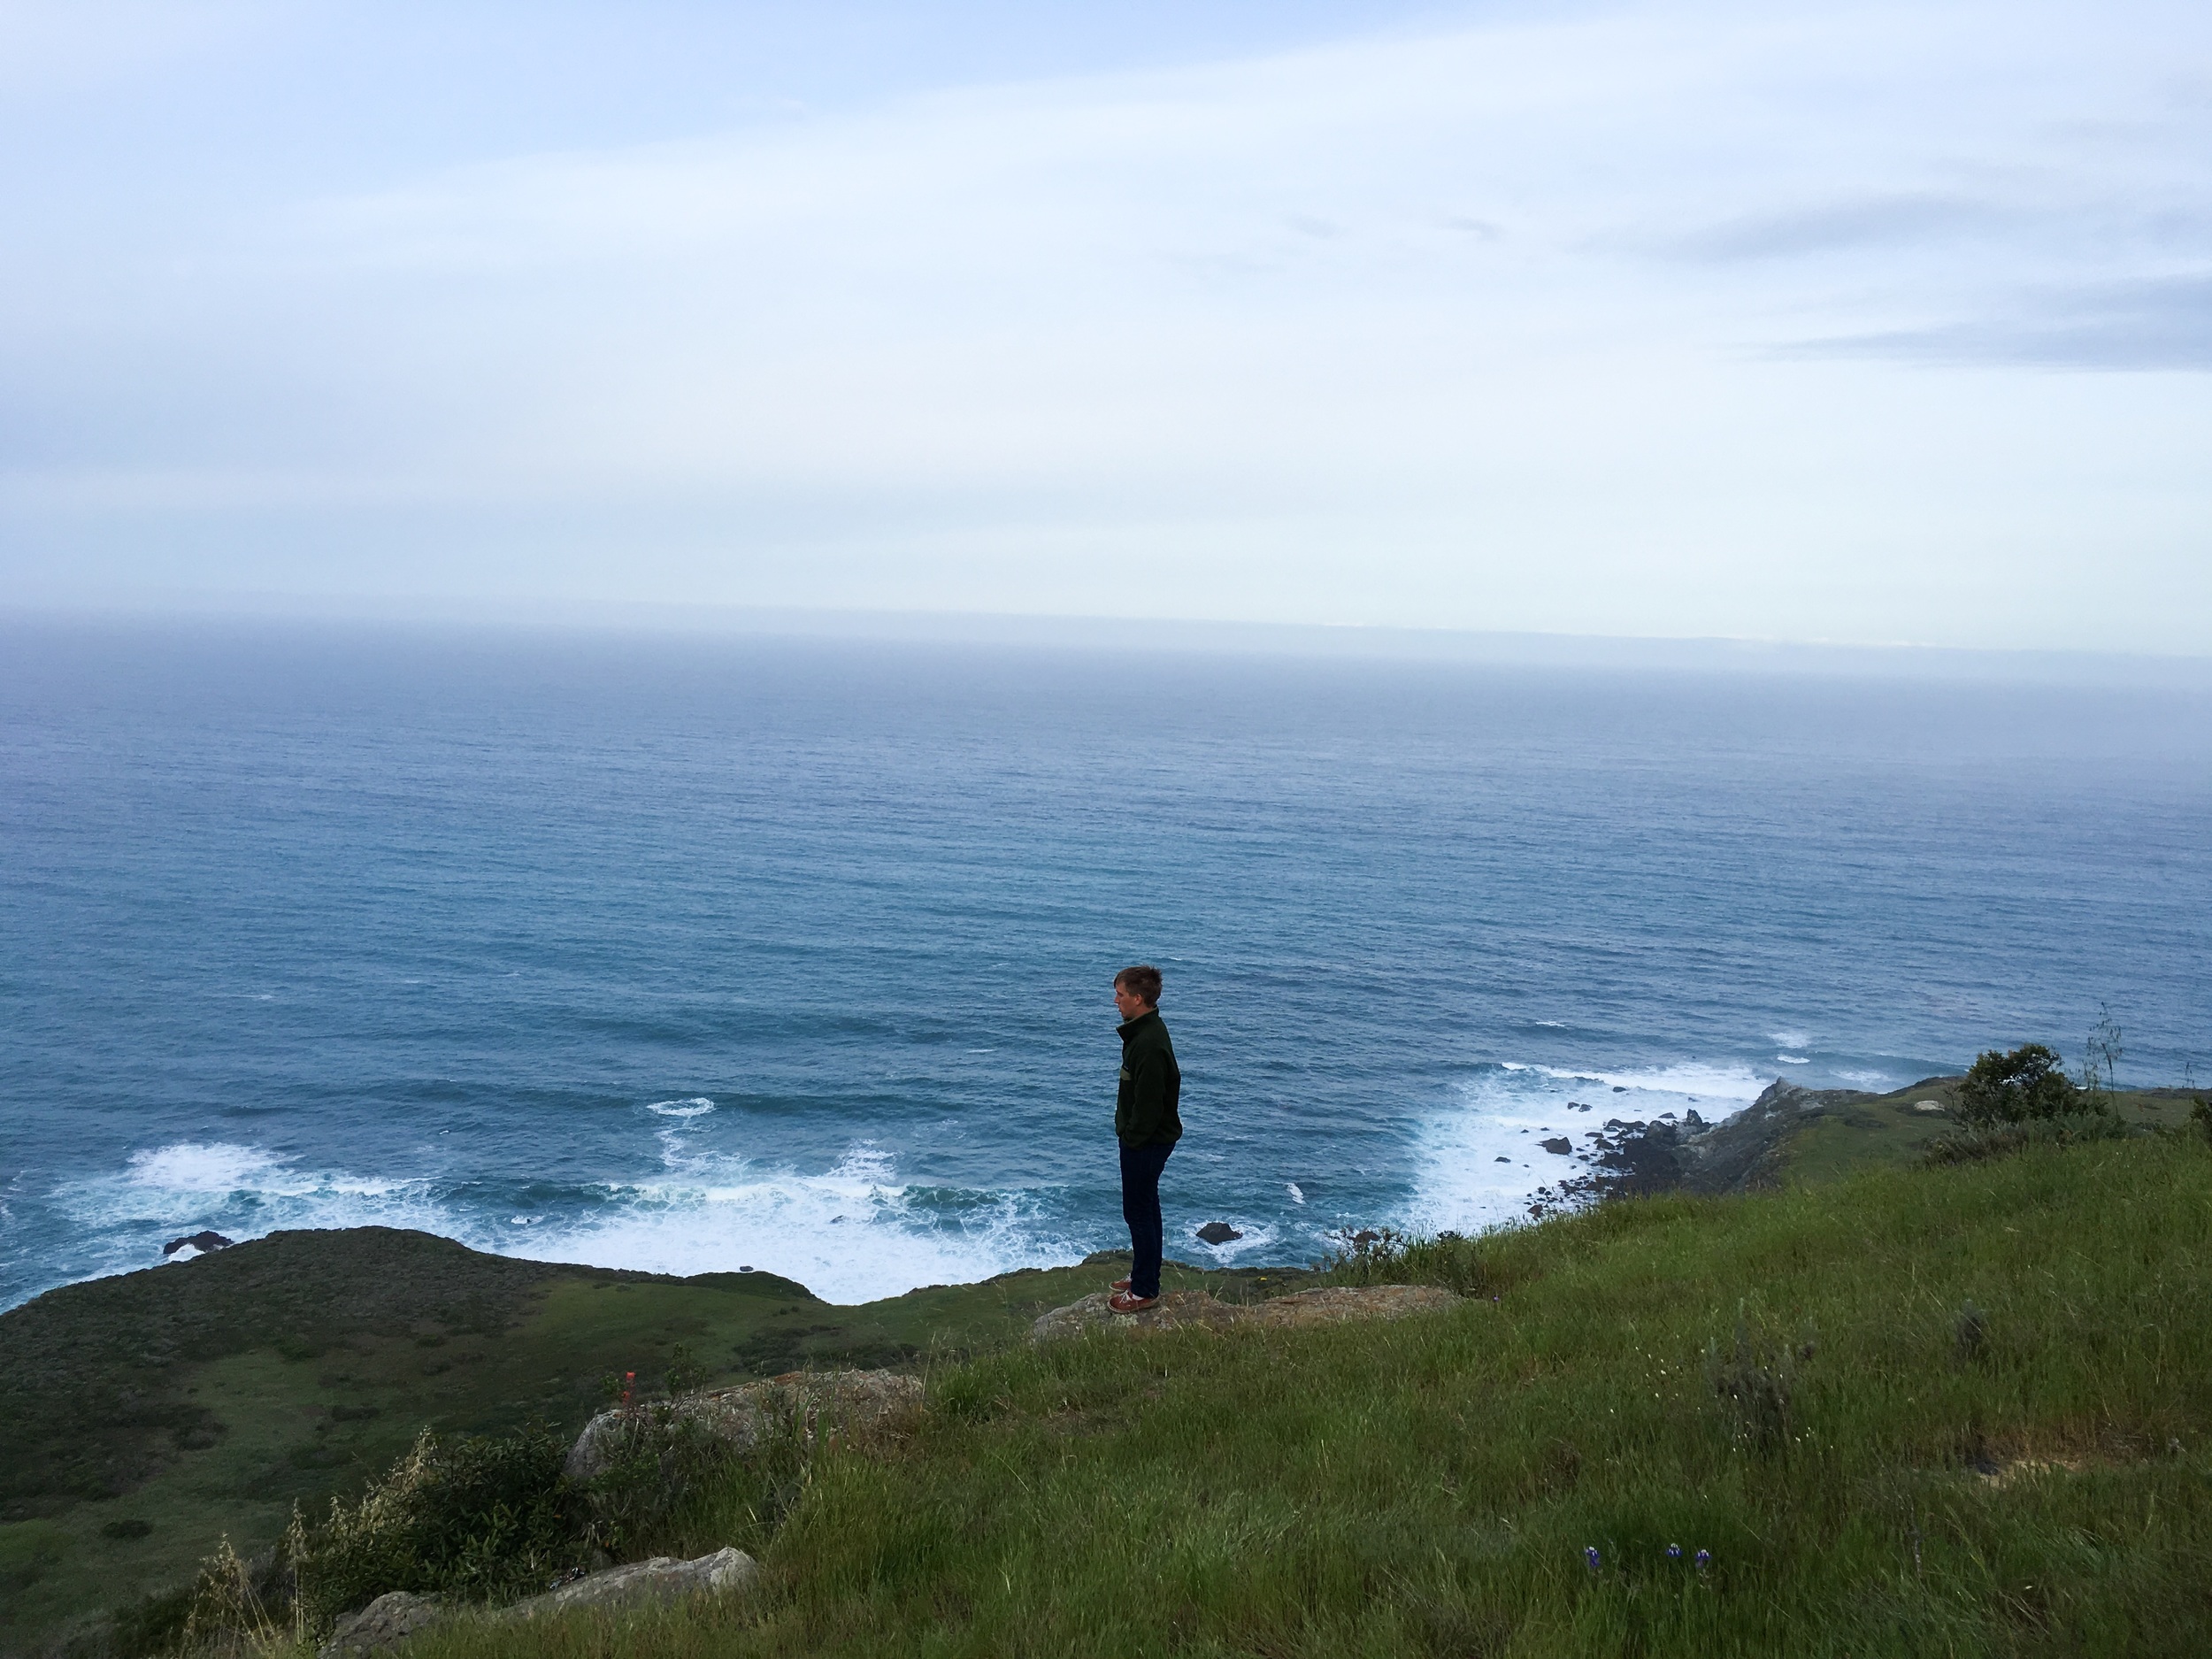
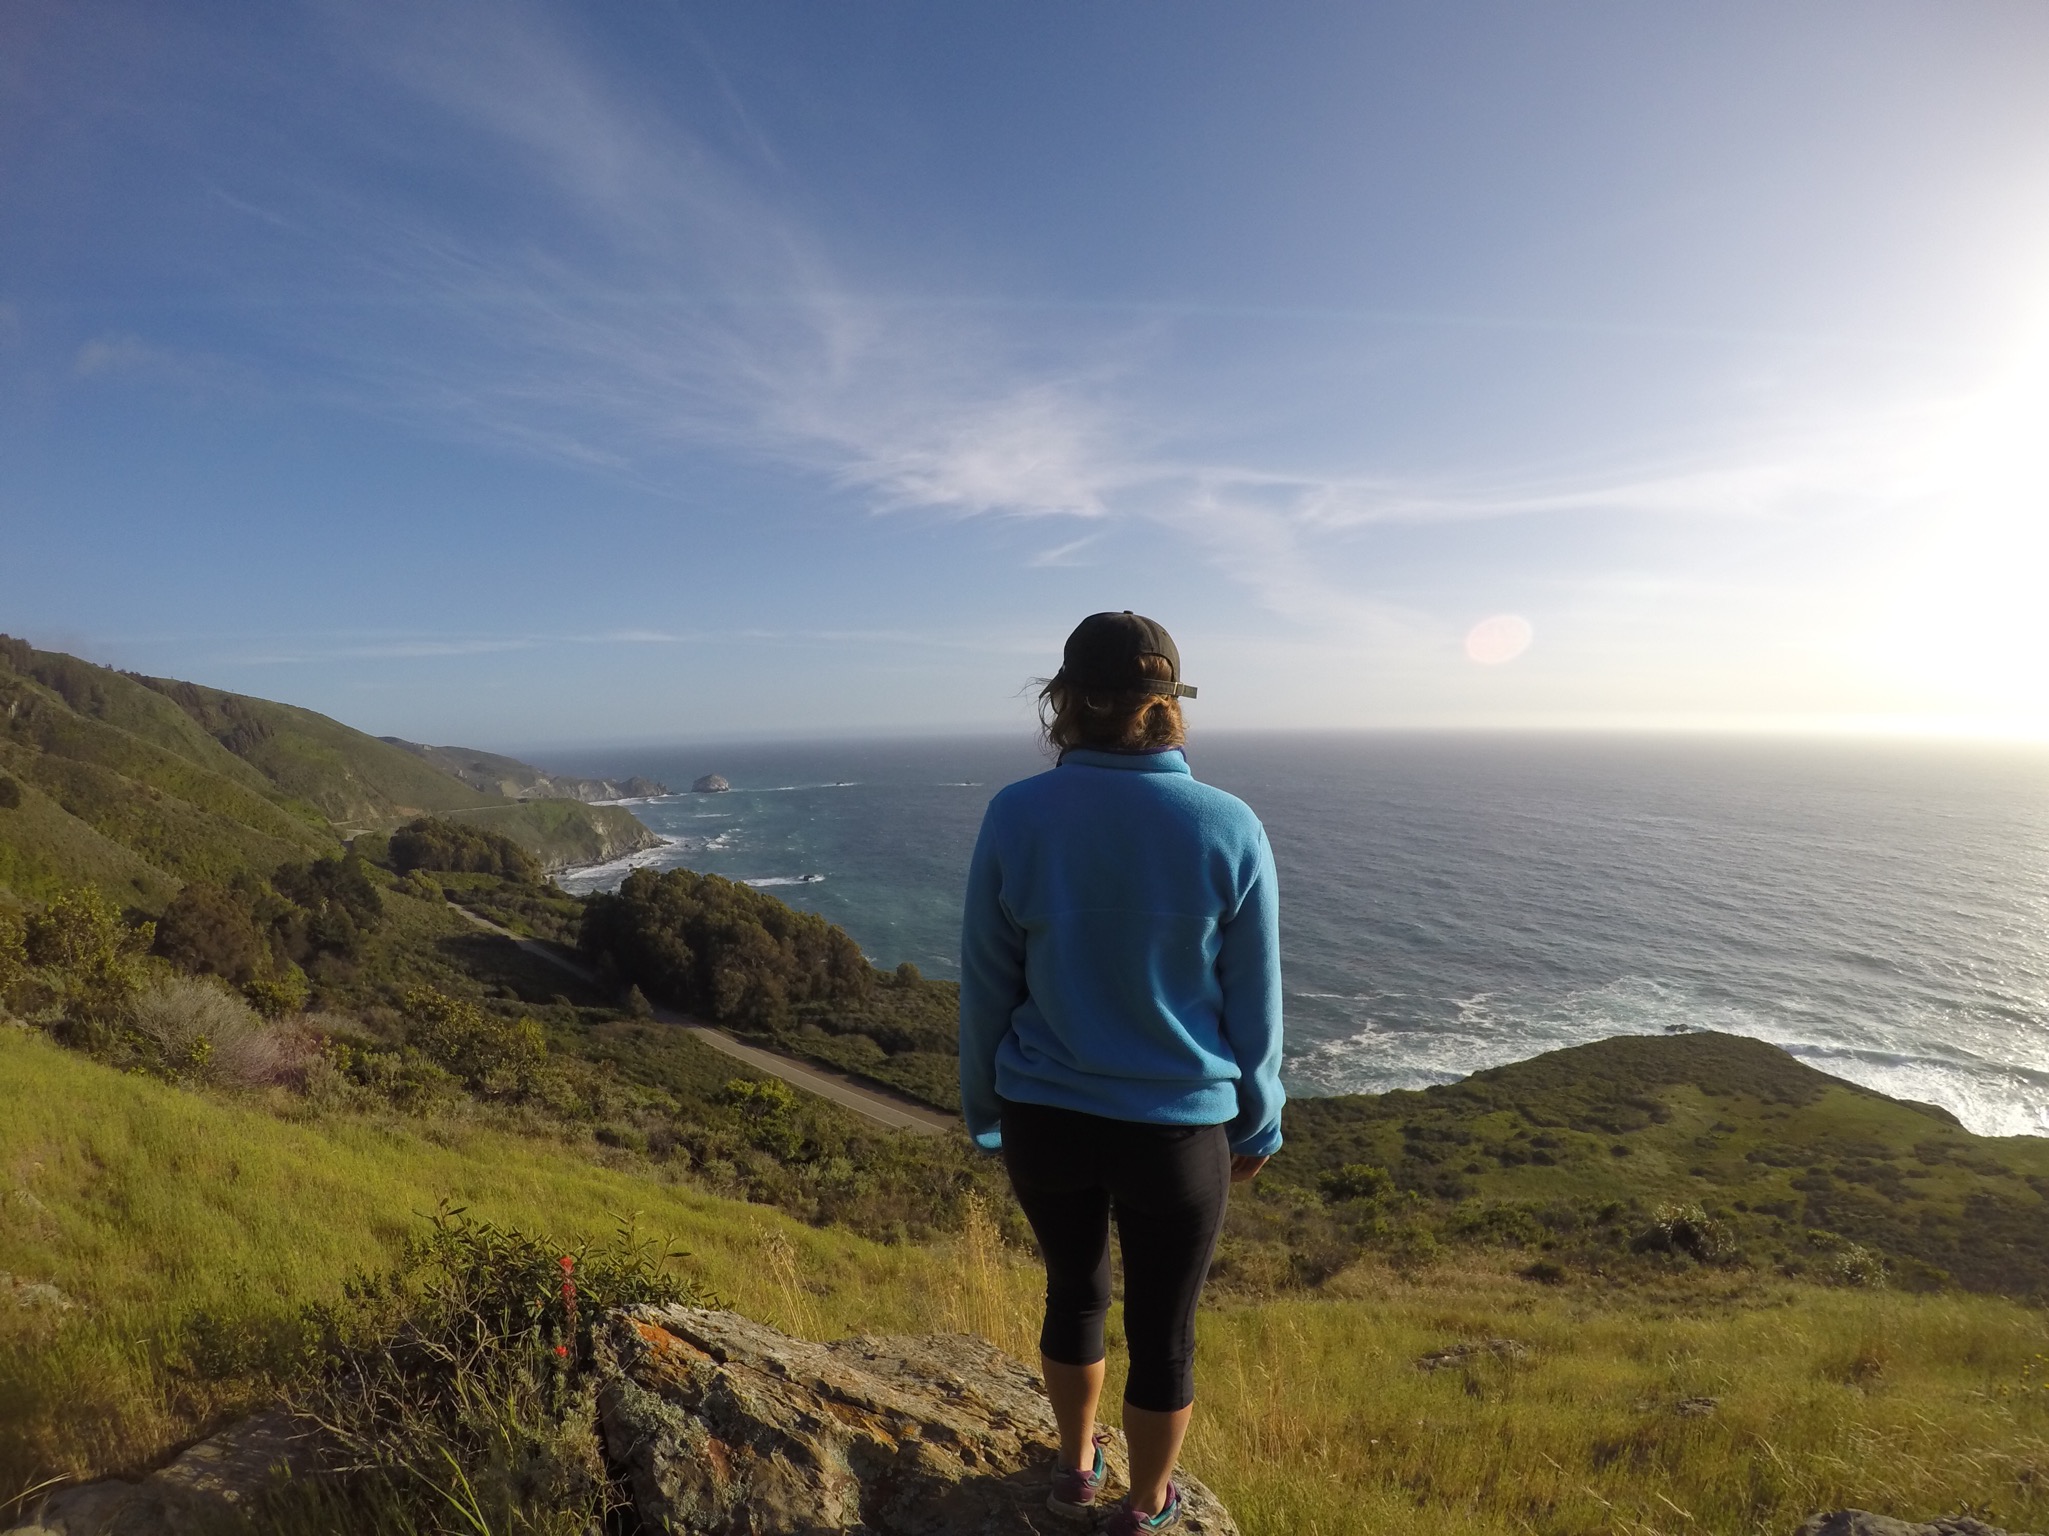
Standing 9,716 feet tall, Ben Lomond looks down over Ogden, UT. With all travel coming to a halt this year, it was finally time to summit mighty Ben. As soon as I made it up once, I was addicted. Below are three different routes.
North Ogden Divide - Skyline Trail
Start: North Ogden Divide Trailhead
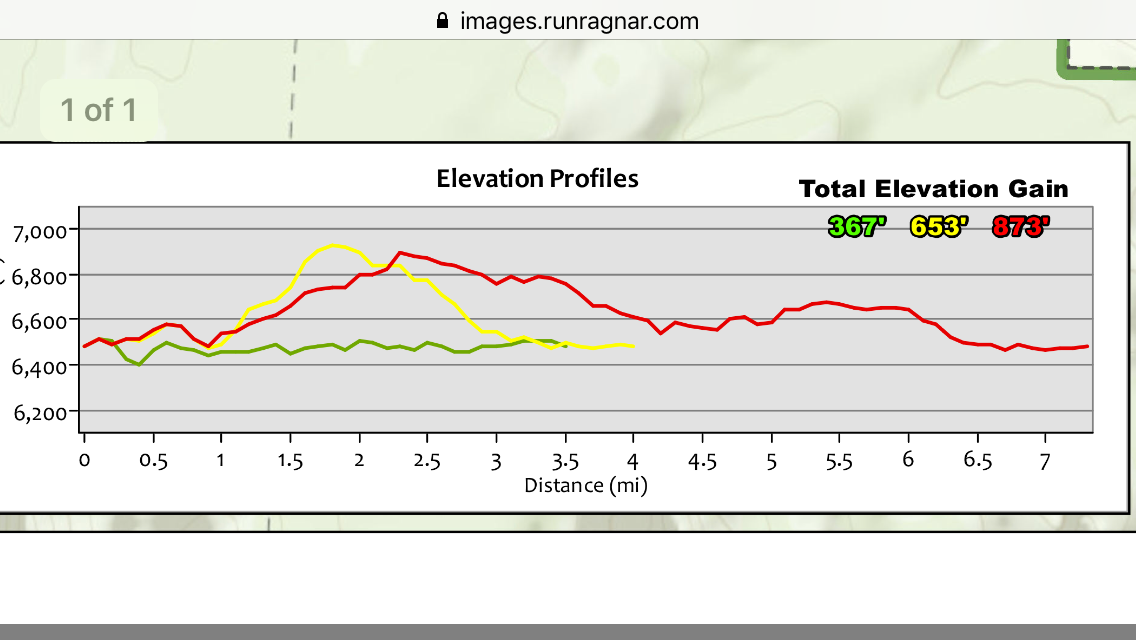
Duration: ~15.5 miles
Elevation gain: 3500 feet
Difficulty: moderate - difficult, due to duration and steep sections
What to expect? The first 1.5 miles of switchbacks are rocky and moderate/difficult. The trail becomes smooth dirt until reaching the saddle of Ben Lomond. This is the point where the Skyline trail meets up with Cutler Sprint trail and Ben Lomond trail. From here there is a 1.5-mile final push up to the peak, gaining the last 1,000 feet.
GPS *this is my favorite route
North Fork Park
There are two routes from North Fork Park. For extra fun, make a loop out of these two!
Start 1: Loop B - Corals Parking
Duration: ~14.5 miles
Elevation gain: 3900 feet
Difficulty: moderate - difficult, due to duration and steep sections
What to expect? The trail is mainly smooth, with some rockier sections close to the bottom. The trail is very straight forward until you reach the saddle of Ben Lomond. This is the point where Ben Lomond trail meets up with Cutler Spring trail and Skyline trail. From here there is a 1.5-mile final push up to the peak, gaining the last 1,000 feet.
GPS *note this was early season, we did not make it to the tippy top due to snow
Start 2: Mule Shoe Trailhead parking or Cutler Flats Parking
Duration: ~11.6 miles
Elevation gain: 3900 feet
Difficulty: difficult, due to duration and steep sections
What to expect? The trail is the steepest of the options, and the least trafficked. I’d recommend trekking poles. From the parking lot, you can follow the road towards Cutler Flat, or hop on the trails and head to Cutler Springs trail. At 2.9 miles in, you have the option to continue straight on Cutler Spring trail, or you can take a sharp left to connect up to Ben Lomond Trail. Cutler Springs trail is slightly shorter but much steeper. At the saddle, Ben Lomond trail, Cutler Spring trail, and Skyline trail all meet. From here there is a 1.5-mile final push up to the peak, gaining the last 1,000 feet.
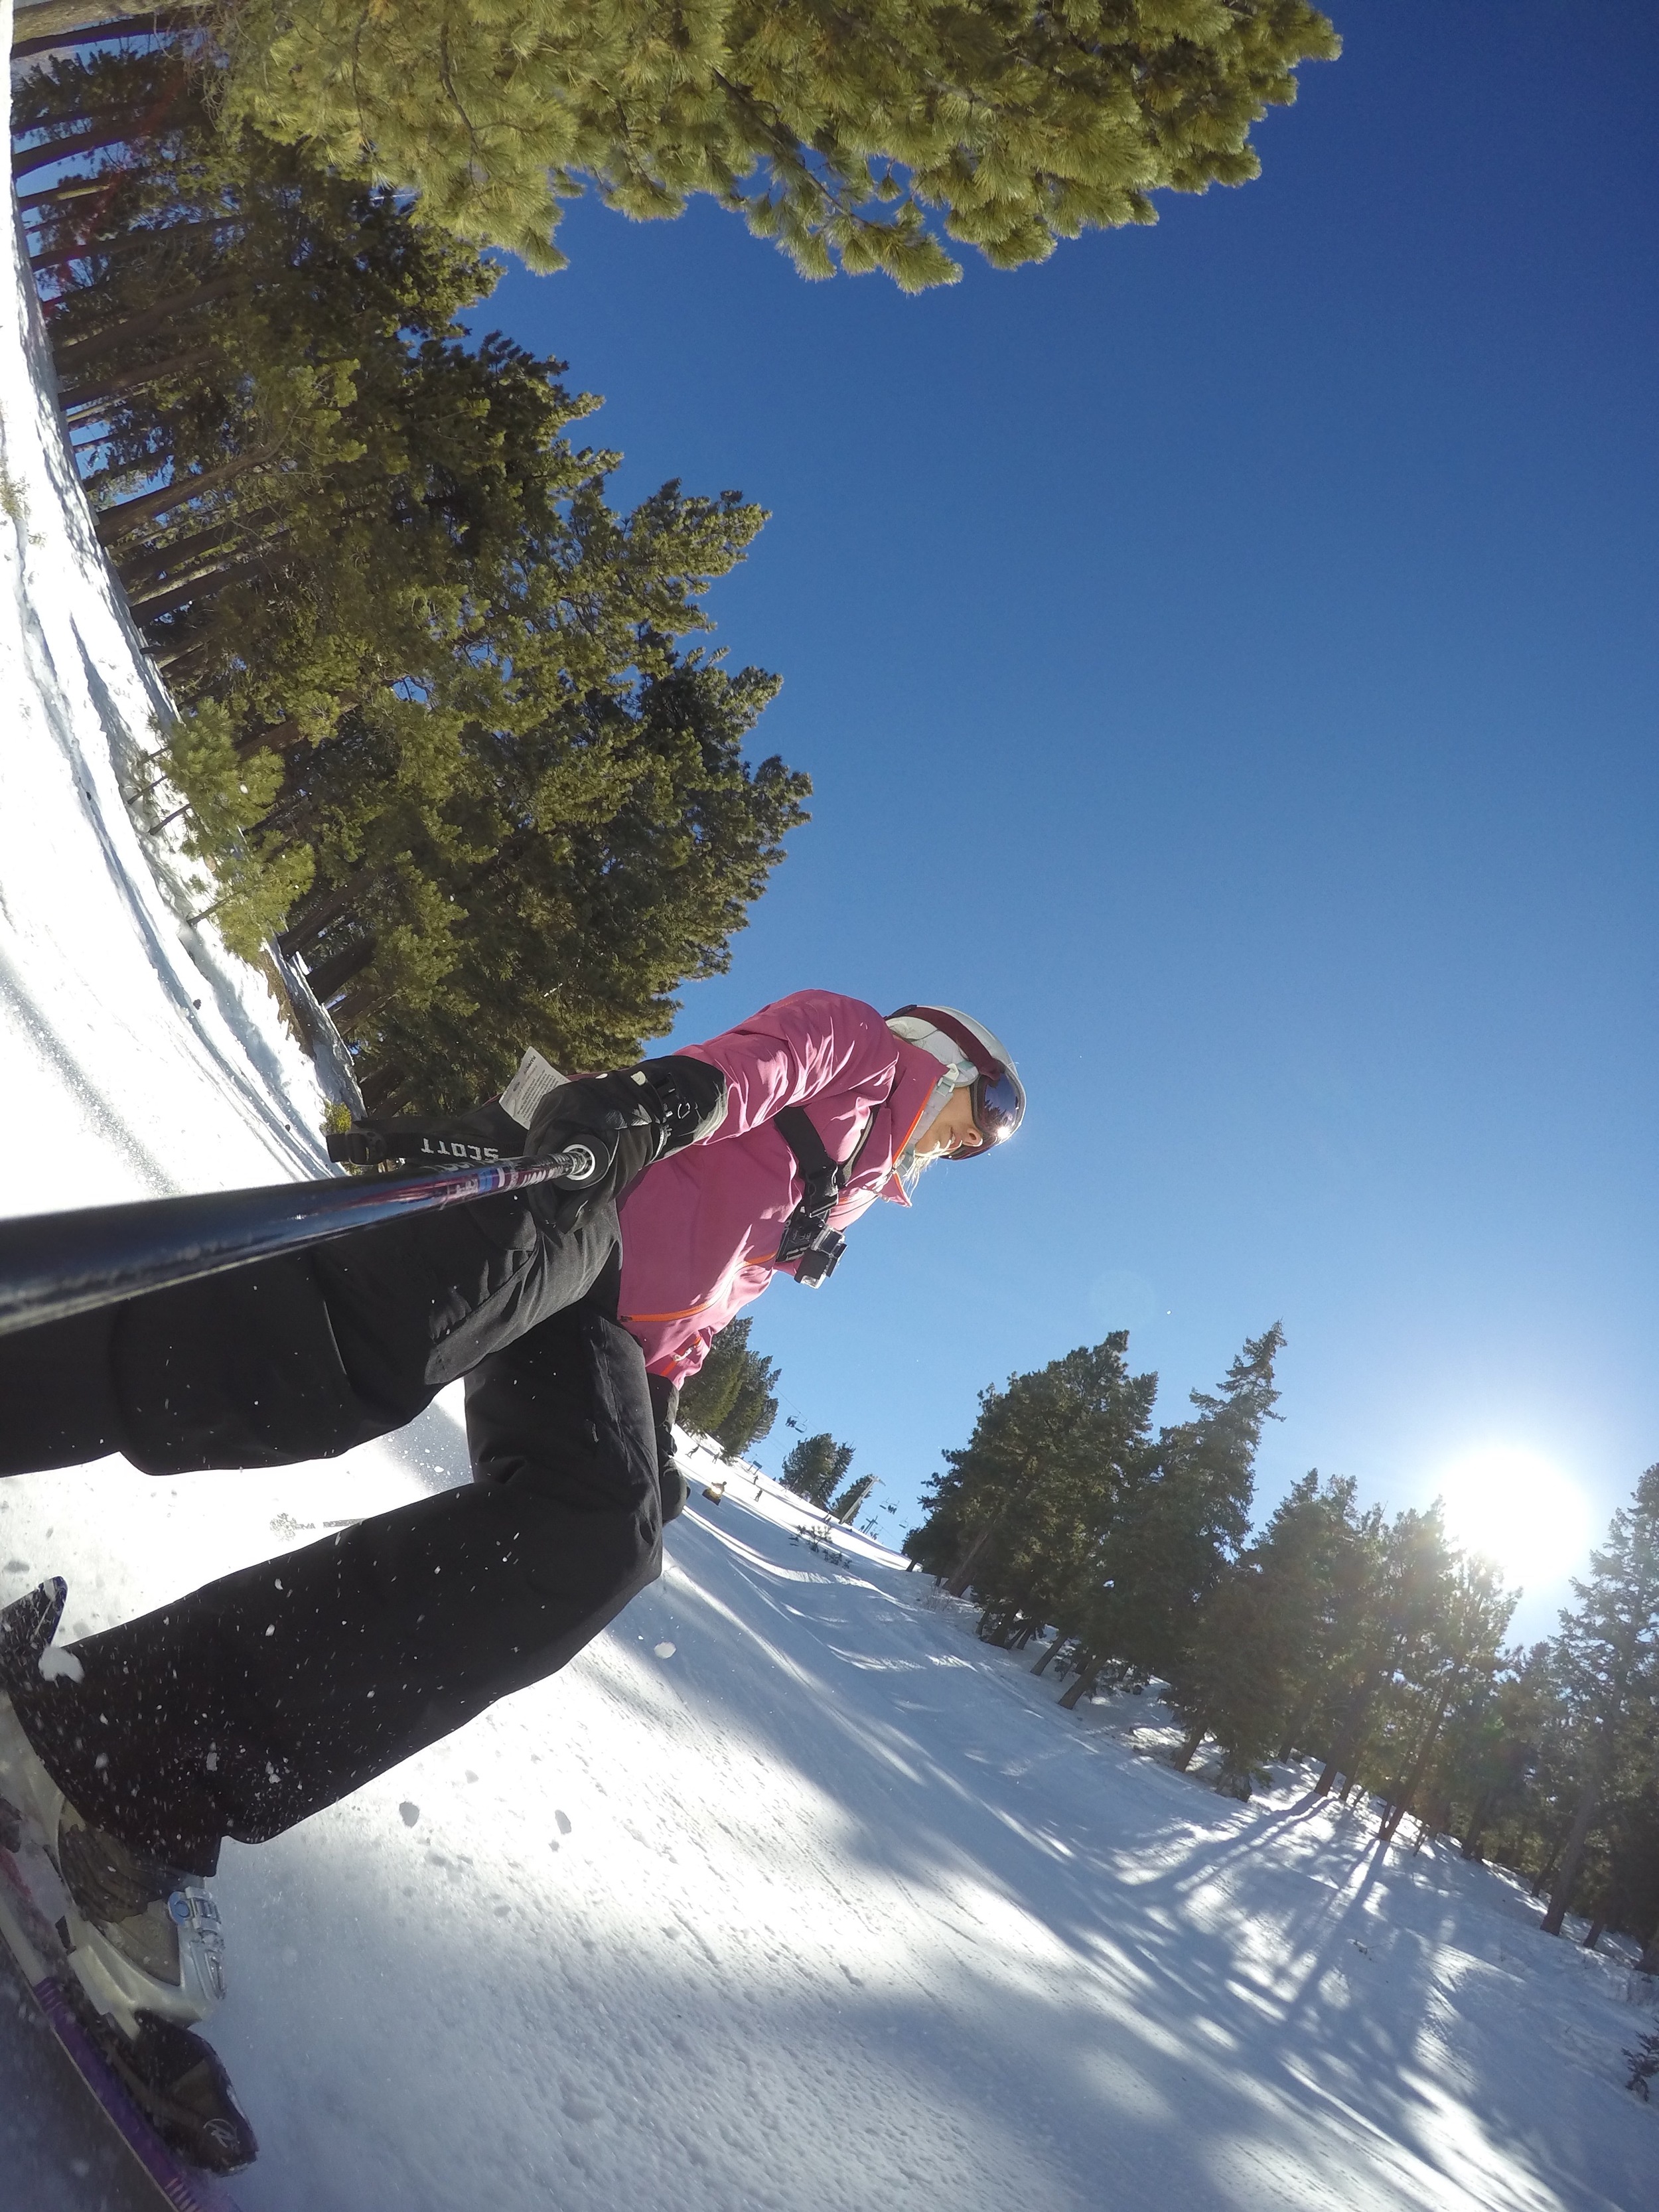
GPS *bonus - this is also a great ski touring route in the winter
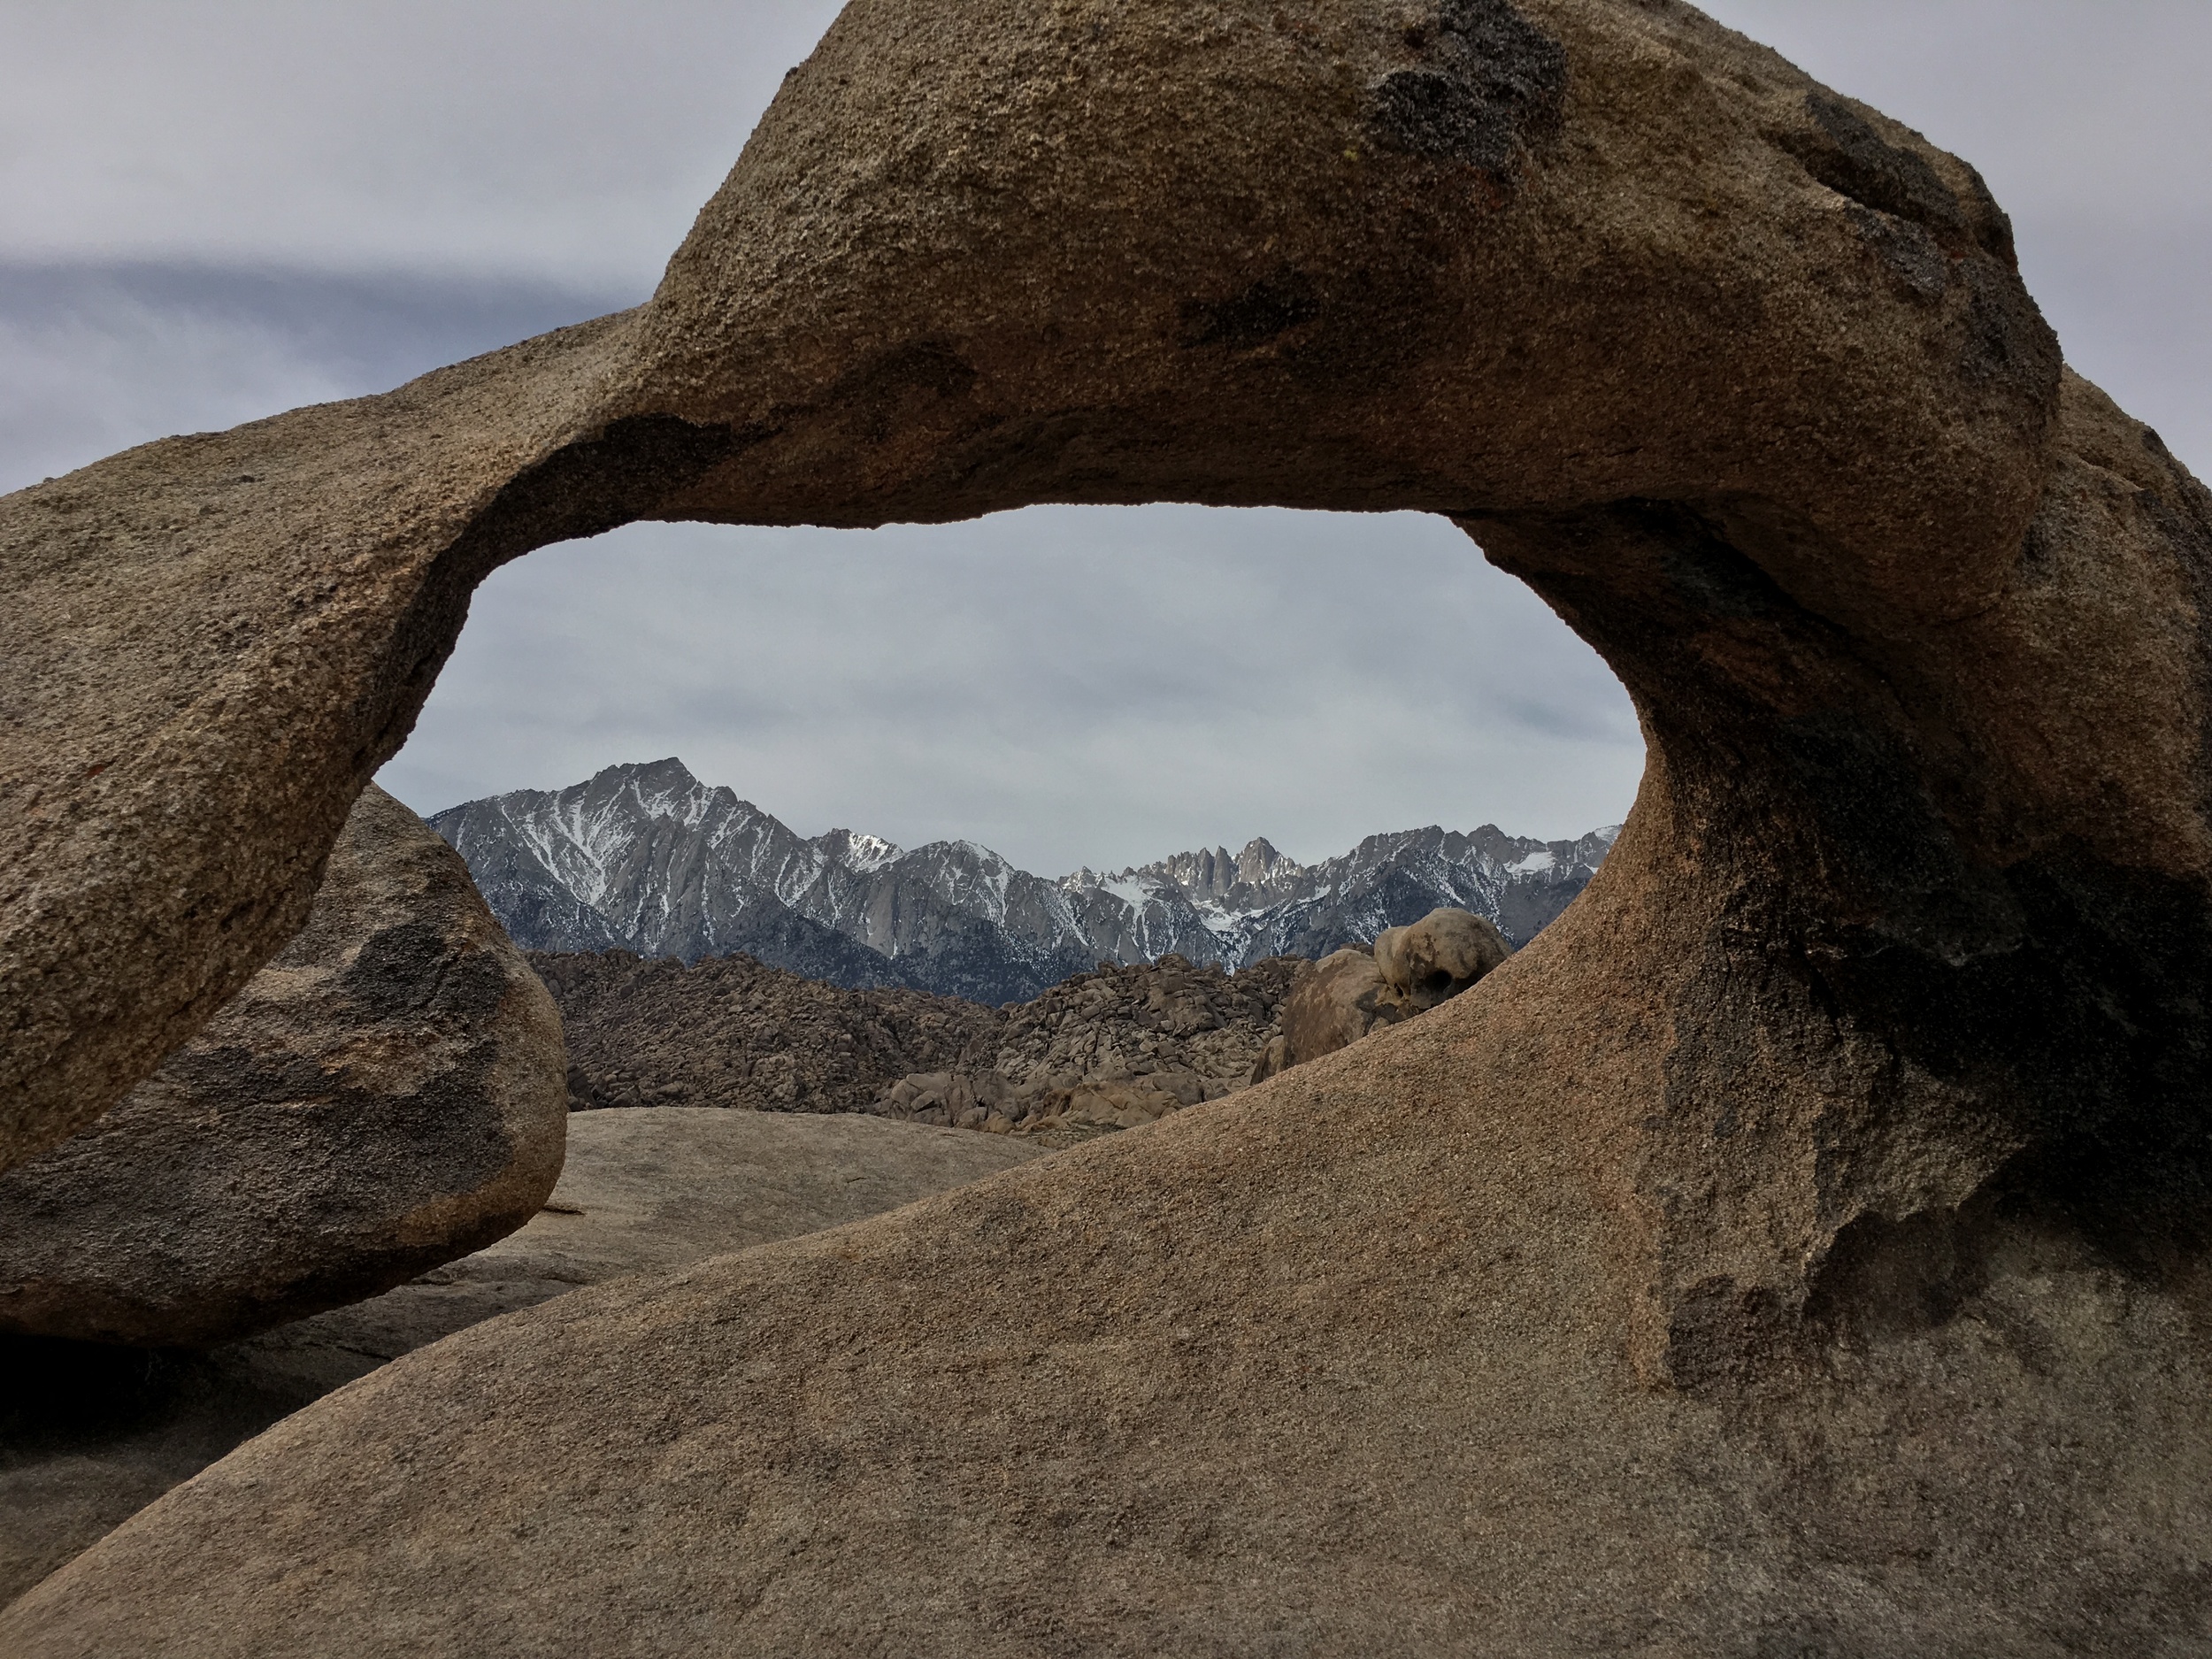
Ben Lomond + Willard Peak
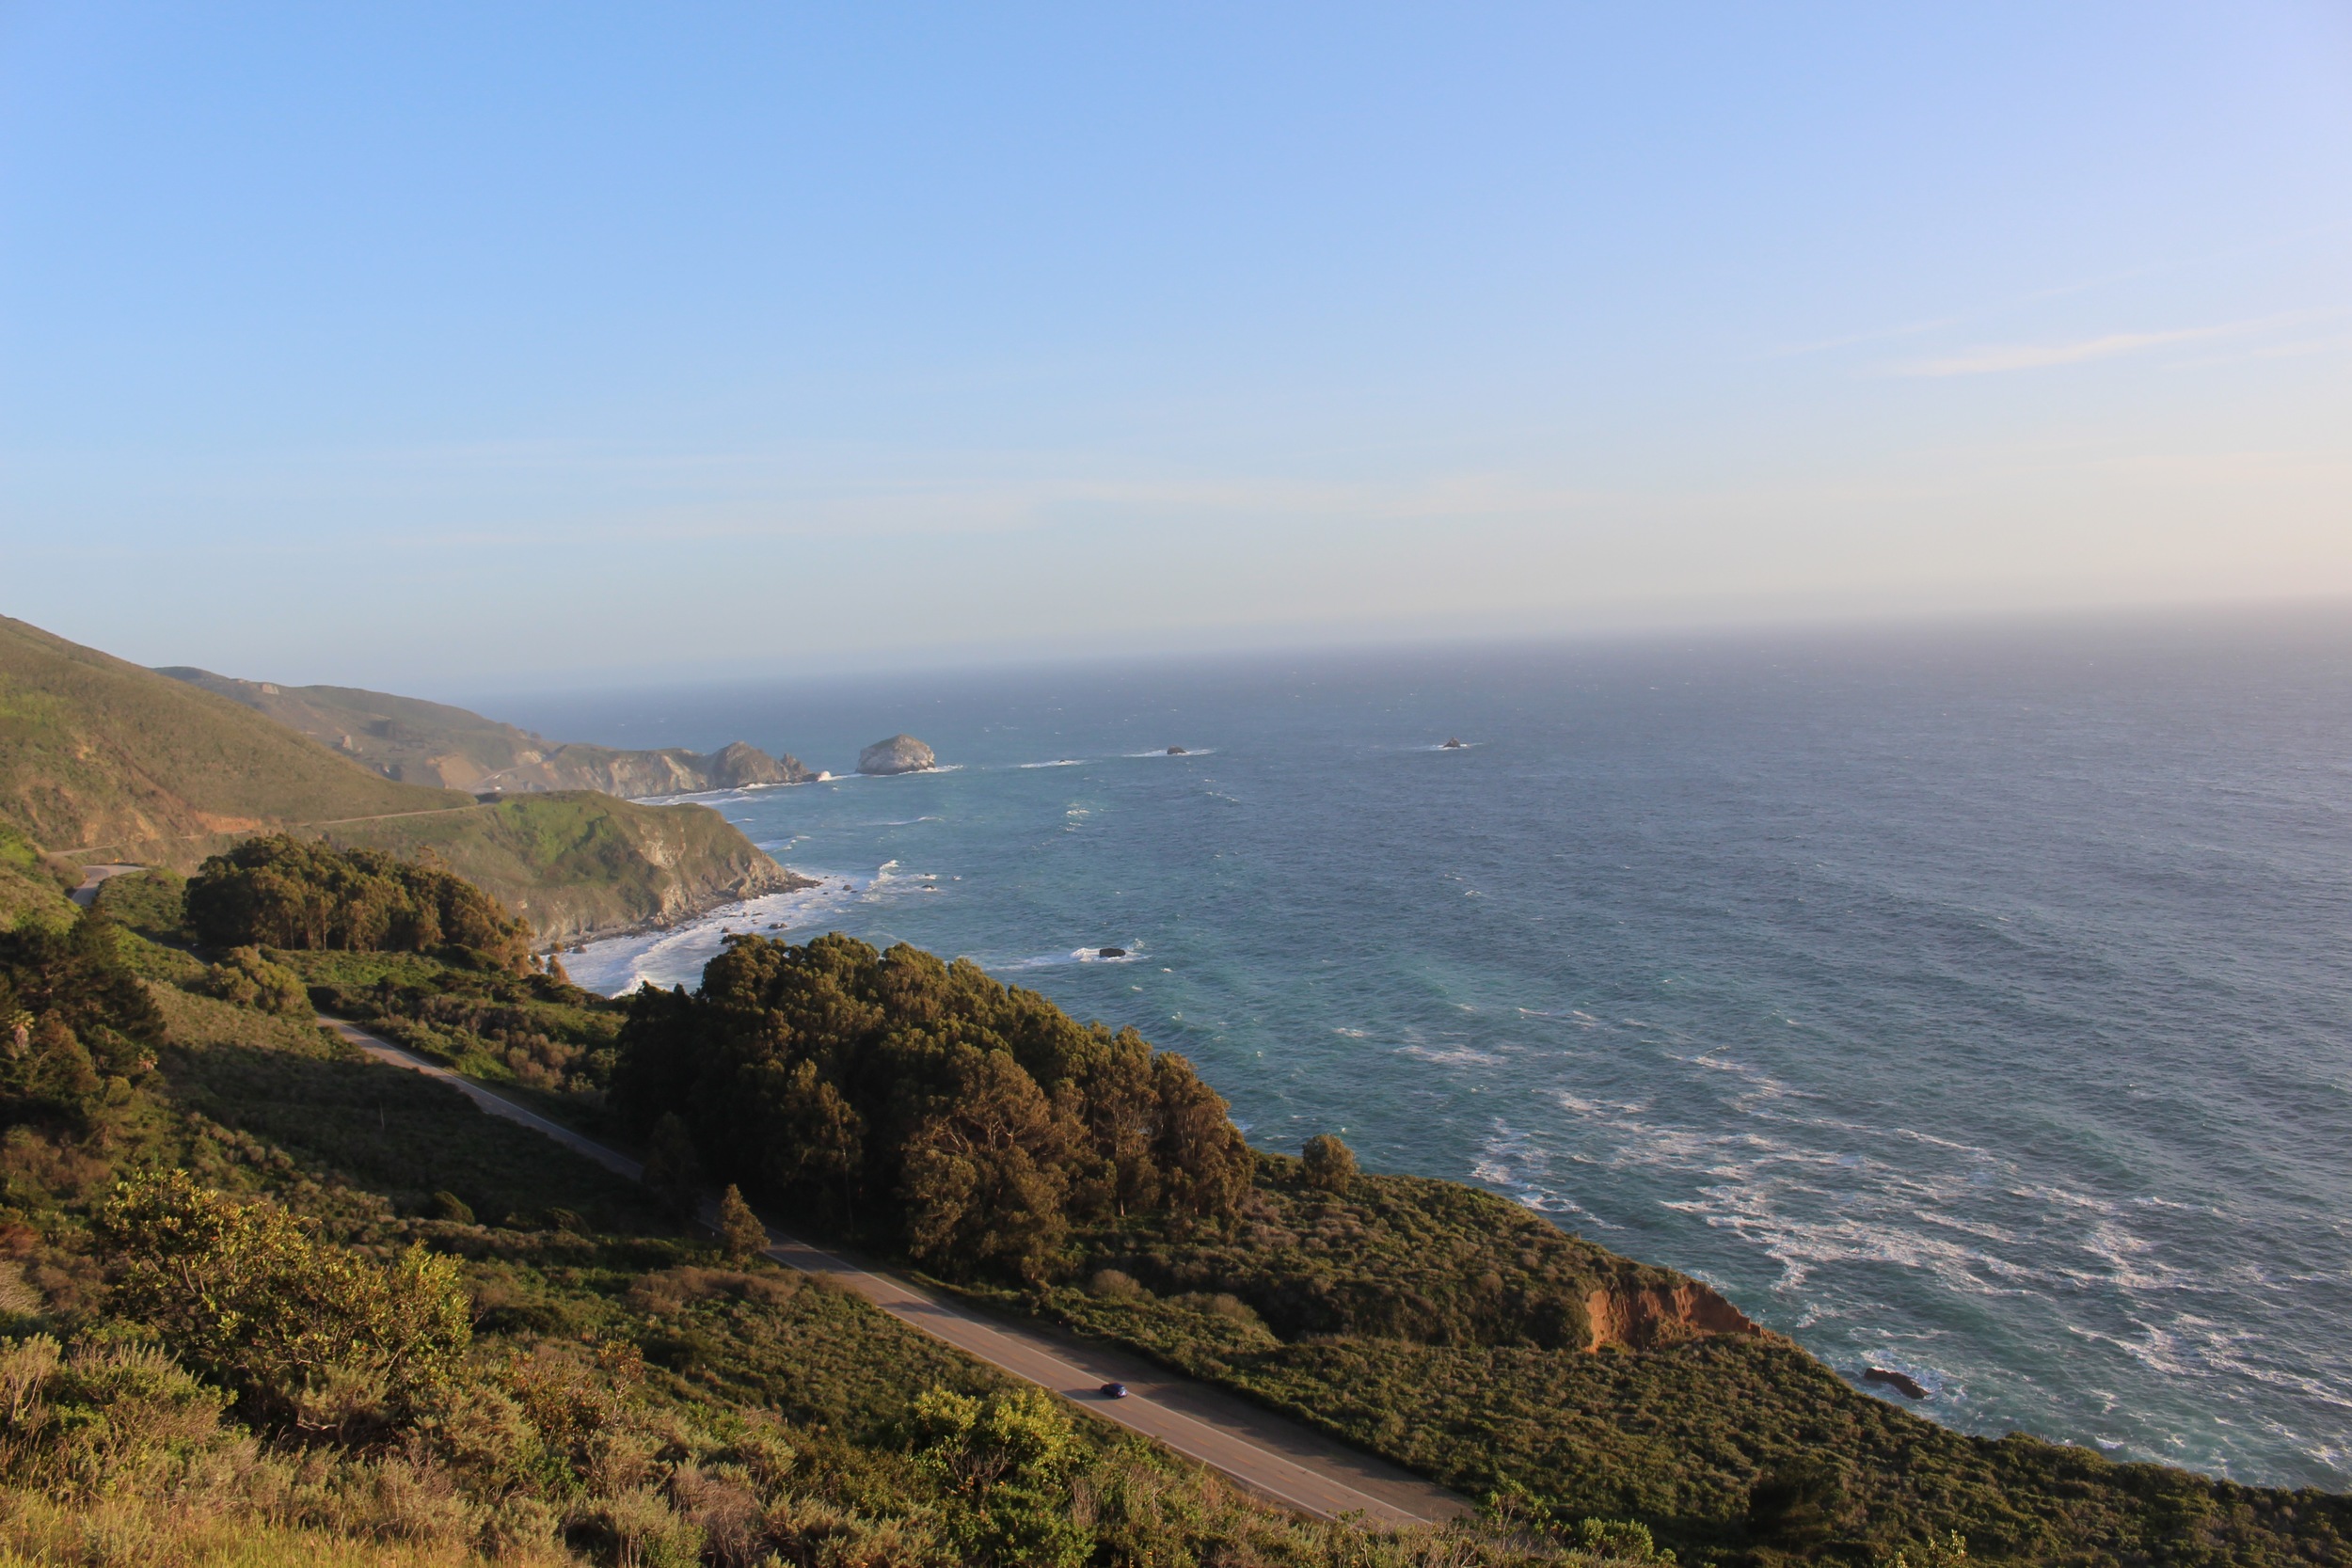
If you’re feeling up to it, continue another two miles past Ben Lomond to Willard Peak! The trail is flowy and beautiful.
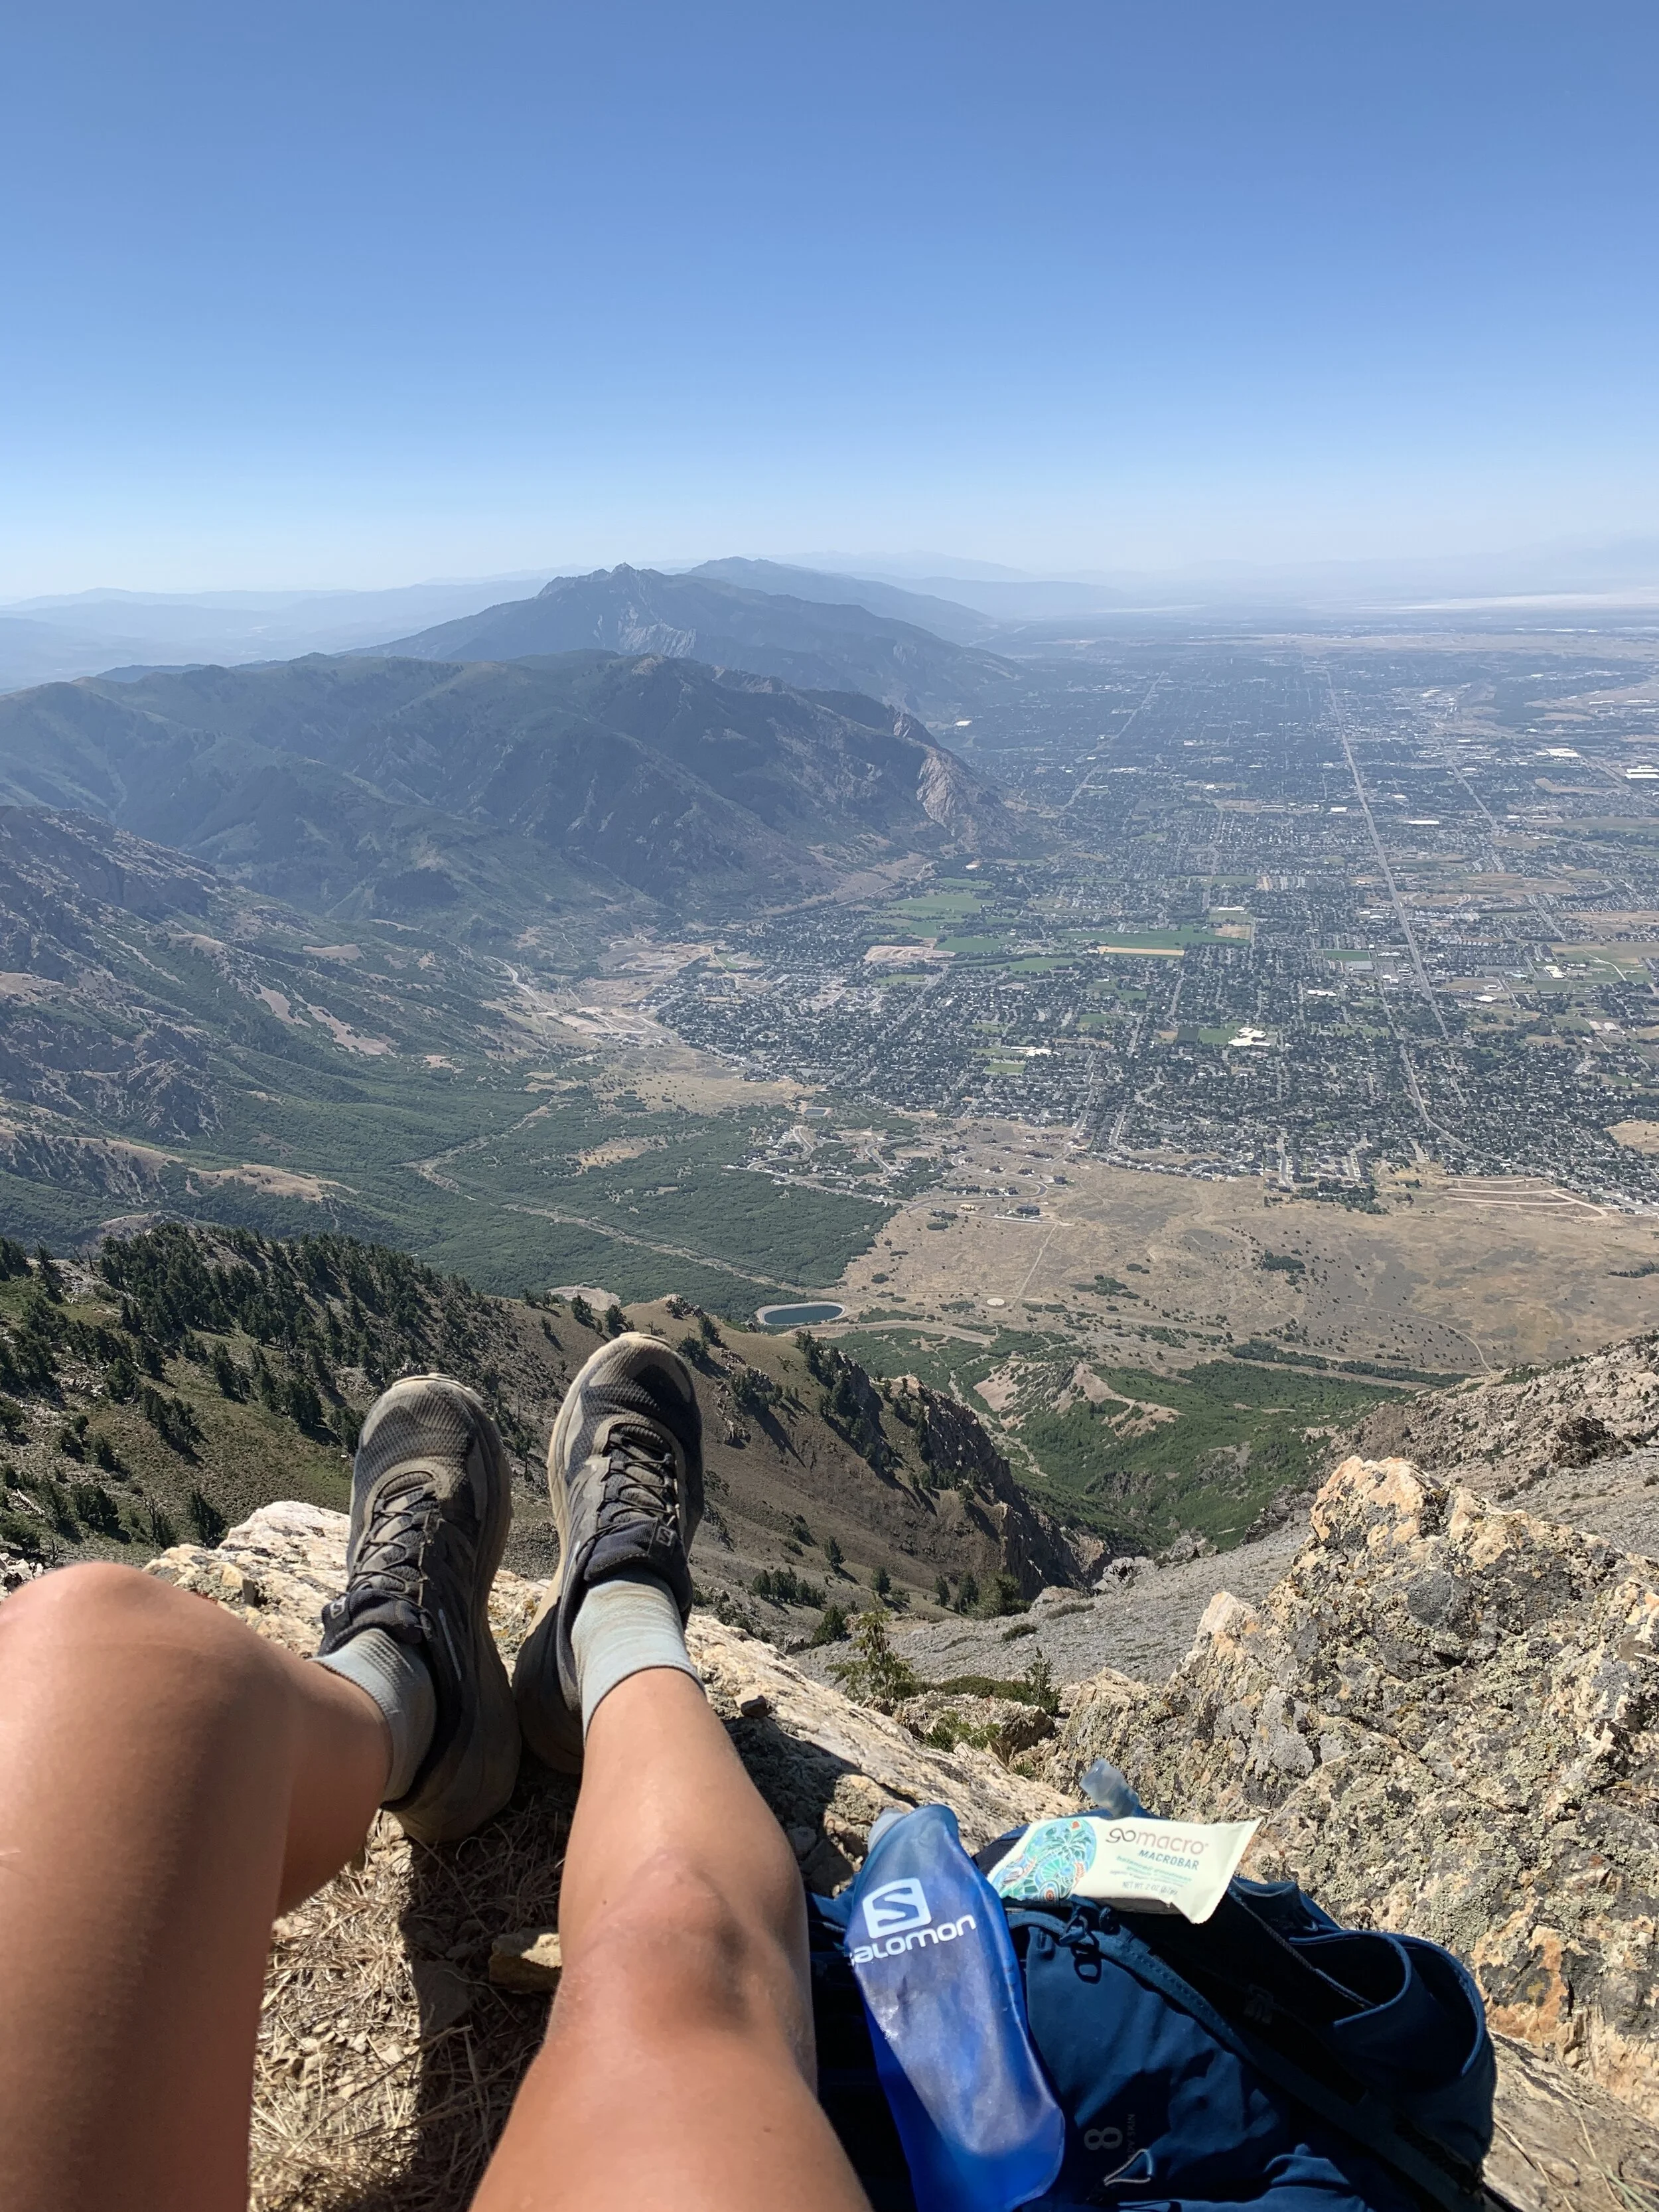
Ben Lomond looking down to Ogden, UT

Ben Lomond to Willard Peak